
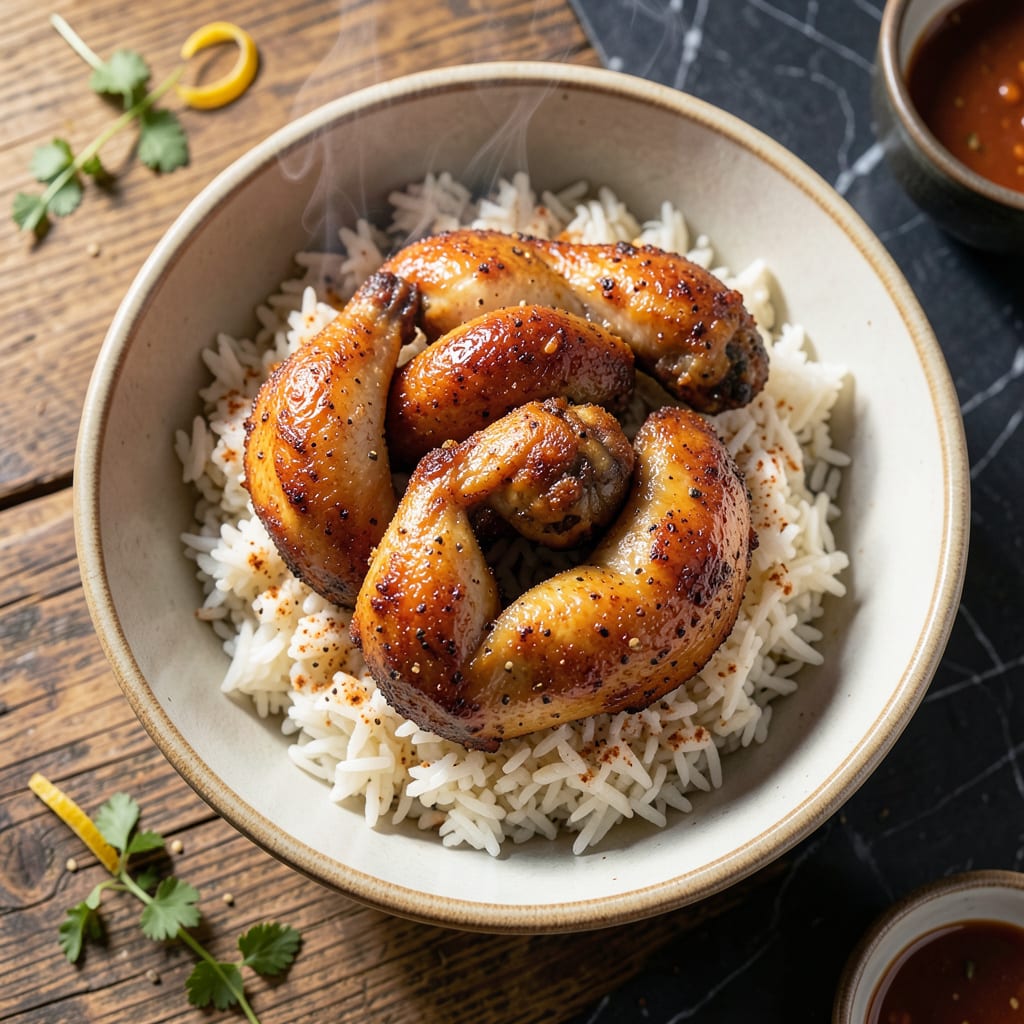
Achieving crispy chicken with minimal oil is possible through a two-step steaming and frying process. This method locks in moisture while creating a shatteringly crisp exterior.
First, the chicken is steamed until fully cooked, then briefly fried to develop that golden, crispy coating. The result is juicy meat with a perfectly textured crust, all with significantly less oil than traditional frying.
Ingredients for Steam Fried Chicken
Few ingredients, maximum crunch. The double-cooking method delivers unmatched texture with less oil.
| Ingredient | Amount | Notes |
|---|---|---|
| Chicken Thighs 🍗 | 2 lb | Boneless, skin-on preferred |
| All-Purpose Flour 🌾 | 1 ½ cups | For crispy coating |
| Cornstarch 🌾 | ½ cup | Enhances crunch |
| Baking Powder 🧂 | 2 tsp | Creates air pockets for crispiness |
| Salt 🧂 | 1 ½ tsp | Diamond Crystal kosher preferred |
| Black Pepper 🌶️ | 1 tsp | Freshly ground |
| Garlic Powder 🧄 | 1 tbsp | For savory depth |
| Onion Powder 🧅 | 1 tbsp | Balances seasoning |
| Paprika 🌶️ | 1 tbsp | Sweet or smoked variety |
| Neutral Oil 🫒 | 1 cup | For shallow frying |
| Water 💧 | 1 cup | For steaming process |
| Large Egg 🥚 | 1 whole | For binding coating |
The chicken selection is critical. Skin-on, boneless thighs remain juicier than breasts during steaming. Source from Whole Foods or a trusted butcher for consistent quality. Ensure the skin is intact and the meat has a vibrant pink color. For the flour, King Arthur all-purpose is the professional standard—its protein content creates the perfect crisp.
No cornstarch? Arrowroot powder at equal amounts works, but avoid potato starch—it browns too quickly. Swap garlic and onion powders for fresh minced at half the quantity, though the dried versions adhere better to the coating. For oil, avocado or refined peanut oil offer high smoke points without imparting flavor. Skip the egg entirely if needed—just add 2 tbsp water to the flour mix.
Steam the chicken same-day for optimal texture. Leftovers keep 3-4 days refrigerated but lose crispiness. Re-crisp in a dry skillet or air fryer. The seasoning blend can be prepped 1 week ahead—store in an airtight container away from light.
Why You’ll Love This Recipe
- One Pan Magic: I love that I only need a skillet and a lid—no deep fryer, no splatter mess, and the cornstarch-baking powder combo does all the work.
- Crispy Yet Juicy: That first bite with the shattery crust and the tender thigh meat? I’ll admit, I’ve burned my tongue more than once rushing it.
- Weeknight Hero: Honestly, it’s my Tuesday night lifesaver—thighs are cheap, the flour coating comes together in two minutes flat, and leftovers reheat like a dream.
- Budget Friendly: A bag of thighs and pantry staples feed my family for under ten bucks, and nobody complains about seconds.
Step-by-Step Instructions for Steam Fried Chicken
This two-stage method guarantees an ultra-crispy exterior with juicy meat every time.
Step 1: Prepare the Seasoned Coating
Whisk together the 1.5 cups all-purpose flour, 0.5 cup cornstarch, 2 tsp baking powder, 1.5 tsp salt, 1 tsp black pepper, 1 tbsp garlic powder, 1 tbsp onion powder, and 1 tbsp paprika in a large bowl. The cornstarch and baking powder are the secret to that extra crunch and airy texture.
I always sift the dry ingredients first to eliminate lumps and ensure even distribution of the leavening agent. The baking powder creates tiny air pockets in the coating that expand during cooking, resulting in that coveted crispy texture.
Step 2: Coat the Chicken Thighs
Beat the 1 whole large egg with the 1 cup water in a shallow dish. Dip each of the 2 lb chicken thighs into the egg wash, allowing any excess to drip off. This thin wash ensures the coating adheres properly without being too thick.
Dredge the chicken in the flour mixture, pressing firmly to create a thick, even coating on all sides. I like to let the coated pieces rest on a wire rack for 10 minutes before cooking—this helps the coating set and adhere better during frying.
Step 3: First Fry for Structure
Heat the 1 cup neutral oil in a deep, heavy-bottomed skillet over medium-high heat to 350°F. The oil should be deep enough to reach about halfway up the chicken pieces. Use a thermometer for accuracy—oil temperature is critical for proper cooking.
Carefully place the chicken in the hot oil, working in batches to avoid crowding. Fry for 8-10 minutes until the coating is light golden brown and set. This first fry establishes the structure of the crust without fully cooking the chicken through.
Step 4: Steam for Tenderness
Remove the chicken from the oil and place it on a rack set over a baking sheet. Add 1 cup water to a separate large skillet with a tight-fitting lid and bring to a boil. Place the chicken on a heatproof plate or rack inside the skillet, cover tightly, and steam for 10-12 minutes.
The steam finishes cooking the chicken gently, ensuring it stays moist inside while the initial fry maintains the crispy exterior. This dual cooking method is what makes this technique unique.
Step 5: Second Fry for Maximum Crispiness
Reheat the oil to 375°F. Return the chicken to the hot oil and fry for an additional 3-4 minutes until deep golden brown and ultra-crispy. The second fry drives off any remaining moisture from the steaming process, resulting in that double-crispy texture.
Drain on a wire rack or paper towels. The chicken should have a shatteringly crisp exterior with tender, juicy meat inside. Serve immediately while hot—the crispiness is best right out of the oil.
Pro Tips For Making Steam Fried Chicken
- Double-Fry for Crisp: I learned this the hard way—first fry at 325°F until golden, then crank the heat to 375°F for 2 minutes to lock in that shatter-crisp crust.
- Dry Those Thighs: Pat the chicken thighs bone-dry with paper towels before dredging—excess moisture makes the coating slip right off.
- Skip the Overcrowding: Resist the urge to fill the pan; frying too many pieces at once lowers the oil temp and gives you soggy, greasy chicken.
- Add Baking Powder: Sounds weird, but it works: 1 teaspoon of baking powder in the flour-cornstarch mix creates tiny bubbles for extra crunch without changing the taste.
Make-Ahead Tips for This Dish
Prep the Coating
Mix your dry ingredients the night before and store in an airtight container at room temperature. The baking powder and cornstarch blend keeps well for up to 24 hours without losing effectiveness. I always whisk it again before using to redistribute the leavening.
Pre-Coat Chicken
Dredge your 2 lb chicken thighs in the seasoned flour up to 4 hours ahead. Place them on a wire rack in the fridge uncovered. This drying step actually improves the coating’s adherence during cooking.
Partial Cooking Method
Complete the first 8-10 minute fry at 350°F in the morning, then cool and refrigerate. The chicken will finish steaming and frying later with no loss of quality. This breaks the work into manageable sessions.
Steam Ahead
Fully steam the chicken 10-12 minutes up to 2 hours before serving. Let it rest at room temperature until ready for the final fry. The texture remains perfect through this hold time.
Final Crisp
That second 3-4 minute fry at 375°F must happen just before serving. The crispiness peaks fresh from the oil. I use my Lodge cast iron for even heat distribution. 🔥
Storage Options
Cooked chicken keeps 3-4 days refrigerated but loses crispiness. Re-crisp in a 400°F oven for 5-7 minutes on a wire rack. Never microwave—it’ll turn soggy.
Nutrition Facts
Frequently Asked Questions
Why steam before frying?
Steaming first ensures the chicken cooks through gently without drying out. The second fry then creates a super crispy exterior. This two-step method guarantees juicy meat inside with maximum crunch outside.
Can I use chicken breasts instead?
Yes, but reduce steaming time to 8 minutes to prevent dryness. Breasts cook faster than thighs. For best results, brine them first to maintain moisture.
How do I keep it crispy after cooking?
Drain on a wire rack, not paper towels, to prevent steam buildup. Serve immediately or place in a 400°F oven for 5 minutes to re-crisp.

- 6 Egg Cake Recipe with Oil: Light as Air With Buttery Moisture - October 4, 2026
- 4 Bean Casserole Recipe: One-Pan Heartiness With Smoky Paprika Depth - October 4, 2026
- 3-Ingredient Keto Mug Cake Recipe: Microwave Magic in 2 Minutes - October 4, 2026