
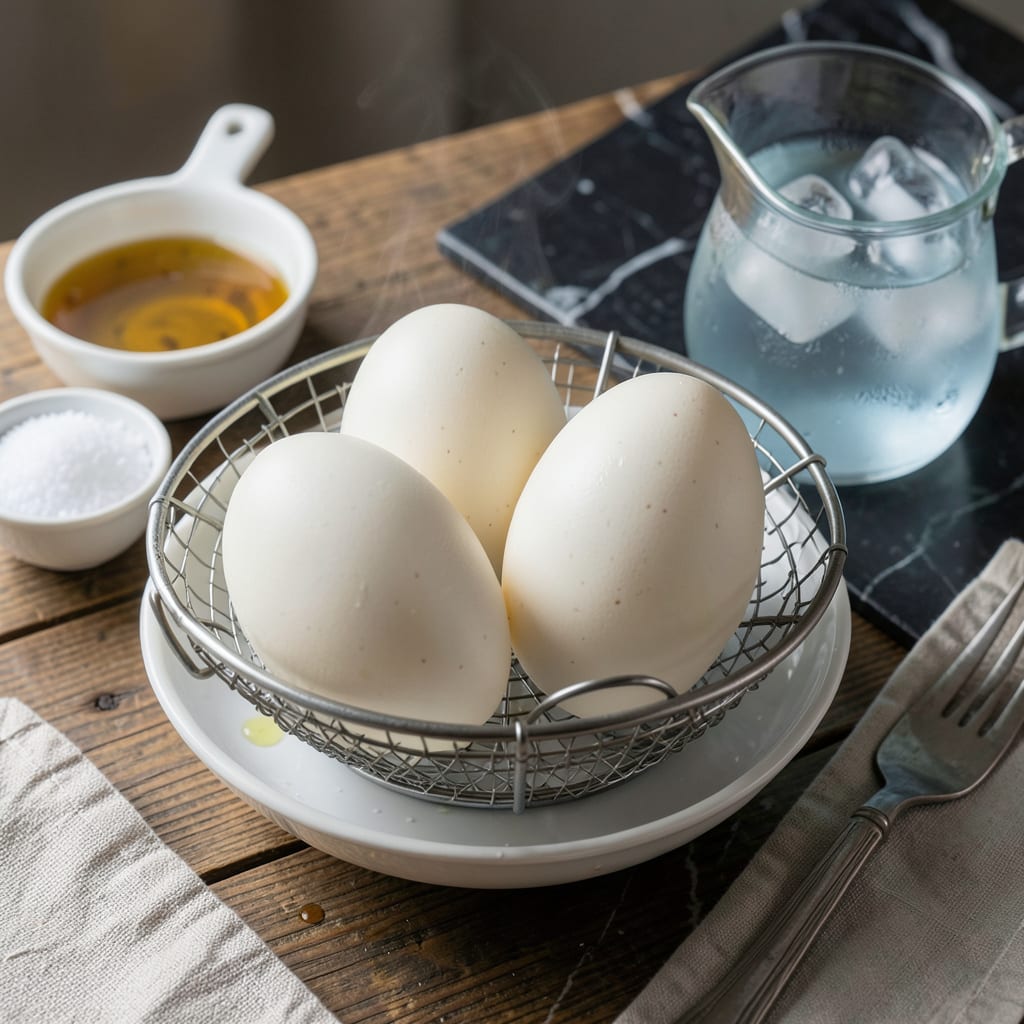
I’ve perfected a method for perfectly cooked eggs that’s surprisingly simple yet foolproof. Using steam instead of boiling water ensures even cooking and eliminates the risk of cracking.
This approach delivers consistent results with tender yolks and firm whites every time. No more guessing or overcooking—just reliable, delicious eggs ready for any meal.
Ingredients for Steamed Hard Boiled Eggs
Just five ingredients for the most reliable eggs you’ve ever made.
| Ingredient | Amount | Notes |
|---|---|---|
| Large Eggs 🥚 | 4 whole | Room temperature preferred |
| Water 💧 | 1 cup | For steaming in pot |
| Ice Cubes ❄️ | 2 cups | For ice bath cooling |
| Kosher Salt 🧂 | 1 tsp | Optional for seasoning water |
| White Vinegar 🍶 | 1 tbsp | Helps prevent cracking |
| Baking Soda 🧂 | ½ tsp | Optional for easier peeling |
The eggs are everything here—freshness matters less than you think (older eggs actually peel easier). I grab mine from Trader Joe’s or whatever’s on sale. Room temp is ideal but straight-from-the-fridge works fine too. The vinegar’s a game-changer: one tablespoon in the water keeps cracks from forming if any eggs bump around.
No vinegar? Lemon juice works the same. Skipping the ice bath? Don’t—the shock stops cooking fast for that perfect yolk. Baking soda’s optional but ½ teaspoon in the water makes peeling a breeze. For extra-large eggs, add 2-3 minutes to the cooking time. Small eggs? Shave off a minute.
Store unpeeled eggs in the fridge for up to 1 week in their shell. Peeled eggs? Submerge in water in a sealed container—they’ll keep 3-4 days. Freezing isn’t recommended (texture gets weird).
Why You’ll Love This Recipe
- One Pot Wonder: I just plop the eggs in a steamer basket over boiling water with a splash of vinegar—no fancy equipment, no fuss.
- Consistent Every Time: The salt and vinegar trick means no more sad gray yolks or cracked shells, just firm whites and bright yellow centers.
- Meal Prep MVP: I make a batch Sunday and they’re ready to peel all week for salads, snacks, or quick breakfasts.
- Budget Breakfast: A dozen eggs costs pennies, and this method stretches them further with zero waste.
Step-by-Step Instructions for Steamed Hard Boiled Eggs
Here’s the method I swear by for foolproof eggs with no green yolks or cracking.
Step 1: Prepare the Steamer and Eggs
Add the 1 cup Water to a pot with a tight-fitting lid and bring it to a rolling boil over high heat. I use a steamer basket that fits inside, but a colander works too as long as it doesn’t touch the water. Meanwhile, place the 4 whole Large Eggs in a single layer in the steamer basket.
If you’re using them, sprinkle the 1 tsp Kosher Salt and 0.5 tsp Baking Soda into the water. The salt seasons subtly while the baking soda raises the pH, making the shells easier to peel later. The 1 tbsp White Vinegar goes in last—it helps prevent cracking if any eggs bump together.
Step 2: Steam the Eggs to Perfection
Once the water is at a full boil, carefully lower the basket with the eggs into the pot. Immediately cover with the lid and reduce the heat to medium-low to maintain a steady steam. Set a timer for 13 minutes—this is the sweet spot for fully set yolks without that unappetizing gray ring.
Watch for the steam escaping from under the lid. If it’s hissing aggressively, your heat is too high. You want a gentle, consistent steam, not a pressure cooker situation. The eggs will cook evenly in this environment, with no risk of bouncing around and cracking like they might in boiling water.
Step 3: Shock in Ice Bath Immediately
As soon as the timer goes off, transfer the eggs directly to a bowl filled with the 2 cups Ice Cubes and enough cold water to fully submerge them. This ice bath stops the cooking process instantly, which is crucial for that perfect, creamy yolk texture.
Let them chill for at least 10 minutes—I usually leave them for 15 minutes if I’m prepping other things. The shells will contract away from the egg during this time, making them much easier to peel. You’ll notice the eggs turn a matte white color as they cool, which means they’re ready.
Step 4: Peel and Serve or Store
Remove the eggs from the ice bath and peel them under a thin stream of running water if possible. The water helps wash away any shell fragments and makes the process smoother. Gently tap the egg on a hard surface to crack the shell all over, then roll it between your palms to loosen the membrane before peeling.
Serve immediately while still slightly cool, or store them in the fridge in a bowl of water (changed daily) for up to 5 days. The texture stays firm, and they’ll hold their shape perfectly for salads, deviled eggs, or just eating plain with a sprinkle of flaky salt. This method never fails me—consistently perfect, every single time.
Pro Tips For Making Steamed Hard Boiled Eggs
- Use Room Temp Eggs: I learned this the hard way—cold eggs straight from the fridge are more likely to crack when they hit the hot steam. Let them sit out for 10-15 minutes first.
- Add Vinegar to Water: Sounds weird, but it works: a tablespoon of white vinegar in the steaming water helps prevent cracks and makes peeling easier later.
- Shock in Ice Water: As soon as they’re done, plunge the eggs into ice water for at least 5 minutes. This stops the cooking and guarantees a firm, not rubbery, yolk.
- Skip the Freshest Eggs: My grandmother swore by this, and she was right: eggs that are 7-10 days old peel way easier than super fresh ones. Save the newest eggs for frying.
Creative Variations of This Dish
Soft and Jammy Centers
For tender yolks with a slightly runny center, reduce the steaming time to 9-10 minutes. I love this version for ramen or avocado toast—just long enough to set the whites while keeping the yolks luscious. The texture is perfect for dipping or slicing into warm dishes. 💛
Extra Firm for Salads
If you’re making egg salad or need slices that hold their shape, extend the steaming to 15 minutes. This ensures the yolks are fully set with no soft spots. They’ll stay intact in potato salad or as a garnish for deviled eggs.
Spiced and Seasoned
Add 1 tsp black peppercorns or 1 bay leaf to the steaming water for subtly infused flavor. The aroma fills the kitchen, and the eggs pick up a hint of warmth. I also love tossing peeled eggs in smoked paprika or everything bagel seasoning while still warm.
Tea-Infused Eggs
For a unique twist, swap water for 2 cups brewed black tea with the spices. The tannins create a beautiful marbled effect on the whites and add a mild earthy note. This is inspired by Chinese tea eggs, but with a gentler, less intense flavor.
High-Altitude Adjustment
If you’re above 3,500 feet, increase steaming time by 2-3 minutes. The lower boiling point means eggs cook slower, so the extra time compensates. I learned this the hard way during a mountain cabin trip—undercooked eggs are a sad breakfast. ⚡
Mini Egg Bites
Use quail eggs for adorable bite-sized versions. Steam for just 6-7 minutes for soft yolks. They’re perfect for appetizers or lunchboxes, and the small size means they cook through quickly without drying out.
Nutrition Facts
Frequently Asked Questions
Why use steam instead of boiling?
Steaming prevents eggs from bouncing, reducing cracks. It also cooks more evenly at a gentler temperature than rolling boil. The result is consistently perfect texture every time.
How do I prevent green yolks?
Stop cooking immediately with an ice bath. This prevents the iron in yolks from reacting with sulfur in whites, which causes that grayish-green ring. 10-15 minutes in ice water works perfectly.
Can I use cold eggs straight from the fridge?
Yes, but room temperature eggs peel more easily. If using cold, add 1-2 minutes to steaming time. The temperature difference won’t affect the final texture.
What if my eggs crack while cooking?
The vinegar in the water helps seal small cracks. For larger ones, the egg is still safe to eat—just peel carefully under running water to remove any shell fragments.

- 6 Egg Cake Recipe with Oil: Light as Air With Buttery Moisture - October 4, 2026
- 4 Bean Casserole Recipe: One-Pan Heartiness With Smoky Paprika Depth - October 4, 2026
- 3-Ingredient Keto Mug Cake Recipe: Microwave Magic in 2 Minutes - October 4, 2026