
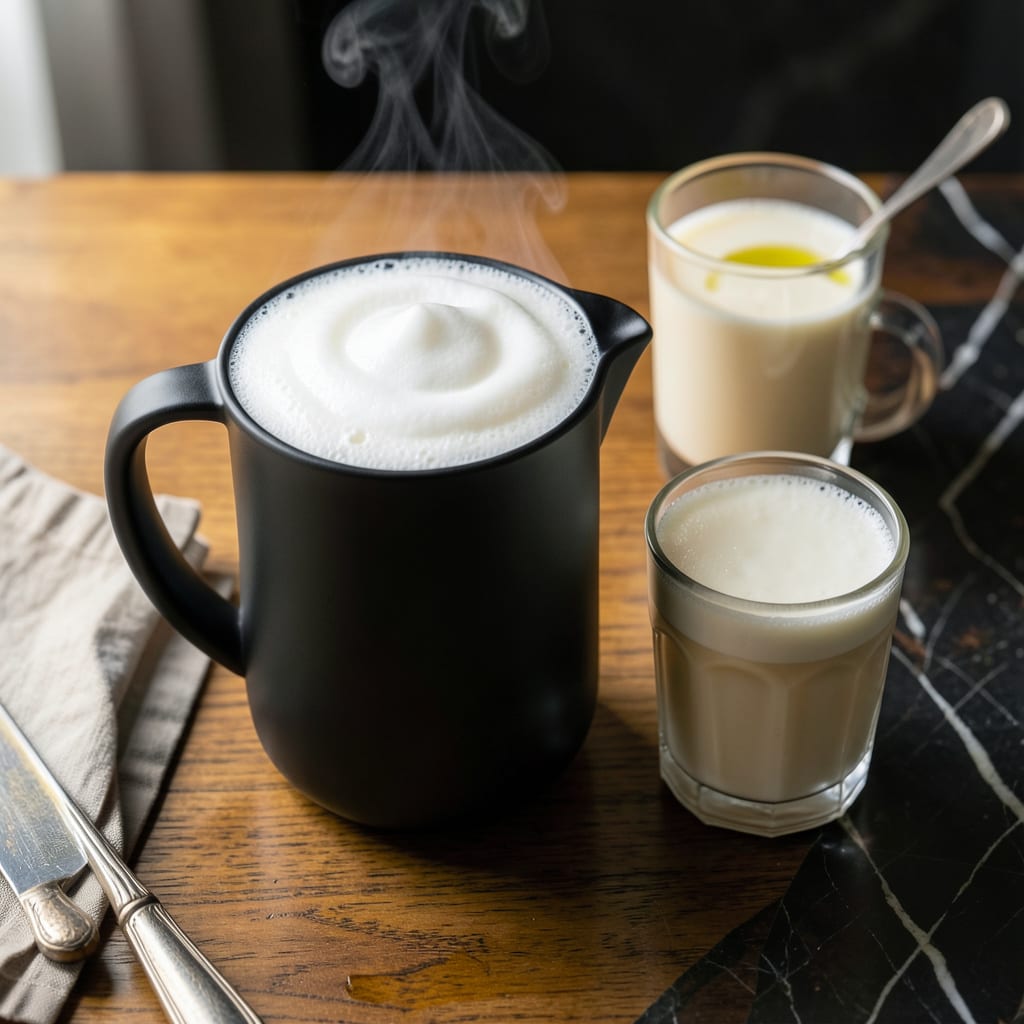
There’s an art to steaming milk that transforms any beverage from ordinary to extraordinary. This technique creates a silky smooth texture perfect for lattes, cappuccinos, and other coffee creations.
With just fresh milk and proper steaming, you’ll achieve the ideal microfoam that blends seamlessly with espresso. The process takes 30 seconds once mastered, making professional-quality drinks at home effortlessly.
Ingredients for Steamed Milk
Two ingredients. One technique. Endless coffee possibilities at your fingertips.
| Ingredient | Amount | Notes |
|---|---|---|
| Whole Milk 🥛 | 2 cups | Cold, fresh, full-fat preferred |
| Skimm Milk 🥛 | 0 cup | Alternative for lighter texture |
The milk is everything here. Whole milk delivers the creamiest microfoam—organic and grass-fed varieties from Whole Foods or Trader Joe’s are top-tier. Look for the freshest date possible; milk past its prime steams poorly. The fat content matters: 3.25% or higher creates that velvety texture baristas swear by.
Need a lighter option? Skimm milk works but produces larger bubbles—less ideal for latte art. 2% milk is the middle ground (better foam than skimm, lighter than whole). Avoid ultra-filtered milks like Fairlife; they steam weirdly. For non-dairy, oat milk is the closest to whole milk’s performance—just shake the carton well first.
Use within 3-4 days of opening for best results. Store milk in the coldest part of your fridge, not the door. If steaming for later use, let it cool to room temp before refrigerating—prevents separation. Always start with ice-cold milk (straight from the fridge) for optimal texture.
Why You’ll Love This Recipe
- 5-Minute Magic: I can heat and froth the milk right in my favorite mug—no extra pots, no fuss.
- Velvety Comfort: Whole milk steamed to a silky foam tastes like a café latte without the price tag.
- Morning or Midnight: It’s my go-to for coffee, hot cocoa, or even a warm glass before bed.
- Pennywise Luxury: Skimming the milk doesn’t skimp on flavor, making it an everyday treat that’s kind to my wallet.
Step-by-Step Instructions for Steamed Milk
Master this fundamental barista technique for café-quality texture and temperature every time.
Step 1: Select and Prepare the Milk
Begin with 2 cups Whole Milk straight from the refrigerator. Cold, fresh milk steams most effectively, creating the ideal microfoam texture. I always choose full-fat whole milk for its superior creaminess and ability to produce that velvety finish essential for latte art.
Pour the milk into a stainless steel frothing pitcher, filling it no more than one-third full. This leaves adequate space for expansion as air incorporates. The stainless steel conducts heat evenly and allows you to monitor the milk’s temperature by touch—a critical advantage over other materials.
Step 2: Purge the Steam Wand and Position the Pitcher
Before introducing the steam wand to the milk, purge it for 2-3 seconds to clear any water or residual milk from previous use. This prevents contamination and ensures optimal steam flow. Hold the pitcher at a slight angle and submerge the wand tip just below the milk’s surface.
Position the wand near the pitcher’s side, not the center. This creates a whirlpool effect that helps distribute heat evenly and incorporates air more uniformly. You should hear a gentle paper-tearing sound initially, which indicates proper air incorporation.
Step 3: Steam to the Ideal Temperature
Keep the wand submerged as the milk begins to circulate. After 3-5 seconds of initial stretching, lower the pitcher slightly to submerge the wand deeper, stopping the hissing sound. Now you’re in the texturing phase, where the milk should swirl smoothly without making noise.
Monitor the temperature by occasionally touching the pitcher’s side. Stop steaming when the pitcher becomes too hot to touch comfortably—this corresponds to approximately 150-155°F. At this temperature, the milk will be sweet and properly textured without scalding. Never exceed 160°F, as this risks burning the milk and creating an unpleasant flavor.
Step 4: Clean and Finish the Texturing
Immediately after steaming, wipe the steam wand with a damp cloth and purge it again to clear any milk residue. This prevents milk from drying on the wand and creating bacteria buildup. Tap the pitcher gently on the counter to break any large bubbles and swirl it to mix the foam with the liquid milk.
The ideal texture should resemble wet paint, with a glossy surface and no visible large bubbles. The milk should pour like melted ice cream, with enough body to support latte art but not so thick that it resists pouring. If the texture isn’t perfect, you can re-steam it briefly to adjust.
Step 5: Use Immediately for Best Results
Steamed milk is best used within 30-60 seconds of texturing. The microfoam will begin to separate and lose its ideal consistency if left to sit. Pour it into your coffee beverage immediately, starting with the pitcher held high and gradually lowering it as the cup fills.
For latte art, the contrast between the crema and the steamed milk should be sharp and defined. As you pour, watch for the white milk to mix with the darker coffee, creating the canvas for your design. The milk’s sweetness will balance the coffee’s bitterness, while the texture will create that signature velvety mouthfeel.
Pro Tips For Making Steamed Milk
- Use Cold Milk: Start with milk straight from the fridge—about 40°F. I learned this the hard way when my first few batches scalded before I even got close to steaming temp.
- Watch the Temperature: Pull it at 150°F for whole milk, 140°F for skim. Any higher and you’ll get that burnt, cooked taste that ruins a good latte.
- Purge the Air: After steaming, tap the pitcher on the counter and swirl to pop any large bubbles. Sounds weird, but it works—no one wants foam with the texture of a sponge.
- Skip the Microwave: I was skeptical until I tried it, but the stovetop or steam wand gives you way more control. Microwaving heats unevenly and you’ll end up with hot spots and sad, flat milk.
Serving Suggestions for steamed milk
Coffee Pairings
This silky creation shines brightest with a bold espresso shot. I love pairing it with dark roast beans from Stumptown or Intelligentsia—their chocolatey notes complement the milk’s natural sweetness perfectly. A 1:2 ratio of espresso to steamed milk creates the ideal latte balance.
Cappuccino Style
For a classic cappuccino, use equal parts espresso, steamed milk, and foam. The texture should be thick enough to hold its shape but still pourable. Sprinkle with cocoa powder or cinnamon for that authentic café finish. The foam’s airiness cuts through the richness beautifully.
Flavored Variations
Add 1 tsp vanilla syrup to the milk before steaming for a vanilla latte. For mocha lovers, stir in 2 tsp chocolate sauce after steaming. Both variations maintain that perfect microfoam while adding exciting flavor dimensions. I always keep Torani syrups on hand for quick customization. 💫
Iced Options
Pour steamed milk over ice for an iced latte experience. The contrast between hot milk and cold ice creates a unique texture. Use extra foam to prevent rapid melting. This method works particularly well with cold brew concentrate for a smoother, less acidic profile.
Dessert Applications
Drizzle steamed milk over affogato (vanilla gelato with espresso) for a decadent treat. The warm milk slightly melts the gelato, creating a luxurious sauce. Alternatively, use it as a base for steamed milk hot chocolate by mixing with 2 tbsp cocoa powder.
Presentation Tips
Always pre-warm your cup to maintain temperature. Pour slowly from a height to create layers, then bring the pitcher closer to the surface for latte art. A toothpick can help refine your designs. The contrast between dark coffee and light milk makes any pattern pop visually. 🔥
Nutrition Facts
Frequently Asked Questions
What kind of milk works best?
Whole milk is ideal for the creamiest texture and best microfoam. 2% works but creates lighter foam. Avoid non-dairy unless it’s barista-grade oat milk, as most alternatives don’t steam well.
How do I know when it’s done?
Stop when the pitcher feels too hot to touch comfortably—about 150-155°F. The texture should look like wet paint with a glossy finish and no large bubbles. Never exceed 160°F to prevent scalding.
Can I steam milk without a machine?
Yes! Use a French press: heat milk to 150°F, then pump the plunger up and down vigorously for 20-30 seconds. This creates foam, though it won’t be as smooth as machine-steamed.
Why does my milk taste burnt?
This happens when overheated above 160°F. Always monitor temperature by touch and stop before it gets too hot. Clean your steam wand immediately after to prevent residual milk from burning.

- 6 Egg Cake Recipe with Oil: Light as Air With Buttery Moisture - October 4, 2026
- 4 Bean Casserole Recipe: One-Pan Heartiness With Smoky Paprika Depth - October 4, 2026
- 3-Ingredient Keto Mug Cake Recipe: Microwave Magic in 2 Minutes - October 4, 2026