
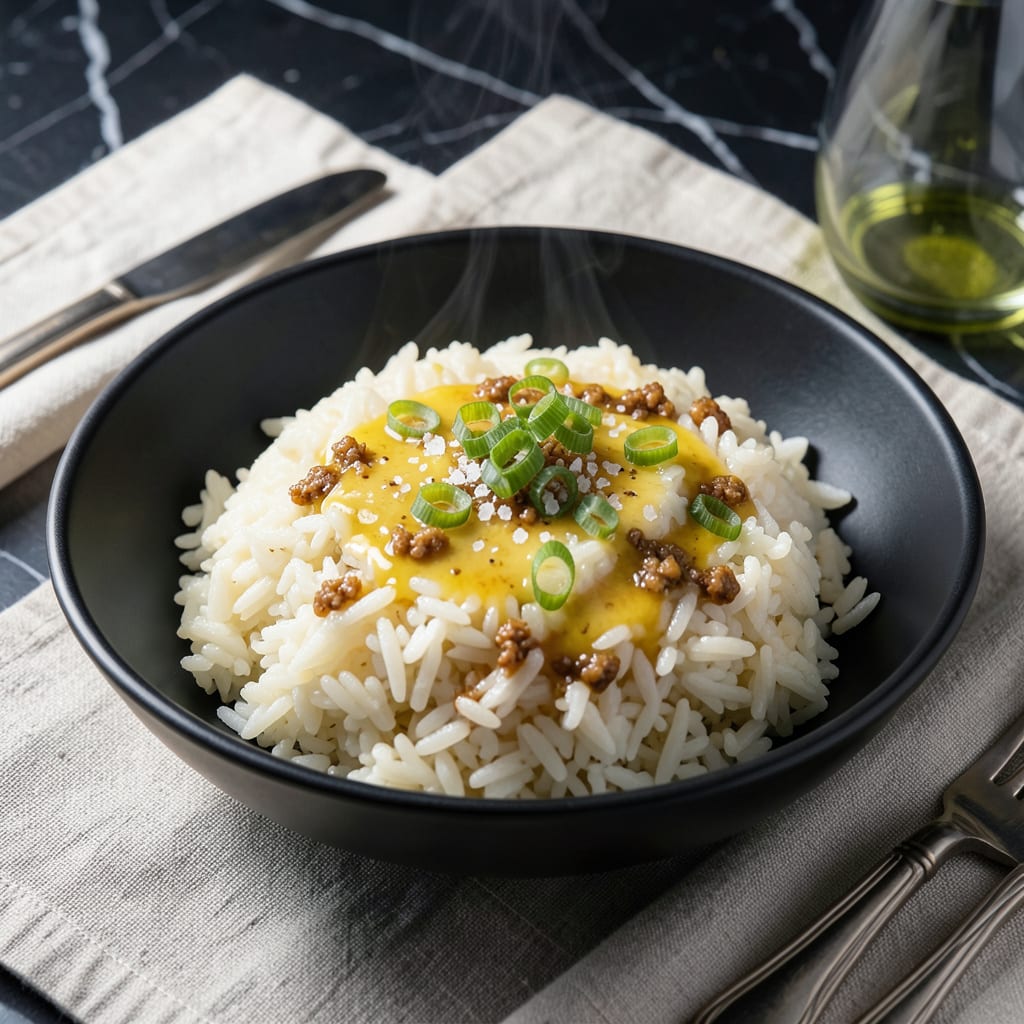
Perfect steamed rice starts with the right water ratio, and my foolproof 1:1.5 method delivers consistent results every time. This simple approach works for both stovetop and rice cooker methods.
With just rice, water, and a pinch of salt, you’ll achieve fluffy, separate grains without guesswork. The key is precise measurement and controlled heat, ensuring the rice absorbs just enough moisture for ideal texture.
Ingredients for Steamed Rice Water Ratio
Just rice, water, and a few extras. Simple ingredients, perfect results every time.
| Ingredient | Amount | Notes |
|---|---|---|
| White Rice 🍚 | 2 cups | Long-grain or jasmine preferred |
| Water 💧 | 3 cups | Filtered or bottled for best taste |
| Salt 🧂 | ½ tsp | Kosher or sea salt preferred |
| Butter 🧈 | 1 tbsp | Vegan butter for dairy-free version |
| Garlic Clove 🧄 | 1 clove | Optional, minced for extra flavor |
| Green Onions 🧅 | 2 whole | Thinly sliced for garnish |
| Sesame Oil 🫒 | ½ tsp | Toasted for nutty aroma |
| Soy Sauce 🥢 | 1 tbsp | Low-sodium if preferred |
| Rice Vinegar 🍶 | 1 tsp | Optional for slight tanginess |
| Sesame Seeds 🌾 | 1 tsp | Toasted, for garnish |
The rice is the star here. Jasmine or long-grain white gives you those separate, fluffy grains the intro promises. I grab mine from Trader Joe’s—consistent quality, good price. Water matters more than you think—filtered or bottled avoids that chlorinated tap taste. The ratio is non-negotiable: 1 part rice to 1.5 parts water (that’s 2 cups rice to 3 cups water for this batch).
No jasmine? Basmati works too (just rinse it first). Want to skip the butter? Olive oil or coconut oil adds richness without dairy. No fresh garlic? Garlic powder at one-quarter teaspoon works in a pinch. The green onions are optional but add a nice fresh bite—chives or scallions are fine substitutes. Soy sauce can be swapped for tamari if you need gluten-free.
Cooked rice keeps 4-5 days in the fridge—store it in an airtight container. Reheat with a splash of water to bring back moisture. Freeze for up to 6 months if you’ve got leftovers (portion it first). The garnishes (sesame seeds, green onions) are best added fresh, so keep those separate until serving.
Why You’ll Love This Recipe
- Five-Minute Prep: I just rinse, measure, and press start—my rice cooker does the rest while I set the table.
- Buttery Garlic Bite: The melted butter and minced garlic cling to every grain, making plain rice taste indulgent.
- Meal Prep Hero: It pairs with everything from stir-fry to roasted chicken, so I batch-cook it on Sundays.
- Pennywise Staple: A pound of rice and a few pantry basics stretch into meals for days without breaking the bank.
Step-by-Step Instructions for Steamed Rice
Here’s the method. Simple, reliable, and always delivers fluffy, separate grains.
Step 1: Rinse and Prep the Rice
Place the 2 cups White Rice in a fine-mesh strainer and rinse under cold water until the water runs clear. I like to swirl the rice with my hand to help remove excess starch, which prevents gummy texture. Drain well—this step ensures each grain stays distinct.
Transfer the rinsed rice to your rice cooker or heavy-bottomed pot. Add the 3 cups Water and stir gently to distribute the grains evenly. The 1:1.5 rice-to-water ratio is the secret to perfect doneness.
Step 2: Add Flavor Boosters
Stir in the 0.5 tsp Salt and 1 tbsp Butter to the rice and water mixture. If using, add the 1 clove Garlic Clove (minced) for a subtle aromatic depth. These small additions elevate the rice from plain to restaurant-worthy.
Real talk: the butter adds richness, while the salt enhances the natural flavor of the grains. Don’t skip this—it makes a noticeable difference. Give it a quick stir to combine, but don’t overmix.
Step 3: Cook Until Tender
If using a rice cooker, close the lid and select the standard white rice setting. For stovetop, bring the mixture to a boil over high heat, then immediately reduce to low, cover, and simmer for 15-18 minutes. Resist the urge to peek—steam is your ally here.
You’ll know it’s done when the water is fully absorbed and the rice is tender with no hard bits in the center. If you hear a faint crackling sound, that’s the rice releasing steam—perfect timing.
Step 4: Rest and Fluff
Once cooked, let the rice sit covered for 5-10 minutes. This resting period allows the grains to firm up and absorb any remaining moisture. It’s the difference between good rice and great rice.
After resting, fluff the rice gently with a fork. This separates the grains and releases excess steam. Now’s the time to drizzle over the 0.5 tsp Sesame Oil and 1 tbsp Soy Sauce for a fragrant, savory finish.
Step 5: Garnish and Serve
Transfer the rice to a serving bowl. Sprinkle with the 2 whole Green Onions (thinly sliced) and 1 tsp Sesame Seeds. For a slight tang, add the 1 tsp Rice Vinegar if desired.
The green onions add freshness, while the sesame seeds give a nutty crunch. Serve immediately while hot and fragrant. Each grain should be tender, separate, and packed with subtle layers of flavor.
Pro Tips For Making Steamed Rice Water Ratio
- Rinse the Rice: Always rinse your white rice until the water runs clear—this removes excess starch and prevents gummy, sticky rice. I learned this the hard way after making one too many mushy batches.
- Use the Finger Test: For perfect water ratio, place your fingertip on the rice and add water until it reaches your first knuckle—about 1:1.5 rice-to-water ratio for most white rice. Sounds old-school, but it works.
- Skip the Peek: Resist the urge to lift the lid while steaming—releasing the steam drops the temperature and can leave you with unevenly cooked rice. My grandmother swore by this, and she was right.
- Toast the Garlic: Before adding water, sauté the minced garlic clove in the butter for 30 seconds until fragrant—it adds a deep, nutty flavor to the finished rice. I was skeptical until I tried it, but now I never skip this step.
Essential Equipment for steamed rice water ratio
Rice Cooker Essentials
For foolproof results, I swear by my Aroma 6-Cup Rice Cooker. It handles the 1:1.5 ratio perfectly and switches to “keep warm” automatically. The non-stick inner pot makes cleanup a breeze. 💡
Stovetop Must-Haves
A heavy-bottomed pot with a tight-fitting lid is non-negotiable for stovetop steaming. I use a 3-quart stainless steel saucepan from All-Clad—even heat distribution prevents burning. The glass lid lets me monitor without lifting.
Precision Tools
Accurate measurements matter. I keep a 1-cup measuring cup and measuring spoons in my rice drawer. For rinsing, a fine-mesh strainer like OXO’s prevents grains from slipping through. These small tools make a big difference.
Flavor Boosters
A microplane for garlic and a sharp chef’s knife for green onions ensure consistent cuts. I also keep toasted sesame oil and low-sodium soy sauce on hand for finishing touches. These elevate simple rice to restaurant quality.
Storage Solutions
For leftovers, I use glass meal prep containers with snap-lock lids. They’re microwave-safe and won’t absorb odors. Portion rice into 1-cup servings before refrigerating for easy reheating later. ❄️
Optional Upgrades
A rice paddle helps fluff without crushing grains. For extra flavor, I sometimes add a bay leaf or strip of kombu while cooking. These aren’t essential but add depth to your dish.
Nutrition Facts
Frequently Asked Questions
Does the rice type change the water amount?
Yes, brown rice needs more water—use a 1:2 ratio. Jasmine and basmati stick to 1:1.5 like the recipe. Always check package instructions for specialty varieties.
What if my rice turns out mushy?
This usually means too much water or lifting the lid too soon. Stick to the 1:1.5 ratio and resist peeking for 15-18 minutes. Rinsing the rice first helps too.
Can I use a different pot?
A heavy-bottomed pot with a tight lid works best for stovetop. Thin pots may burn the bottom—avoid those. A rice cooker removes all guesswork if you have one.
Why rest the rice after cooking?
The 5-10 minute rest lets grains firm up and absorb last bits of moisture. Skipping this step often leads to sticky or unevenly cooked rice.

- 6 Egg Cake Recipe with Oil: Light as Air With Buttery Moisture - October 4, 2026
- 4 Bean Casserole Recipe: One-Pan Heartiness With Smoky Paprika Depth - October 4, 2026
- 3-Ingredient Keto Mug Cake Recipe: Microwave Magic in 2 Minutes - October 4, 2026