
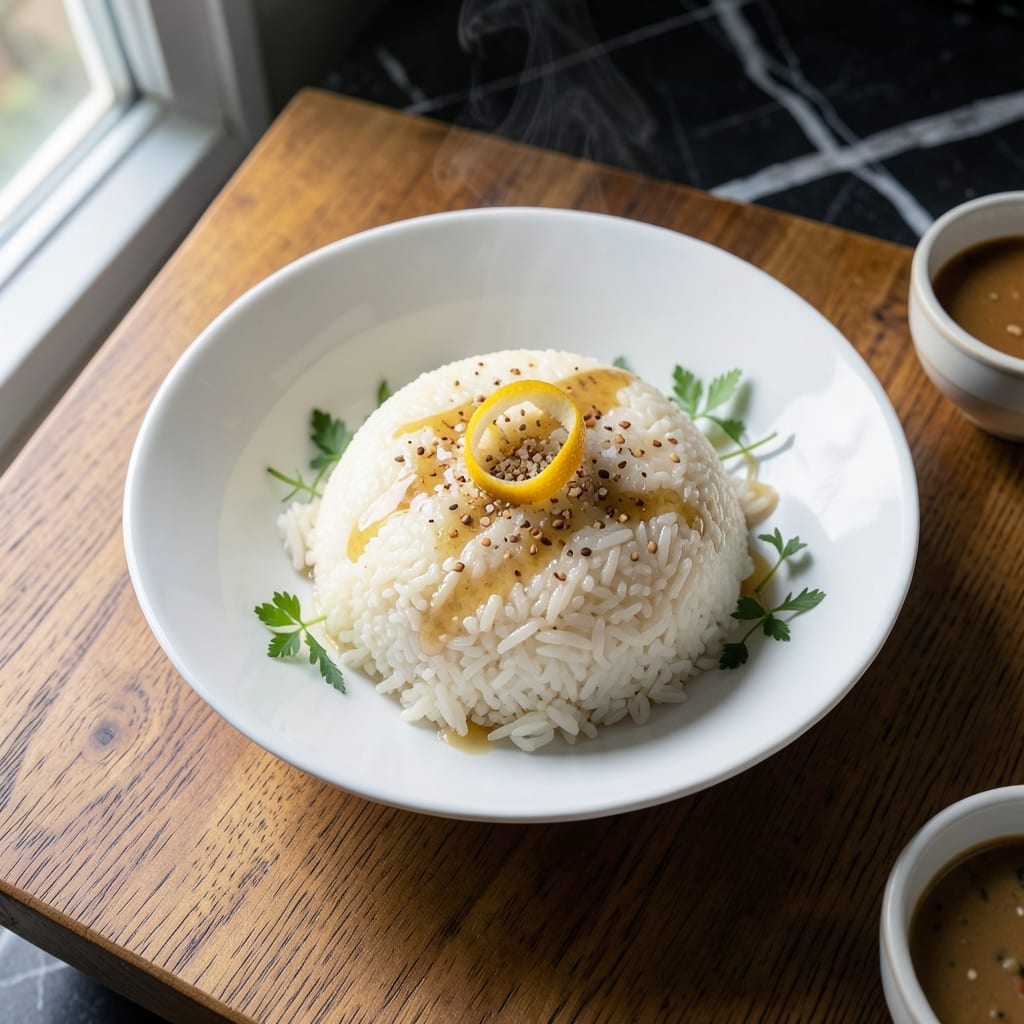
Achieving perfectly glutinous rice every time is simpler than you think with a rice cooker. This method eliminates the guesswork from traditional stovetop cooking while delivering consistent results.
The key lies in the precise water-to-rice ratio and proper soaking time. I’ve tested countless variations to develop this foolproof approach that works with any rice cooker model.
What you’ll get is rice that’s sticky enough to hold together yet separate enough to enjoy individually. The grains maintain their integrity while achieving that signature chewy texture.
Whether for sushi, Asian dishes, or desserts, this technique delivers reliable results with minimal effort. The process takes less than an hour from start to finish.
Ingredients for Sticky Rice Recipe Rice Cooker
Simple pantry staples transform into that signature chewy texture you love. Nothing exotic here.
| Ingredient | Amount | Notes |
|---|---|---|
| Glutinous Rice 🍚 | 2 cups | Also called sweet rice or sticky rice |
| Water 💧 | 2 ½ cups | Filtered for best texture |
| Fine Sea Salt 🧂 | ½ tsp | Adjust to taste after cooking |
| Neutral Oil 🫒 | 1 tsp | For rinsing rice cooker bowl |
| Rice Vinegar 🍶 | 1 tbsp | Optional for brightness |
| Sesame Seeds 🌰 | 1 tsp | Toasted for garnish |
| Green Onions 🧅 | 2 whole | Thinly sliced for garnish |
| Soy Sauce 🥫 | 1 tbsp | Low-sodium preferred |
| Garlic Cloves 🧄 | 2 cloves | Minced, optional for flavor |
| Ginger Root 🌿 | 1 piece | 1-inch piece, grated |
The rice is everything here—look for glutinous rice (also labeled sweet rice) at Asian markets or the international aisle. Brands like Kokuho or Sushi Rice work well. Avoid jasmine or basmati—they won’t give you that sticky finish. I always buy in bulk since it keeps indefinitely in a sealed container (the good stuff, not the pre-rinsed kind).
No glutinous rice? Short-grain white rice gets you 80% there but won’t be as cohesive. For a nutty flavor, swap in brown glutinous rice—just extend the soak to 4 hours. The vinegar can be apple cider or white vinegar if that’s what’s in your cupboard. Skip the oil if your cooker has a non-stick bowl (or whatever you’ve got works fine).
Uncooked rice stores indefinitely in a cool, dark place. Cooked sticky rice keeps 3-4 days in the fridge—reheat with a splash of water to revive. Freeze portions for up to 3 months in airtight bags (worth the extra minute).
Why You’ll Love This Recipe
- Set and Forget: I just rinse the glutinous rice, add water, and let the rice cooker do all the work—no stirring, no watching.
- Sticky Perfection: The tiny hit of rice vinegar and salt gives it that restaurant-quality sweet-savory balance every time.
- Feeds the Week: I make a big batch on Sunday and it reheats beautifully for dumplings, bowls, or just snacking straight from the fridge.
- Penny-Wise Pound Foolish: A two-pound bag of glutinous rice costs less than a fancy takeout side, and this tastes better.
Step-by-Step Instructions for Sticky Rice in a Rice Cooker
Here’s my tested method for achieving perfectly tender, glossy grains every time you cook.
Step 1: Rinse and Soak the Glutinous Rice
Place the 2 cups glutinous rice in a fine-mesh strainer and rinse under cold running water, swirling with your hand until the water runs nearly clear. This removes excess starch that can make the rice gummy rather than pleasantly sticky.
Transfer the rinsed rice to a bowl and cover with cold water by about 1 inch. Let it soak for 30 minutes to 1 hour—this step is crucial. The grains will plump slightly and cook more evenly, preventing that dreaded hard center in each bite. Drain thoroughly before cooking.
Step 2: Prepare the Rice Cooker Bowl
Lightly grease the rice cooker bowl with the 1 tsp neutral oil, using a paper towel to coat the bottom and sides evenly. This prevents sticking, especially important for glutinous rice which tends to cling more than regular varieties.
Add the drained 2 cups glutinous rice to the bowl, then pour in the 2.5 cups water. Sprinkle the 0.5 tsp fine sea salt evenly over the surface. Don’t stir—the rice will absorb the water evenly during cooking without assistance.
Step 3: Cook and Steam the Rice
Select the standard white rice setting on your cooker and start the cycle. Glutinous rice typically takes about 20-25 minutes to cook, plus an automatic 10-minute steam cycle. You’ll know it’s done when the cooker switches to keep-warm mode.
Resist the urge to open the lid during cooking—releasing steam can affect the texture and cooking time. The rice is ready when all water has been absorbed and the grains are tender with a slight bite. If your cooker doesn’t have an automatic steam cycle, let it sit covered for an additional 10 minutes after cooking completes.
Step 4: Fluff and Season the Rice
Once cooking is complete, let the rice sit covered for 5 minutes. Then gently fold the rice with a rice paddle or silicone spatula, scraping from the bottom to the top to separate the grains without mashing them. The texture should be cohesive but not mushy.
Drizzle the 1 tbsp rice vinegar and 1 tbsp soy sauce over the hot rice and fold gently to distribute. The vinegar adds a subtle brightness that balances the richness, while the soy sauce enhances the umami depth. Taste and adjust seasoning if needed.
Step 5: Garnish and Serve
Transfer the rice to a serving bowl. Sprinkle with the 1 tsp sesame seeds and thinly sliced 2 whole green onions for freshness and crunch. If using, fold in minced 2 cloves garlic cloves and grated 1 piece ginger root for an aromatic boost.
Serve immediately while hot—the grains should glisten slightly and hold together when pressed lightly with a spoon, yet separate easily when eaten. The texture is the hallmark of perfectly cooked glutinous rice.
Pro Tips For Making Sticky Rice Recipe Rice Cooker
- Soak the Rice: Give the glutinous rice a good 4-12 hour soak in cold water—it cuts the cooking time in half and guarantees that sticky texture you’re after.
- Rinse Thoroughly: I learned this the hard way—rinse the rice until the water runs clear to remove excess starch, or you’ll end up with a gummy, uneven mess.
- Use the Right Ratio: For perfect sticky rice in a rice cooker, stick to a 1:1.1 ratio of rice to water—any more and it turns mushy, any less and it stays undercooked.
- Add Vinegar Last: Stir in the rice vinegar after cooking, not before—it preserves the subtle sweetness of the rice and keeps the grains intact.
Essential Equipment for sticky rice recipe rice cooker
Rice Cooker Essentials
A reliable rice cooker is non-negotiable for consistent results. I swear by my Zojirushi NP-HCC10XH—it maintains perfect temperature control and has a dedicated glutinous rice setting. Even basic models work, but look for one with at least a 5-cup capacity to give grains room to expand. 🔥
Measuring Tools
Accuracy matters with sticky rice. Use the measuring cup that came with your cooker (usually 180ml), as rice cooker cups differ from standard US cups. A fine-mesh strainer is crucial for rinsing without losing grains down the drain.
Prep Accessories
A wooden rice paddle or silicone spatula prevents scratching your cooker’s non-stick surface. I keep mine hanging from a hook near my cooker. For soaking, any medium bowl works, but I prefer one with measurement markings to track water levels.
Optional Upgrades
A kitchen scale helps if you want to measure rice by weight (360g for 2 cups). For serving, a bamboo rice server adds authenticity. These small investments make the process smoother and more enjoyable.
Cleaning Supplies
Keep mild dish soap and a soft sponge dedicated to your rice cooker. The non-stick bowl requires gentle care. I also recommend white vinegar for occasional deep cleaning to remove any mineral deposits from water. 💡
Storage Solutions
An airtight container keeps leftover rice fresh for 3-4 days in the fridge. For freezing, use quart-size freezer bags with all air pressed out. These simple tools ensure your sticky rice stays perfect from first serving to last.
Nutrition Facts
Frequently Asked Questions
Why does my sticky rice turn out mushy?
Using too much water or skipping the rinse causes excess starch. Stick to 2.5 cups water for 2 cups rice and rinse until water runs clear.
Can I skip the soaking step?
No, soaking for 30-60 minutes ensures even cooking. Without it, you risk undercooked centers or uneven texture.
How do I keep rice warm without drying it out?
Most cookers switch to keep-warm automatically. If yours doesn’t, add 2 tbsp water and cover tightly for up to 1 hour.
What’s the best rice-to-water ratio?
For glutinous rice in a cooker, use a 1:1.25 ratio (2 cups rice to 2.5 cups water). Adjust slightly for older rice.

- 6 Egg Cake Recipe with Oil: Light as Air With Buttery Moisture - October 4, 2026
- 4 Bean Casserole Recipe: One-Pan Heartiness With Smoky Paprika Depth - October 4, 2026
- 3-Ingredient Keto Mug Cake Recipe: Microwave Magic in 2 Minutes - October 4, 2026