
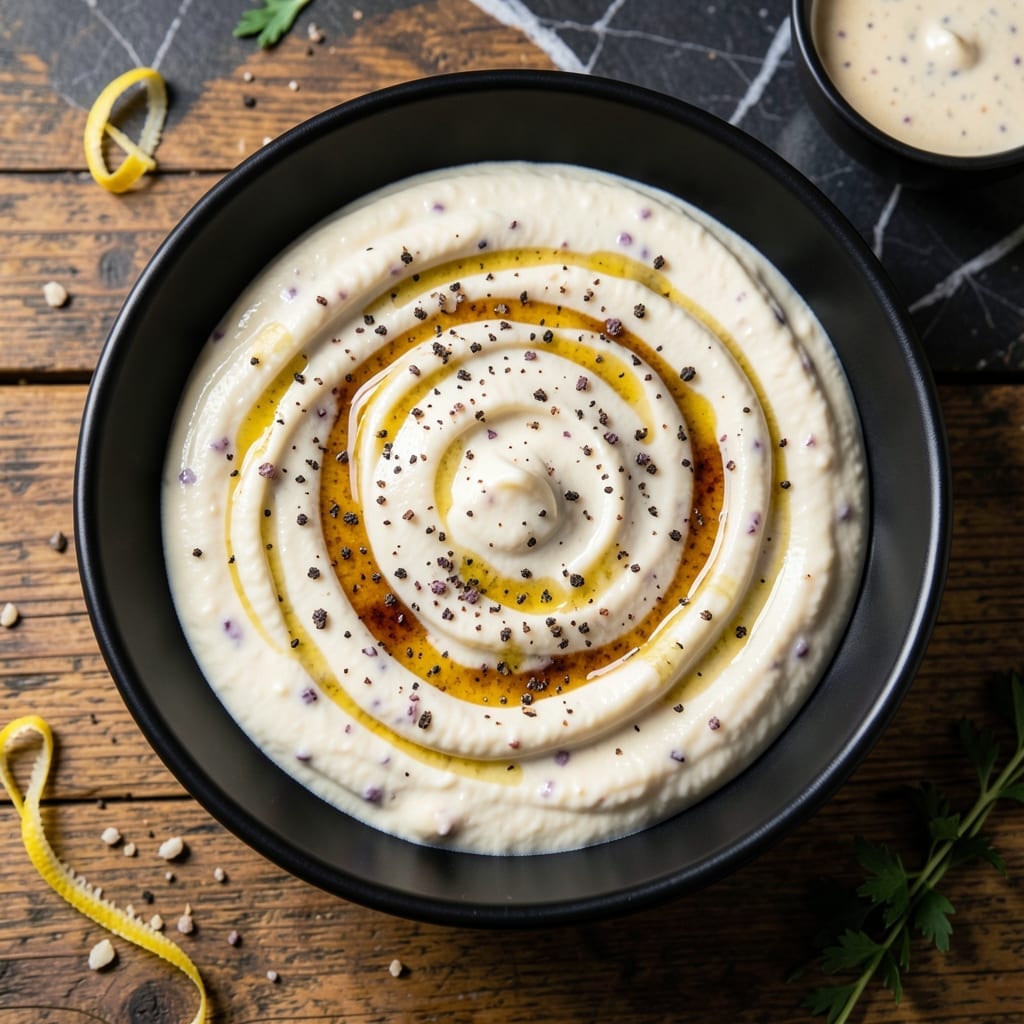
This professional-quality garlic aioli delivers the same creamy texture and bold flavor you expect from your favorite sandwich shop. I developed this recipe to capture that signature balance of garlicky intensity and smooth richness.
The secret lies in using fresh garlic and high-quality mayonnaise as the base. A touch of lemon juice brightens the flavor while keeping the consistency perfectly spreadable. It comes together in just 5 minutes with minimal effort.
Use this versatile sauce on sandwiches, wraps, or as a dip for fries and vegetables. The flavor deepens after chilling, making it even better the next day.
Stores beautifully in the fridge for up to a week, so you can make a batch ahead. This will become your go-to spread for adding restaurant-quality flavor at home.
Ingredients for Subway Garlic Aioli
Seven simple ingredients deliver that bold, creamy sandwich shop flavor you crave.
| Ingredient | Amount | Notes |
|---|---|---|
| Mayonnaise 🥄 | 1 cup | High-quality, full-fat preferred |
| Garlic Cloves 🧄 | 4 cloves | Freshly minced for bold flavor |
| Lemon Juice 🍋 | 1 tbsp | Freshly squeezed for brightness |
| Dijon Mustard 🟡 | 1 tsp | Smooth, tangy variety |
| Salt 🧂 | ½ tsp | Fine sea salt preferred |
| Black Pepper 🌶️ | ¼ tsp | Freshly ground for best results |
| Olive Oil 🫒 | 1 tbsp | Extra-virgin for richness |
The mayonnaise is the foundation here—Duke’s or Hellmann’s give you that perfect texture (trust me, the cheap stuff falls flat). Fresh garlic is non-negotiable; pre-minced from a jar tastes harsh and lacks depth. I grab mine at Trader Joe’s or the farmers market for the best flavor. The Dijon mustard adds a subtle tang that balances the richness without overpowering.
No fresh lemon? Bottled works in a pinch but go easy—it’s more concentrated. Out of Dijon? Whole-grain mustard at half the amount adds texture and a milder kick. If you need this dairy-free (though it already is), just confirm your mayo is egg-free. The olive oil is optional but rounds out the flavor—skip it if you prefer a thicker spread.
This keeps for up to 1 week in the fridge (the garlic flavor actually gets better). Store in a tight jar with a layer of olive oil on top to prevent browning. Freezing isn’t ideal—it can separate—but if you must, 3 months max in an ice cube tray.
Why You’ll Love This Recipe
- 5-Minute Mix: I just throw mayo, crushed garlic, lemon, Dijon and salt in a bowl—no cooking, no fuss.
- Punchy Garlic Kick: The raw garlic and Dijon give it that bold, tangy bite I crave on sandwiches.
- Dresses Anything: I slather it on burgers, dip fries, or toss it with pasta—never goes to waste.
- Stays Fresh: Honestly, it keeps in the fridge for a week, so I always have some ready.
Step-by-Step Instructions for Garlic Aioli
Here’s the method I use to create a rich, velvety aioli with robust garlic flavor.
Step 1: Mince the Garlic to Release Maximum Flavor
I start by finely mincing the 4 cloves Garlic Cloves with a sharp chef’s knife. The key here is to crush the cloves slightly with the flat side of your knife before mincing—this releases the natural oils that give garlic its bold, aromatic character.
Continue mincing until the pieces are almost paste-like. You want very small, uniform pieces that will distribute evenly throughout the aioli. Be careful not to burn your eyes—fresh garlic can be potent!
This step is crucial because large garlic pieces will create an uneven texture and can be overpowering in some bites while absent in others. Fine mincing ensures every bite delivers that perfect garlic punch.
Step 2: Whisk Together the Wet Base Ingredients
In a medium bowl, combine the 1 cup Mayonnaise, 1 tbsp Lemon Juice, and 1 tsp Dijon Mustard. I use a whisk for this to fully incorporate the lemon juice and mustard into the mayonnaise, creating a smooth, uniform base.
The lemon juice adds a bright acidity that balances the richness of the mayonnaise, while the Dijon mustard contributes a subtle tang and helps emulsify the mixture. Whisk for about 30 seconds until you see no streaks of mustard remaining.
At this point, the mixture should look creamy and slightly thicker than the original mayonnaise. This is your foundation for building the full aioli flavor.
Step 3: Incorporate the Garlic and Olive Oil
Add the minced garlic to the mayonnaise mixture along with the 1 tbsp Olive Oil. The olive oil adds a fruity depth that complements the garlic beautifully. Whisk again for another 30 seconds to fully distribute all the ingredients.
I always use extra-virgin olive oil for its superior flavor, though any good quality olive oil will work. The garlic should be completely incorporated—you shouldn’t see any visible pieces floating on top.
Taste the mixture at this point. You should be able to detect the garlic clearly, with the lemon and mustard providing balance. The texture should be smooth and slightly glossy from the olive oil.
Step 4: Season and Adjust to Taste
Now add the 0.5 tsp Salt and 0.25 tsp Black Pepper to the mixture. I use fine sea salt for its clean flavor and freshly ground black pepper for maximum aroma. Stir well to combine all the seasonings evenly.
Here’s the thing—everyone’s taste preferences are different. After adding the salt and pepper, taste the aioli again. If it needs more brightness, add a touch more lemon juice. If it needs more garlic punch, you can add another minced clove.
The final mixture should be creamy with a beautiful balance of rich, tangy, garlicky flavors. It should coat the back of a spoon thickly but still be spreadable. If it seems too thick, you can thin it slightly with a teaspoon of water.
Transfer to an airtight container and refrigerate for at least 1 hour before using. This resting time allows the flavors to meld together fully, creating that signature aioli taste that’s so much more than just the sum of its parts.
Pro Tips For Making Subway Garlic Aioli
- Grate the Garlic: Use a microplane for the garlic cloves—it releases more oil and flavor than mincing, and you won’t get those chunky bits that overpower the aioli.
- Rest the Aioli: Let it sit for 10-15 minutes after mixing so the flavors meld. I learned this the hard way when my first batch tasted like raw garlic and mayo.
- Skip Bottled Lemon: Fresh lemon juice makes a real difference here—bottled stuff adds a weird tang that clashes with the Dijon and garlic.
- Start with Less Salt: Mayonnaise already has salt, so add just a pinch at first, taste, then adjust. After over-salting my third batch, I finally got the hang of it.
Common Mistakes When Making This Dish
Over-Mincing the Garlic
While finely minced garlic is ideal, pressing it into a paste releases too much bitterness. I crush my 4 cloves just enough to break them down, then stop before they turn mushy. This keeps the flavor bright and punchy rather than harsh and overcoming. 🧄
Using Low-Quality Mayo
Cheap mayonnaise contains excess water and oils that prevent proper emulsification. I always use Hellmann’s or Duke’s for their thick, stable texture that holds up to the additional ingredients. The difference in final consistency is dramatic.
Skipping the Rest Time
Letting the aioli rest for at least 1 hour in the fridge is non-negotiable. The flavors need this time to meld together fully. I’ve tasted aioli fresh versus rested, and the improved depth and balance after chilling is undeniable.
Over-Salting Early
Garlic flavor intensifies as it sits in the mixture, and so does saltiness. I wait until the final taste test to adjust seasoning, adding the 0.5 tsp Salt gradually. It’s much easier to add more than to fix an over-salted batch.
Wrong Storage Method
Storing aioli in a metal container can give it a tinny taste. I use glass jars with tight-fitting lids. A thin layer of olive oil on top prevents oxidation, keeping the flavor fresh for up to 1 week. ❄️
Adding All Ingredients at Once
Whisking the Lemon Juice and Dijon Mustard into the mayo first creates a stable base. Adding everything simultaneously can cause the mixture to break or separate. Patience with the process ensures that perfect creamy texture.
Nutrition Facts
Frequently Asked Questions
Can I use jarred minced garlic?
Fresh garlic gives the best flavor, but jarred works in a pinch. Use 1 tbsp jarred for every 4 cloves fresh, and drain excess liquid first to prevent a watery texture.
How long does this keep in the fridge?
Properly stored in an airtight container, it stays fresh for up to 1 week. Add a thin layer of olive oil on top to prevent browning.
What’s the best way to fix separated aioli?
If it breaks, whisk in 1 tsp cold water slowly until smooth. Avoid high heat, which causes mayonnaise to split.
Can I make this dairy-free?
Yes! Use a vegan mayo like Hellmann’s Vegan or Just Mayo. The recipe works the same, with no other adjustments needed.

- 6 Egg Cake Recipe with Oil: Light as Air With Buttery Moisture - October 4, 2026
- 4 Bean Casserole Recipe: One-Pan Heartiness With Smoky Paprika Depth - October 4, 2026
- 3-Ingredient Keto Mug Cake Recipe: Microwave Magic in 2 Minutes - October 4, 2026