
This sugar cookie recipe delivers perfectly shaped results every time you use cookie cutters. The dough maintains its form during baking without spreading or losing definition.
With a simple mixing method and 30 minutes of chilling, you’ll achieve crisp edges and consistent shapes. Ideal for decorated cookies that need clean outlines for icing.
Ingredients for Sugar Cookie Recipe for Cookie Cutters
Pantry staples plus a few key additions for dough that holds its shape perfectly every time.
| Ingredient | Amount | Notes |
|---|---|---|
| All-Purpose Flour 🌾 | 3 cups | Sifted for even texture |
| Unsalted Butter 🧈 | 1 cup | Room temperature, softened |
| Granulated Sugar 🍚 | ¾ cup | Fine white sugar preferred |
| Large Egg 🥚 | 1 whole | Room temperature for binding |
| Vanilla Extract 🌿 | 2 tsp | Pure vanilla for best flavor |
| Baking Powder 🧂 | 1 tsp | Ensures proper rise without spread |
| Salt 🧂 | ½ tsp | Fine sea salt for balance |
| Powdered Sugar 🍚 | ½ cup | For dusting work surface |
| Heavy Cream 🥛 | 1 tbsp | Optional for richer dough |
| Almond Extract 🌰 | ½ tsp | Enhances flavor depth |
| Lemon Zest 🍋 | 1 tsp | Freshly grated for brightness |
[recipeingredientscaler]
The butter quality is non-negotiable here. Plugra or Kerrygold deliver the fat content needed to prevent spreading. Most grocery stores carry them in the dairy case. Ensure your butter is truly at room temperature—it should dent when pressed, not be greasy. The flour must be all-purpose (bread flour has too much protein). King Arthur is a reliable brand for consistent results.
No almond extract? Skip it entirely—the vanilla alone suffices. Heavy cream can be replaced with whole milk at the same amount. For a richer flavor, substitute one tablespoon of cream cheese for the heavy cream. The lemon zest is optional but adds a subtle brightness that complements the vanilla. If using salted butter, reduce the added salt by half.
The dough chills best overnight but 30 minutes is the minimum for shape retention. Wrap tightly in plastic—it keeps for 3 days refrigerated or 3 months frozen. Roll on a surface dusted with powdered sugar (not flour) to prevent toughening.
Why You’ll Love This Recipe
- One Bowl Wonder: I just dump the flour, butter, sugar, egg, and vanilla in one bowl—no fancy equipment, no mess.
- Buttery Vanilla Bliss: The combo of real butter and vanilla extract makes these taste like bakery cookies, but better.
- Holiday MVP: I use these for Christmas, birthdays, even random Tuesdays when the kids want to decorate.
- Freezer Friendly: I roll out the dough, cut shapes, and freeze extras—fresh cookies in 10 minutes whenever we crave them.
Step-by-Step Instructions for Sugar Cookies for Cookie Cutters
Master the precise technique for cookies that maintain sharp edges and clean designs.
Step 1: Cream Butter and Sugars to Ideal Consistency
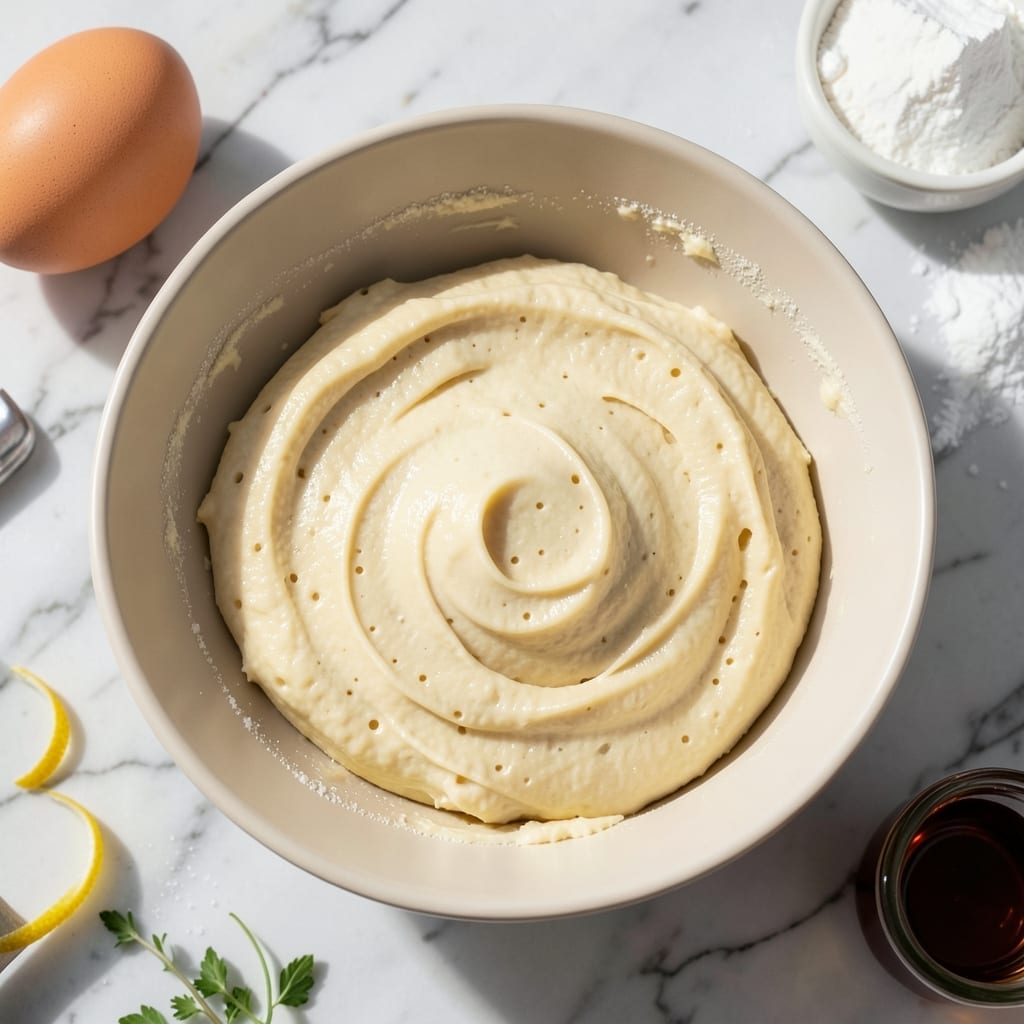
In a stand mixer with the paddle attachment, beat the 1 cup Unsalted Butter with the 0.75 cup Granulated Sugar on medium speed for exactly 3-4 minutes. The mixture should become pale and fluffy, with visible air pockets forming along the bowl’s sides.
This creaming process incorporates air that prevents excessive spread during baking. Stop mixing once you see the butter pull away from the bowl slightly—overmixing at this stage introduces too much air, causing cookies to puff and lose definition.
Step 2: Incorporate Wet Ingredients with Precision
Add the 1 whole Large Egg, 2 tsp Vanilla Extract, 0.5 tsp Almond Extract, and 1 tsp Lemon Zest. Mix on low speed for 15-20 seconds after each addition until just combined. The egg should fully emulsify with the butter mixture, creating a smooth, homogeneous base.
The extracts and zest add complexity, but avoid overbeating—this can cause the butter to separate. Scrape the bowl sides with a spatula to ensure even distribution of flavors.
Step 3: Combine Dry Ingredients and Form Dough
In a separate bowl, whisk together the 3 cups All-Purpose Flour, 1 tsp Baking Powder, and 0.5 tsp Salt. Gradually add this to the wet mixture on low speed, mixing just until the flour disappears and a soft dough forms.
Add the 1 tbsp Heavy Cream at the very end if the dough seems dry. The dough should hold together when pressed but not stick to your fingers. Divide it into two discs, wrap in plastic, and chill for 1 hour—this prevents spreading and ensures clean cutter edges.
Step 4: Roll and Cut with Uniform Thickness
On a surface dusted with 0.5 cup Powdered Sugar, roll one dough disc to a precise ¼-inch thickness. Use guide sticks or spacers for consistency—this uniformity ensures even baking and maintains the cutter’s shape.
Cut shapes and transfer them to a parchment-lined baking sheet, spacing them 2 inches apart. For best results, freeze the cut cookies on the tray for 10-15 minutes before baking—this solidifies the butter, locking in the edges.
Step 5: Bake at Controlled Temperature
Preheat the oven to 350°F and bake the cookies for 8-10 minutes, or until the edges are just beginning to turn golden. The centers should remain pale—overbaking causes spread and loss of definition.
Rotate the trays halfway through for even baking. Cool the cookies on the tray for 5 minutes before transferring to a rack. The cookies will firm up as they cool, preserving their sharp, clean lines.
Pro Tips For Making Sugar Cookie Recipe For Cookie Cutters
- Chill the Dough: Give it at least 1 hour in the fridge—this keeps the butter from melting too fast and prevents your cut-out shapes from spreading in the oven. I learned this the hard way after my first batch turned into blobs.
- Use Room-Temp Butter: Let the unsalted butter sit out for 30-45 minutes before mixing—it should dent when pressed but not be greasy. Sounds simple, but cold butter makes crumbly dough that cracks when rolling.
- Flour Your Surface Well: Dust your counter with a good amount of all-purpose flour before rolling, and re-flour as needed. Nothing worse than sticking dough that tears when you try to lift your carefully cut shapes.
- Rotate the Pan: Halfway through baking, spin the tray 180 degrees for even browning. After burning one side of a batch, I finally started doing this and got uniformly golden cookies every time.
Make-Ahead Tips for Leftovers
⏰ Week Before
Start by gathering all your ingredients and tools. Check your pantry for staples like flour, sugar, and baking powder, and make a shopping list for anything missing. If you’re using specialty cookie cutters, ensure they’re clean and ready to go. 2-3 days before baking, you can also make the dough and freeze it in an airtight container. This saves time and lets the flavors meld for richer taste. Pro tip: Label your dough with the date to keep track! 💡
🍳 Day Before
Take your dough out of the freezer and let it thaw in the refrigerator overnight. If you’re making the dough fresh, prepare it now and refrigerate for at least 2 hours to firm up. Roll out the dough to your desired thickness (about ¼ inch works well for cookie cutters) and cut out shapes. Place them on a parchment-lined tray, cover, and refrigerate. This ensures the cookies hold their shape perfectly when baked. ✨
🔥 Day Of
Preheat your oven to 350°F (175°C) and line your baking sheets with parchment paper. Bake the pre-cut cookies for 8-10 minutes, or until the edges are just starting to turn golden. Let them cool on the tray for 5 minutes before transferring to a wire rack. This prevents cracking and keeps them intact.
🎯 Last-Minute Tasks
Once the cookies are completely cooled, it’s time for decorations! Prepare your icing or glazes and add sprinkles, edible glitter, or other embellishments. Work quickly if using royal icing, as it sets fast. For a polished look, let each layer dry before adding details. 🌡️
Nutrition Facts

- 4 Bean Casserole Recipe: One-Pan Heartiness With Smoky Paprika Depth - October 4, 2026
- 3-Ingredient Keto Mug Cake Recipe: Microwave Magic in 2 Minutes - October 4, 2026
- 3 Ingredient Lemon Cookie Recipe: Zesty Brightness in 15 Minutes - October 4, 2026