
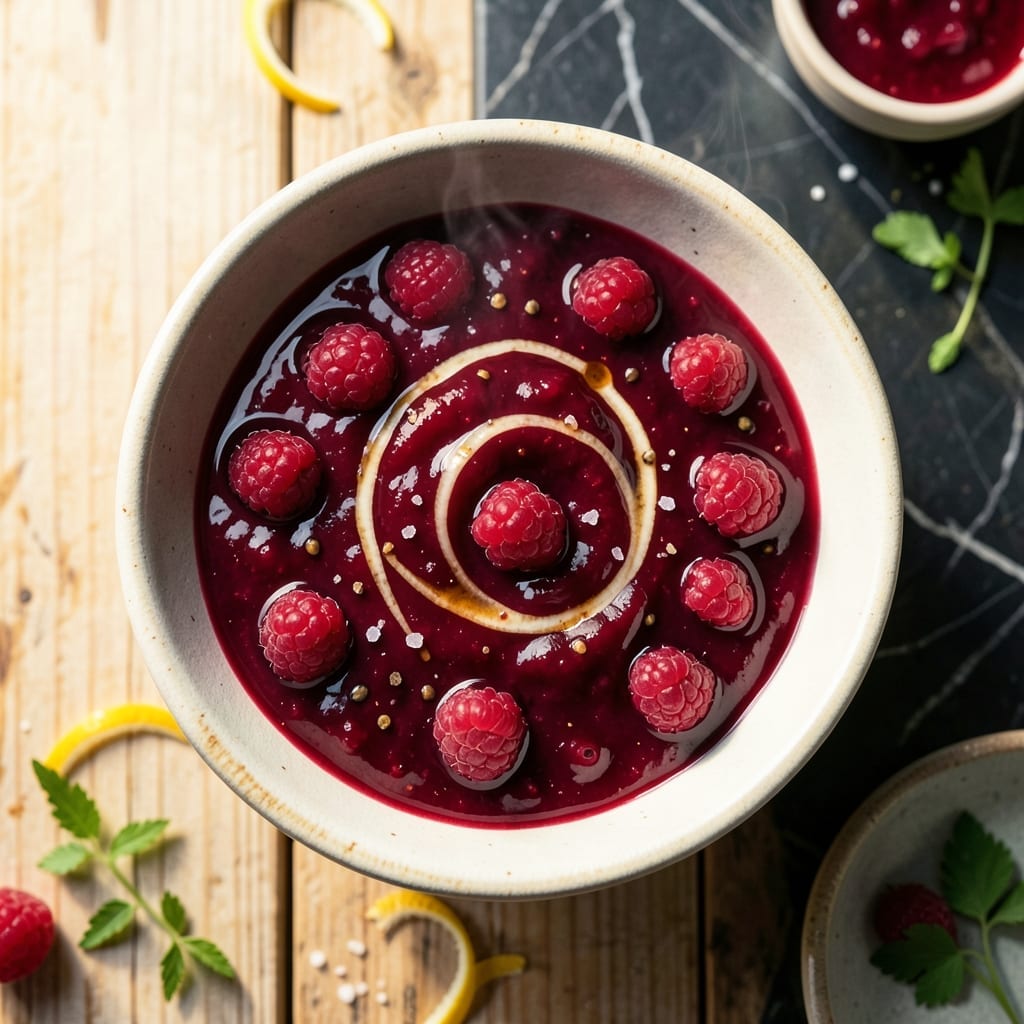
This sugar-free raspberry jam delivers all the bright berry flavor you love without any added sweetener. I’ve perfected a method that uses natural fruit pectin and a touch of lemon juice to achieve the ideal spreadable consistency.
The process is straightforward—just raspberries, a low-carb thickener, and time. The result is a vibrant jam with the perfect balance of tartness and natural sweetness from the berries themselves.
It keeps beautifully in the fridge for up to three weeks or can be preserved for longer storage. The texture is glossy and thick, making it ideal for toast, yogurt, or dessert topping.
You’ll love how this version lets the raspberry flavor shine without any added sugar masking its natural taste. Here’s how to make it at home.
Ingredients for Sugar Free Raspberry Jam
Six simple ingredients create this vibrant, naturally sweet berry spread.
| Ingredient | Amount | Notes |
|---|---|---|
| Fresh Raspberries 🍇 | 4 cups | Fully ripe for best pectin |
| Lemon Juice 🍋 | 2 tbsp | Freshly squeezed preferred |
| Low-Carb Thickener 🌾 | 2 tbsp | Like chia seeds or pectin |
| Water 💧 | ¼ cup | For adjusting consistency |
| Vanilla Extract 🌿 | ½ tsp | Pure extract for flavor |
| Salt 🧂 | 0.125 tsp | Enhances berry flavor |
The raspberries are the star here. Pick the ripest ones you can find—they’ll have the most natural pectin. Farmers markets are gold mines for peak-season berries, but frozen works too (thaw and drain first). The chia seeds (my go-to thickener) need to be fresh—bulk bins at Whole Foods are perfect for buying just what you need.
No chia seeds? Ground flaxseed in equal amounts works just as well. Want it smoother? Strain the seeds out before cooking. The vanilla extract can be skipped if you’re all out, but it adds a nice depth. Lemon juice is non-negotiable though—it’s balancing the sweetness and helping with the set. Use fresh-squeezed for best flavor.
This jam keeps in the fridge for 3 weeks in a sealed jar. For longer storage, freeze in ice cube trays and thaw as needed. The color stays brightest if you keep the cooking time precise.
Why You’ll Love This Recipe
- Ready in 20: I toss the raspberries, lemon juice, and thickener in a pot—no fancy steps, just a quick stir and it thickens right up.
- Bright and Zesty: The lemon juice cuts through the raspberries so it’s tangy, not cloying, and that vanilla extract? Adds a subtle warmth that makes it irresistible.
- Spreads Everywhere: Honestly, I slather it on toast, swirl it into yogurt, or even drizzle it over cheese—works for breakfast, snacks, or a last-minute dessert topping.
- No Guilt Leftovers: I keep a jar in my fridge for weeks, and since it’s sugar-free, I don’t feel bad about that extra spoonful (or three) straight from the jar.
Step-by-Step Instructions for Sugar Free Raspberry Jam
Here’s the method. Straightforward, tested, works every time.
Step 1: Mash and Simmer the Raspberries
In a medium saucepan, add the 4 cups Fresh Raspberries and mash them with a potato masher or fork until they break down into a chunky puree. You want some texture left—don’t overdo it.
Place the saucepan over medium heat and add the 2 tbsp Lemon Juice and 0.125 tsp Salt. Stir well to combine. The raspberries will start releasing their natural juices immediately, creating a vibrant, bubbling mixture.
Let this simmer for 5-7 minutes, stirring frequently, until the fruit softens completely and the liquid reduces slightly. You’ll notice the color deepen from bright red to a richer, jam-like hue.
Step 2: Incorporate the Thickening Agent
In a small bowl, whisk together the 2 tbsp Low-Carb Thickener and 0.25 cup Water until smooth and free of lumps. This slurry will thicken your jam without adding sugar.
Slowly pour the slurry into the simmering raspberry mixture while stirring constantly. This prevents clumping and ensures even distribution. The mixture will thicken noticeably within 1-2 minutes.
Reduce the heat to medium-low and continue cooking, stirring often, until the jam reaches your desired thickness. Test by dragging a spoon through the mixture—if it leaves a clear path that holds for a moment, it’s ready.
Step 3: Add Vanilla and Final Simmer
Remove the saucepan from heat and stir in the 0.5 tsp Vanilla Extract. The vanilla adds a warm, aromatic depth that balances the tartness of the raspberries beautifully.
Return the pan to low heat and simmer for an additional 2-3 minutes. This final step allows the vanilla to meld with the other flavors and ensures the jam sets properly as it cools.
Watch for the jam to thicken further—it should coat the back of a spoon and drip slowly when lifted. The texture will firm up more as it cools completely.
Step 4: Cool and Store for Best Results
Transfer the jam to a clean jar or airtight container. Let it cool to room temperature, which takes about 1-2 hours. As it cools, the jam will thicken to the perfect spreadable consistency.
Once cooled, seal the container and refrigerate. The jam will keep for up to 3 weeks in the fridge. For longer storage, you can freeze it for up to 6 months.
The finished jam should have a glossy sheen and a balance of sweet-tart raspberry flavor with just a hint of vanilla. Spread it on toast, swirl it into yogurt, or use it as a glaze for meats.
Pro Tips For Making Sugar Free Raspberry Jam
- Simmer Low and Slow: Keep the heat at medium-low to avoid burning the raspberries—sounds tedious, but high heat will turn your jam bitter and ruin the texture.
- Mash the Berries: Lightly crush the raspberries before cooking so they release pectin faster and thicken evenly, especially important with a low-carb thickener.
- Skip the Over-Stirring: I learned this the hard way—stirring too often breaks down the berries and turns your jam into sauce. Just give it a gentle stir every few minutes.
- Add Thickener Last: Mix your low-carb thickener with a little cold water first, then stir it in at the very end—this prevents clumping and guarantees a smooth jam.
Troubleshooting sugar free raspberry jam
Jam Too Thin
If your jam hasn’t thickened properly, don’t panic. Return it to the saucepan and add 1 tsp chia seeds mixed with 1 tbsp water. Simmer for 3-5 minutes until it reaches the right consistency. Stir constantly to prevent burning. 💡
Overly Thick Jam
If it thickens too much during cooking, simply stir in 1-2 tbsp hot water to loosen. Do this gradually—the jam will thin slightly as it cools. Remember, it continues to set as it cools completely.
Seed Texture Issues
For a smoother texture, strain the cooked raspberries through a fine-mesh sieve before adding the thickener. Press with a spoon to extract all the pulp. Discard the seeds or save them for smoothies.
Bitter Taste
If your jam tastes bitter, it might need a touch more acid. Stir in 1 tsp fresh lemon juice at the end. Taste and adjust—this often balances any bitterness from overcooking. 🍋
Mold Prevention
To prevent mold, ensure all equipment is sterilized before use. I boil my jars and lids for 10 minutes before filling. Always use clean, dry utensils when scooping out jam.
Color Too Dark
If your jam darkens too much, reduce the cooking time slightly next batch. The natural sugars in raspberries caramelize quickly. Pull it off the heat as soon as it reaches your desired thickness.
Nutrition Facts
Frequently Asked Questions
What can I use instead of chia seeds?
Ground flaxseed works perfectly in equal amounts. For a smoother texture, use powdered pectin with 2 tbsp water. Both thicken without adding sugar.
How long does this last in the fridge?
Properly stored in an airtight container, it stays fresh for up to 3 weeks. Always use clean utensils to prevent contamination.
Can I use frozen raspberries?
Yes, but thaw and drain them first to remove excess liquid. This prevents a watery jam and ensures proper thickening.
Why did my jam turn out bitter?
Overcooking can cause bitterness. Balance flavors with an extra 1 tsp lemon juice at the end. This brightens the taste naturally.

- 6 Egg Cake Recipe with Oil: Light as Air With Buttery Moisture - October 4, 2026
- 4 Bean Casserole Recipe: One-Pan Heartiness With Smoky Paprika Depth - October 4, 2026
- 3-Ingredient Keto Mug Cake Recipe: Microwave Magic in 2 Minutes - October 4, 2026