
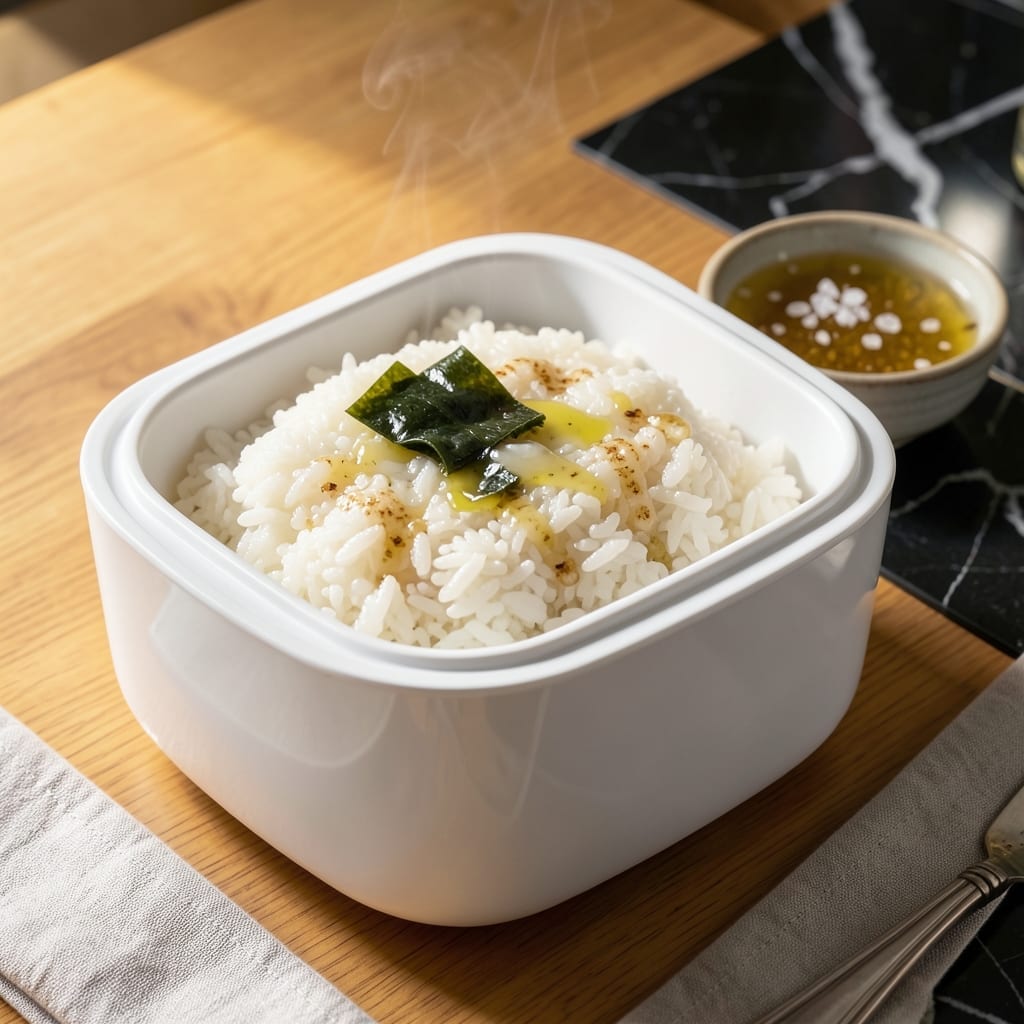
Achieving perfectly sticky sushi rice at home is simpler than you think with this rice cooker method.
This technique delivers consistent results with the ideal water-to-rice ratio and precise cooking time, ensuring grains that cling together just right for rolling or shaping.
Ingredients for Sushi Rice Recipe Rice Cooker
Short list of pantry staples plus a rice cooker. Perfectly sticky grains await.
| Ingredient | Amount | Notes |
|---|---|---|
| Sushi Rice 🍚 | 2 cups | Short-grain Japanese variety |
| Water 💧 | 2 ½ cups | Filtered for best texture |
| Rice Vinegar 🍶 | ⅓ cup | Seasoned or unseasoned |
| Granulated Sugar 🍚 | 2 tbsp | Dissolves evenly in vinegar |
| Kosher Salt 🧂 | 1 tsp | Diamond Crystal preferred |
| Nori Sheets | 4 sheets | For rolling or garnish |
| Sake 🍶 | 1 tbsp | Optional, for depth of flavor |
| Mirin 🍶 | 1 tbsp | Sweet cooking rice wine |
| White Sesame Seeds 🌰 | 1 tbsp | Toasted for garnish |
| Fresh Wasabi Root 🟢 | 1 piece | Optional, for serving |
| Pickled Ginger 🍬 | ¼ cup | For serving alongside |
The rice is non-negotiable—short-grain Japanese sushi rice (like Koshihikari or Nishiki) is the only way to get that signature stickiness. Asian markets have the best selection, but Whole Foods or well-stocked supermarkets work too. Look for undamaged grains and check the harvest date (fresher is better). The rice cooker should have a sushi rice setting if possible, but standard white rice works in a pinch.
No rice vinegar? Apple cider vinegar in a 1:1 swap works, though the flavor will differ slightly. Skip the sake and mirin if you must—the sugar and salt are doing most of the seasoning work. Seasoned rice vinegar (the kind with sugar/salt added) can replace plain vinegar + sugar + salt at a 1:1 ratio. For the nori, full sheets are best for rolling, but pre-cut strips save time.
Cooked rice holds at room temp for 2-3 hours (ideal for sushi prep). Store leftover seasoned rice in an airtight container in the fridge for up to 2 days—reheat gently with a damp towel over the bowl to prevent drying. Freeze uncooked rice in portions for up to 6 months.
Why You’ll Love This Recipe
- Hands-Off Cooking: I just rinse, press start, and let the rice cooker do its thing—no stirring, no watching the pot.
- Bright Tangy Bite: The rice vinegar, sugar, and a pinch of salt give it that classic sweet-sour kick every sushi roll needs.
- Sushi Night Ready: Rolling hand rolls for dinner or prepping a bento lunch? This rice is the base for both.
- Budget Stretch: A pound of sushi rice costs pennies and makes enough for multiple meals.
Step-by-Step Instructions for Sushi Rice Rice Cooker
Master the technique for perfectly seasoned, sticky rice with these precise steps.
Step 1: Rinse and Soak the Sushi Rice
Place the 2 cups Sushi Rice in a fine-mesh strainer and rinse under cold running water, gently swirling with your hand. Continue until the water runs completely clear—this removes excess starch that would make the rice gummy rather than perfectly sticky.
Transfer the rinsed rice to your rice cooker pot. Add the 2.5 cups Water and let it soak for 20-30 minutes. This soaking period allows the grains to absorb water evenly, ensuring consistent cooking and preventing dry or crunchy spots in your final rice.
Step 2: Cook the Rice to Ideal Texture
After soaking, cook the rice using your rice cooker’s standard setting. Most models will switch to “keep warm” automatically after about 20-25 minutes. Once the cooking cycle completes, let the rice steam undisturbed for an additional 10-15 minutes.
Resist the urge to open the lid during cooking or steaming. The trapped steam is crucial for achieving the characteristic sticky yet separate grain texture that defines authentic sushi rice. The grains should appear glossy and tender, with no hard centers.
Step 3: Prepare the Seasoning Mixture
While the rice cooks, combine the 0.33 cup Rice Vinegar, 2 tbsp Granulated Sugar, and 1 tsp Kosher Salt in a small saucepan. Add the 1 tbsp Sake and 1 tbsp Mirin for depth of flavor. Heat over low heat just until the sugar and salt dissolve completely—do not boil.
Taste the mixture and adjust if needed, though the proportions here are precisely balanced for authentic sushi rice flavor. Remove from heat and let cool slightly. The mixture should be warm but not hot when you add it to the cooked rice.
Step 4: Season and Fold the Rice Gently
Transfer the warm cooked rice to a large wooden or glass bowl. Using a rice paddle or silicone spatula, drizzle the seasoning mixture evenly over the rice. With a cutting motion, gently fold the rice from the bottom up, being careful not to mash the grains.
Work quickly but carefully—the rice should be warm when seasoned to absorb the flavors properly. Continue folding until the seasoning is evenly distributed and the rice has a glossy sheen. The grains should be sticky enough to hold together but still distinct when pressed lightly.
Step 5: Rest and Serve with Traditional Accompaniments
Cover the seasoned rice with a damp towel and let it rest at room temperature for 5-10 minutes. This allows the flavors to meld and the rice to reach the ideal serving temperature. The rice should be slightly warm, not hot, when served.
Serve with the 4 sheets Nori Sheets, 1 tbsp White Sesame Seeds, 1 piece Fresh Wasabi Root, and 0.25 cup Pickled Ginger on the side. For best results, use the rice immediately for sushi rolls or serve as a bed for sashimi, as it’s most pliable when fresh.
Pro Tips For Making Sushi Rice Recipe Rice Cooker
- Rinse the Rice: Wash the sushi rice in a fine-mesh strainer under cold water until the water runs clear—this removes excess starch so your rice doesn’t turn into a gummy mess. I learned this the hard way after my first few batches came out sticky and clumpy.
- Use the Right Ratio: Stick to a 1:1.1 rice-to-water ratio (1 cup rice to 1.1 cups water) in your rice cooker. Sushi rice is denser than regular rice, and that extra splash of water makes a real difference in texture.
- Let It Steam: After the rice cooker switches to “keep warm,” let it sit covered for 10-15 minutes. Resist the urge to peek—this extra time lets the grains absorb any remaining moisture and firm up.
- Mix While Warm: Fold in the rice vinegar, sugar, and salt mixture while the rice is still hot. It coats the grains evenly and gives that glossy finish—sounds weird, but it works.
Make-Ahead Tips for This Recipe
🍳 Week Before
Start by checking your pantry for sushi rice and rice vinegar. If you’re missing ingredients, make a shopping list to ensure you have everything on hand. This is also a great time to clean your rice cooker and measure out any dry ingredients you’ll need, like sugar and salt, storing them in small containers for easy access.
⏰ Day Before
Rinse the sushi rice thoroughly to remove excess starch, which helps achieve the perfect sticky texture. Soak the rice in water for 30 minutes to improve its texture. You can also prepare the sushi vinegar mixture by combining rice vinegar, sugar, and salt in a small saucepan and heating it just until the sugar dissolves. Let it cool and store it in the fridge.
👨🍳 Day Of
Cook the rice in your rice cooker according to the manufacturer’s instructions. Once done, transfer the rice to a large bowl and gently fold in the chilled vinegar mixture while the rice is still warm. Cover with a damp towel to keep it moist until you’re ready to use it.
✨ Last-Minute Tasks
Just before assembling your sushi, fluff the rice with a wooden spoon to restore its texture. If the rice feels dry, sprinkle a little water and fold gently. Keep the rice covered until you’re ready to roll or shape it to maintain its stickiness and freshness.
Nutrition Facts

- 6 Egg Cake Recipe with Oil: Light as Air With Buttery Moisture - October 4, 2026
- 4 Bean Casserole Recipe: One-Pan Heartiness With Smoky Paprika Depth - October 4, 2026
- 3-Ingredient Keto Mug Cake Recipe: Microwave Magic in 2 Minutes - October 4, 2026