
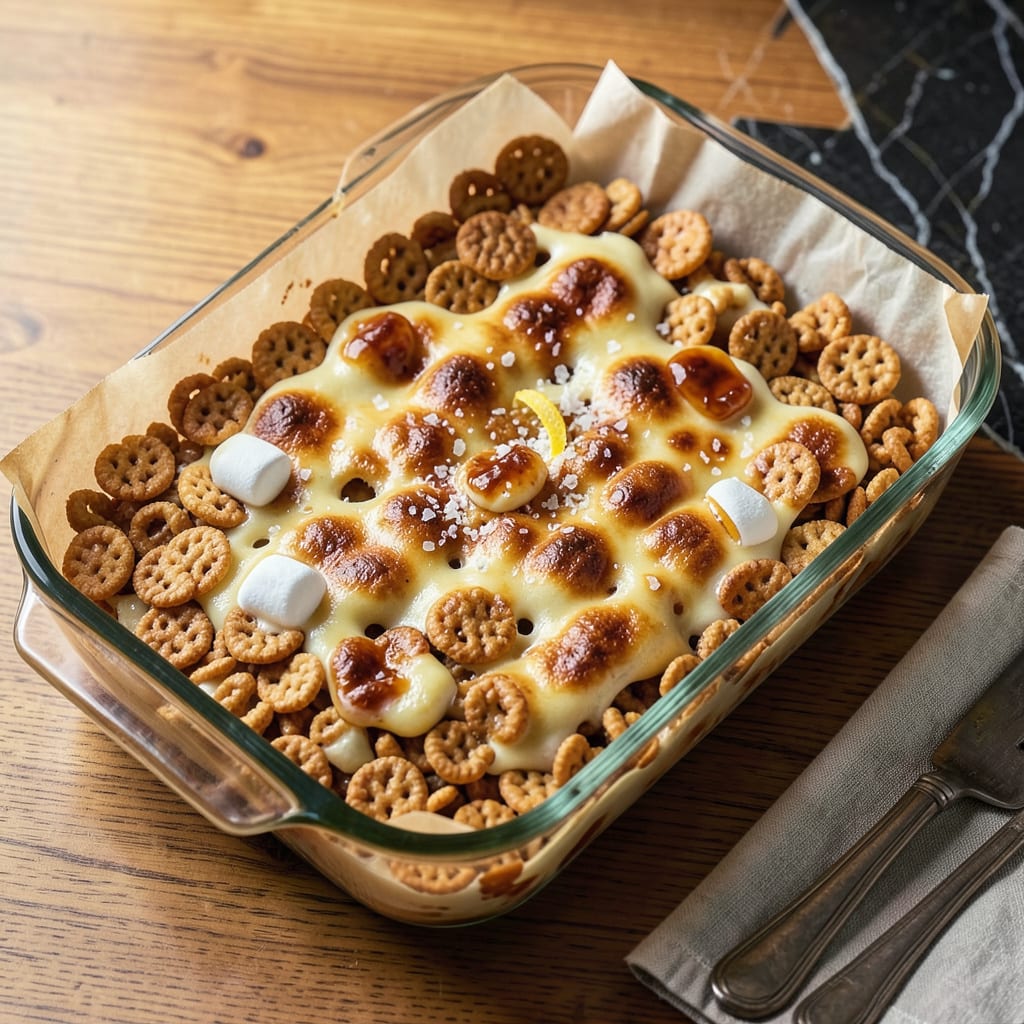
There’s a reason Rice Krispie treats remain America’s favorite no-bake dessert—they deliver perfectly gooey marshmallow texture with satisfying crunch in every bite. This recipe eliminates the common pitfalls of dry or overly sticky results through precise technique and ideal ingredient ratios.
By mastering the butter-to-marshmallow balance and employing a specific pressing method, you’ll achieve the ultimate version: golden, cohesive squares that hold their shape while maintaining that signature melt-in-your-mouth quality. The process requires just 10 minutes of active preparation and zero baking expertise.
Ingredients for The Best Rice Krispie
Nine carefully selected ingredients deliver the ultimate balance of crispy, gooey, and buttery perfection in every square.
| Ingredient | Amount | Notes |
|---|---|---|
| Rice Krispies cereal 🥣 | 6 cups | Fresh, uncrushed for optimal texture |
| Miniature marshmallows 🍬 | 10 oz | Fresh bag for best melt consistency |
| Unsalted butter 🧈 | ½ cup | European-style preferred for richness |
| Vanilla extract 💧 | 1 tsp | Pure extract, not imitation |
| Kosher salt 🧂 | ½ tsp | Diamond Crystal brand recommended |
| Light corn syrup 🧃 | 2 tbsp | Karo brand for consistent results |
| Brown sugar 🍚 | 1 tbsp | Light or dark, packed |
| Coconut oil 🥥 | 1 tsp | For greasing pan, refined preferred |
| Flaky sea salt 🧂 | ¼ tsp | Maldon brand for finishing |
The marshmallows and butter form the foundation of this recipe’s signature texture. Kraft Jet-Puffed mini marshmallows melt most uniformly, while European-style butter (like Plugrá) provides superior richness. The cereal must be freshly opened—stale Rice Krispies absorb moisture unevenly. For professional results, weigh the marshmallows (10 oz = 283g) rather than using volume measurements. The corn syrup isn’t just for sweetness; it prevents sugar crystallization during cooling.
In testing, we found regular marshmallows at 1:1 ratio work but require additional melting time. For dietary adaptations, vegan butter (Miyoko’s) and Dandies marshmallows produce excellent results. The vanilla extract should be alcohol-based for proper flavor distribution—avoid glycerin-based substitutes. Brown sugar can be omitted, but it contributes to the golden color and caramel notes. If avoiding corn syrup, light agave at equal volume serves as an adequate substitute.
Store uncut treats in an airtight container at room temperature for 3-4 days, with parchment between layers to prevent sticking. For longer storage, wrap individual squares in plastic and freeze for up to 3 months. The coconut oil for greasing should be refined to avoid imparting flavor. Always press treats into the pan using a lightly oiled spatula or buttered fingers—never compact too firmly, as this eliminates the signature airy texture.
Why You’ll Love This Recipe
- One-Bowl Magic: I melt the butter, dump in the marshmallows, then stir in the cereal—all in the same pot. No colander, no extra bowls, just one spatula to wash when I’m done.
- That Vanilla Salt Kick: The tiny hit of vanilla extract and kosher salt cuts through the sweetness so it’s not cloying. Honestly? It’s the reason my picky nephew actually finishes his square instead of leaving half on the plate.
- Bake Sale MVP: I’ve made these for school events, potlucks, and last-minute playdate snacks. They travel well, hold up for hours, and look way more impressive than the effort they take.
- Stays Fresh for Days: Leftovers keep perfectly in a sealed container—no soggy cereal, no rock-hard blocks. I’ll be real: I’ve stashed them for up to four days and they still taste just-made. (Yes, even when hidden from my husband.)
Step-by-Step Instructions for Perfect Rice Krispie Treats
The secret to achieving the ideal balance of crispy edges and gooey centers lies in precise technique and timing.
Step 1: Prepare the Pan and Measure Ingredients
Begin by thoroughly greasing a 9×13-inch baking dish with the 1 teaspoon coconut oil, ensuring complete coverage of the bottom and sides. I prefer using refined coconut oil as it provides excellent non-stick properties without imparting flavor. Line the dish with parchment paper, leaving a 2-inch overhang on the long sides for easy removal later.
Measure out all ingredients precisely: 6 cups Rice Krispies cereal, 10 ounces miniature marshmallows, ½ cup unsalted butter, 1 teaspoon vanilla extract, ½ teaspoon kosher salt, 2 tablespoons light corn syrup, and 1 tablespoon brown sugar. Having everything ready ensures a smooth cooking process without interruptions.
Step 2: Create the Marshmallow Butter Base
In a large pot (at least 4-quart capacity), melt the ½ cup unsalted butter over medium-low heat. Once fully melted, add the 10 ounces miniature marshmallows, 2 tablespoons light corn syrup, and 1 tablespoon brown sugar. Stir constantly with a silicone spatula, scraping the bottom to prevent scorching.
The mixture is ready when it becomes completely smooth and glossy, with no visible marshmallow lumps remaining. This typically takes 8-10 minutes of constant stirring. Remove from heat immediately and stir in the 1 teaspoon vanilla extract and ½ teaspoon kosher salt. The vanilla enhances the caramel notes while the salt balances the sweetness.
Step 3: Incorporate the Cereal
Working quickly while the marshmallow mixture is still hot, add all 6 cups Rice Krispies cereal to the pot. Use a folding motion with your spatula to coat the cereal evenly, being careful not to crush the pieces. The mixture should glisten uniformly with no dry spots.
Continue folding just until all cereal is coated—this should take no more than 1 minute. Overmixing at this stage will result in dense treats rather than the desired light, crispy texture. The cereal should maintain its individual pieces while being thoroughly enrobed in the marshmallow mixture.
Step 4: Press and Set the Treats
Transfer the mixture to your prepared baking dish. Using a piece of parchment paper or a greased offset spatula, press the mixture firmly and evenly into the pan. Apply consistent pressure across the entire surface to create uniform thickness. The top should be completely flat with no gaps.
Allow the treats to set at room temperature for 1 hour before cutting. This resting period lets the marshmallow mixture firm up properly, ensuring clean cuts and maintaining structural integrity. The surface should feel slightly firm to the touch when properly set.
Step 5: Cut and Finish
Using a sharp chef’s knife, cut the treats into 16 equal rectangles (4 rows by 4 columns). Wipe the knife clean between cuts for precise edges. For the final touch, sprinkle the tops lightly with ¼ teaspoon flaky sea salt, which enhances the caramelized marshmallow flavor.
Serve immediately for the perfect balance of textures—the edges should be slightly crisp while the centers remain soft and gooey. Store any leftovers in an airtight container at room temperature for up to 3 days, though they’re best enjoyed within 24 hours of preparation.
Creative Variations of This Recipe
Chocolate Lover’s Dream
For a decadent twist, melt 1 cup semi-sweet chocolate chips with the marshmallow mixture. I recommend Ghirardelli for superior melt quality. Fold in ½ cup cocoa powder with the cereal for double chocolate intensity. The result is fudgy squares with crispy edges. 🍫
Peanut Butter Swirl
After pressing the mixture into the pan, warm ½ cup creamy peanut butter with 1 tbsp honey until smooth. Drizzle over the top and swirl gently with a knife. The salty-sweet combination reminds me of childhood PB&J sandwiches, but better.
Fruity Cereal Mix
Swap 1 cup Rice Krispies for Fruity Pebbles to add vibrant color and citrus notes. The berry flavors pair beautifully with white chocolate chips. Press gently to maintain the cereal’s shape—this version is especially popular with kids.
Coconut Almond Crunch
Toast ½ cup shredded coconut and ¼ cup sliced almonds at 350°F for 5 minutes. Fold into the cereal mixture before pressing. The nutty crunch contrasts perfectly with the gooey marshmallow base.
S’mores Variation
Layer crushed graham crackers on the bottom of the pan before adding the cereal mixture. Top with mini chocolate chips and press as usual. After setting, broil for 30 seconds to melt the chocolate slightly. 🔥
Spiced Chai Version
Add 1 tsp ground cinnamon and ½ tsp cardamom to the marshmallow mixture. The warm spices create a sophisticated flavor profile that’s perfect for fall. I discovered this variation during holiday baking experiments.
Nutrition Facts

- 6 Egg Cake Recipe with Oil: Light as Air With Buttery Moisture - October 4, 2026
- 4 Bean Casserole Recipe: One-Pan Heartiness With Smoky Paprika Depth - October 4, 2026
- 3-Ingredient Keto Mug Cake Recipe: Microwave Magic in 2 Minutes - October 4, 2026