
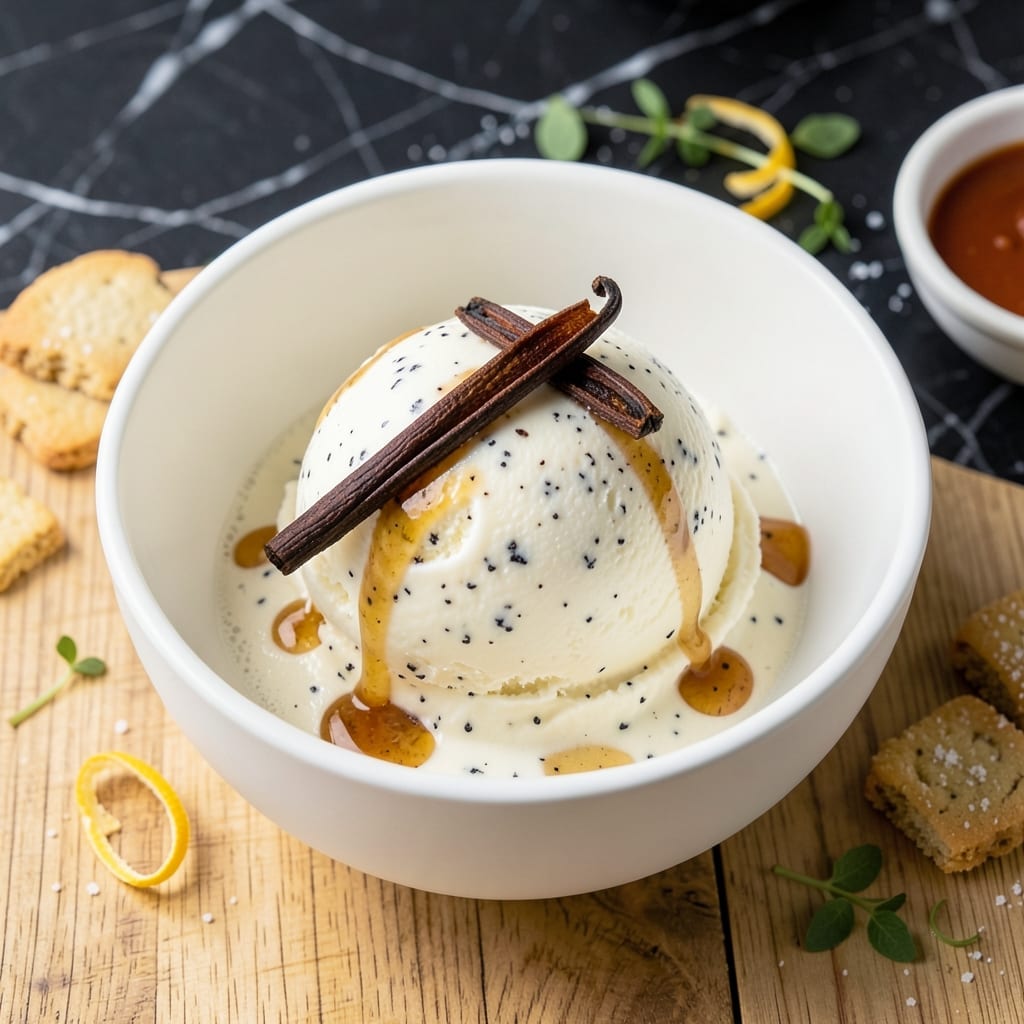
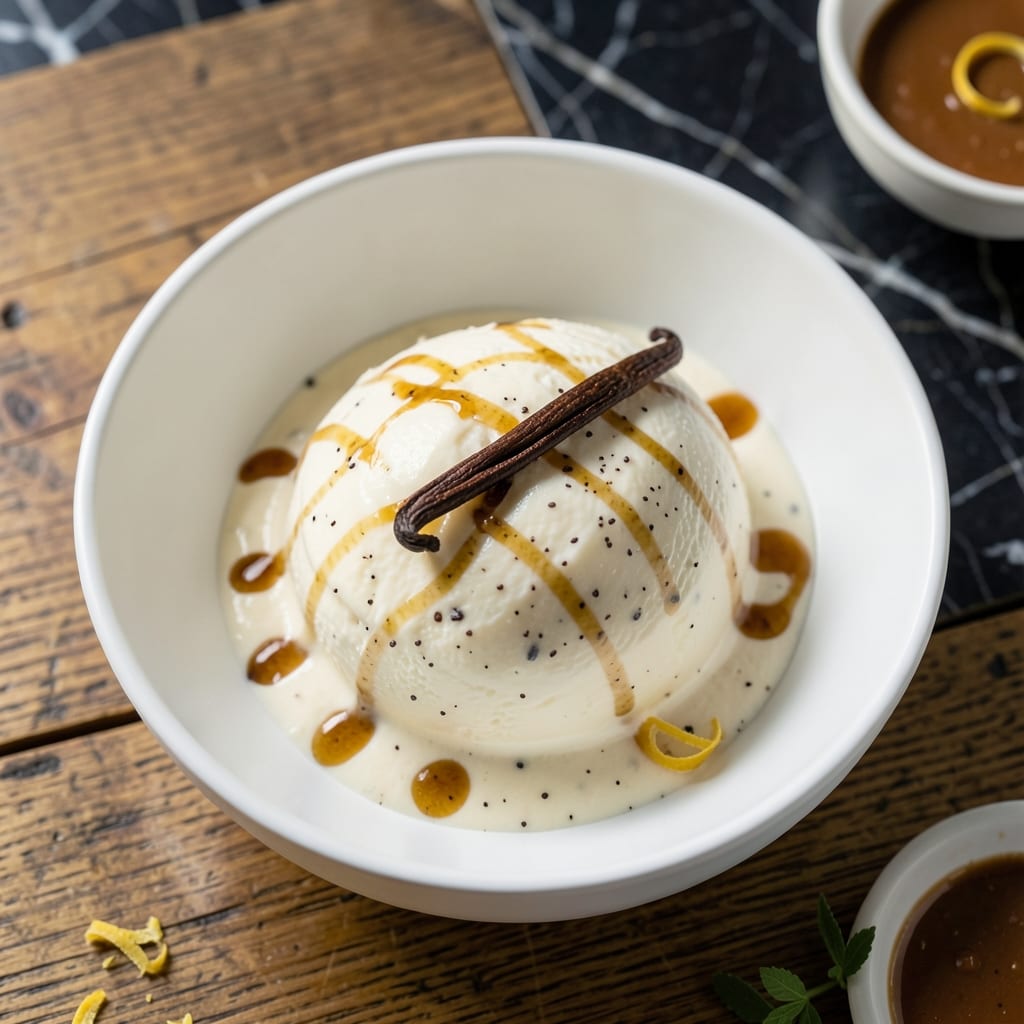
There’s nothing quite like homemade vanilla bean ice cream for pure, creamy indulgence. This recipe leverages your Cuisinart to transform simple ingredients into small-batch luxury.
Using real vanilla beans makes all the difference, infusing the base with specks and deep flavor. The machine’s precision ensures a silky texture that store-bought versions can’t match.
Ingredients for Vanilla Bean Ice Cream Recipe Cuisinart
Eight ingredients transform into silky, small-batch luxury with real vanilla bean depth and creamy texture.
| Ingredient | Amount | Notes |
|---|---|---|
| Heavy Cream 🥛 | 2 cups | Full-fat for richness |
| Whole Milk 🥛 | 1 cup | Cold, fresh preferred |
| Granulated Sugar 🍚 | ¾ cup | Fine white sugar preferred |
| Vanilla Bean 🌿 | 1 whole | Split and scraped |
| Large Egg Yolks 🥚 | 5 whole | Room temperature preferred |
| Pure Vanilla Extract 💧 | 1 tsp | For enhanced flavor depth |
| Sea Salt 🧂 | ¼ tsp | Fine grain preferred |
| Light Corn Syrup 🍯 | 2 tbsp | Prevents ice crystals |
The vanilla bean is non-negotiable here. Look for plump, moist pods at specialty stores like Whole Foods or online from Penzeys. Avoid dry or brittle beans—they lack flavor. The heavy cream should be at least 36% fat for that velvety mouthfeel. Organic Valley or Trader Joe’s brands are reliable. Room temperature eggs incorporate better, so pull them out 30 minutes before starting.
No vanilla bean? Three tablespoons of pure vanilla extract can substitute, though you’ll miss the visual specks. For a richer base, replace milk with half-and-half. Sugar can be swapped for superfine sugar for smoother texture. If avoiding corn syrup, honey or agave at equal volume works, but may slightly alter flavor. Egg yolks are essential—no substitutes maintain the same custard base.
The custard base keeps in the fridge for 24 hours before churning—actually improves flavor. Churned ice cream is best eaten within 3 days for peak texture. For longer storage, press plastic wrap directly on the surface and freeze for up to 2 weeks.
Why You’ll Love This Recipe
- Cuisinart Simple: The machine does all the churning—just mix, pour, and let it work while I prep dinner.
- Real Vanilla Magic: Scraping that fresh vanilla bean into warm cream and milk makes the whole kitchen smell like a bakery.
- Freezer Friendly: I make a double batch and keep it for weeks—perfect for last-minute desserts or midnight cravings.
- Egg Yolks Upgrade: Those rich yolks give it a velvety texture that store-bought just can’t match. Honestly, it’s the little things.
Step-by-Step Instructions for Vanilla Bean Ice Cream
The custard base is everything—master these steps for velvety smooth, intensely creamy ice cream.
Step 1: Infuse the Dairy with Vanilla Bean
In a medium saucepan, combine the 2 cups Heavy Cream, 1 cup Whole Milk, and 0.75 cup Granulated Sugar. Split the 1 whole Vanilla Bean lengthwise and scrape the seeds into the mixture, then add the pod as well for maximum flavor extraction.
Heat over medium heat until the mixture reaches 170-175°F and you see tiny bubbles forming at the edges. Stir occasionally with a silicone spatula to ensure the sugar dissolves completely. This gentle heating process allows the vanilla bean to infuse its complex aromatics into the dairy without scorching. Remove from heat once you hit the target temperature range.
Step 2: Temper the Egg Yolks for a Silky Custard
In a separate bowl, whisk the 5 whole Large Egg Yolks until smooth and slightly pale. Slowly ladle about 1 cup of the hot cream mixture into the yolks while whisking constantly. This tempering process prevents the eggs from curdling when exposed to heat.
Once the yolk mixture is warm to the touch, pour it back into the saucepan with the remaining cream. Add the 0.25 tsp Sea Salt and 2 tbsp Light Corn Syrup, then return to medium-low heat. Cook, stirring constantly with a wooden spoon, until the custard thickens enough to coat the back of the spoon and reaches 175-180°F.
Step 3: Strain and Chill the Custard Thoroughly
Immediately pour the custard through a fine-mesh strainer into a clean bowl to remove the vanilla pod and any potential cooked egg bits. Stir in the 1 tsp Pure Vanilla Extract to reinforce the vanilla flavor. This straining step is crucial for achieving a silky-smooth texture in your final ice cream.
Press plastic wrap directly against the surface of the custard to prevent a skin from forming, then refrigerate for at least 4 hours or preferably overnight. Proper chilling is essential for both food safety and texture development—the cold custard will churn more efficiently in your Cuisinart machine.
Step 4: Churn in the Ice Cream Maker
Pour the chilled custard into your Cuisinart ice cream maker and churn according to the manufacturer’s instructions, typically 20-25 minutes. The mixture should transform into a thick, creamy soft-serve consistency with visible ribbons forming from the dasher.
Watch for the moment when the ice cream holds its shape but is still slightly fluid—this is the perfect point to stop. Over-churning can incorporate too much air, resulting in a less dense final product. The ice cream will be pale cream in color with a luscious, velvety appearance.
Step 5: Freeze to Achieve the Ideal Texture
Transfer the churned ice cream to a lidded freezer-safe container. For the smoothest texture, press a piece of parchment paper directly against the surface before sealing the container. This prevents ice crystals from forming on the surface during freezing.
Freeze for at least 4 hours or until firm. The Light Corn Syrup in the recipe helps maintain a scoopable texture even at freezing temperatures. When ready to serve, let the ice cream sit at room temperature for 5-10 minutes for easier scooping, then enjoy the rich, creamy result of your careful preparation.
Pro Tips For Making Vanilla Bean Ice Cream Recipe Cuisinart
- Temper the yolks: I learned this the hard way—slowly whisk a cup of the hot cream mixture into the egg yolks before adding them back to the pot, or you’ll end up with sweet scrambled eggs.
- Scrape the bean: Split the vanilla bean lengthwise, then use the back of your knife to scrape out every last bit of those tiny black seeds—they’re where the real flavor hides.
- Chill completely: After cooking the custard, give it at least 4 hours in the fridge (overnight is even better) before churning—warm mix turns to icy soup in the Cuisinart.
- Use full-fat dairy: Skip the low-fat shortcuts here; the heavy cream and whole milk aren’t just for richness—they’re what keep your ice cream creamy instead of crunchy.
Troubleshooting Perfect Results
🍦 Too Dry or Tough?
This usually happens if the custard was overcooked or the ice cream over-churned. High heat can scramble the eggs, while excessive churning incorporates too much air, drying it out.
Quick Fix: Next time, cook the custard on low heat and stop churning as soon as it reaches a soft-serve texture.
🥄 Ice Cream Too Icy?
Icy texture often means the base lacked enough fat or sugar, or it wasn’t churned long enough. Alcohol in extracts can also lower the freezing point, causing ice crystals.
Quick Fix: Increase the cream ratio or add 1 tbsp of vodka to lower freezing temperature. Churn for the full recommended time.
⏰ Not Thickening in the Machine?
If your Cuisinart isn’t thickening the mix, the base may have been too warm when added, or the machine’s bowl wasn’t fully frozen. A weak motor or overfilling can also prevent proper churning.
Quick Fix: Chill the base for 4+ hours and pre-freeze the bowl for 24 hours. Fill the machine only ¾ full.
🌡️ Melting Too Fast?
Homemade ice cream melts faster due to lower stabilizers. If it’s overly soft, the sugar or alcohol content might be too high, or it wasn’t hardened long enough after churning.
Quick Fix: Reduce sugar by 1-2 tbsp or harden in the freezer for at least 4 hours before serving.
Nutrition Facts

- 6 Egg Cake Recipe with Oil: Light as Air With Buttery Moisture - October 4, 2026
- 4 Bean Casserole Recipe: One-Pan Heartiness With Smoky Paprika Depth - October 4, 2026
- 3-Ingredient Keto Mug Cake Recipe: Microwave Magic in 2 Minutes - October 4, 2026