
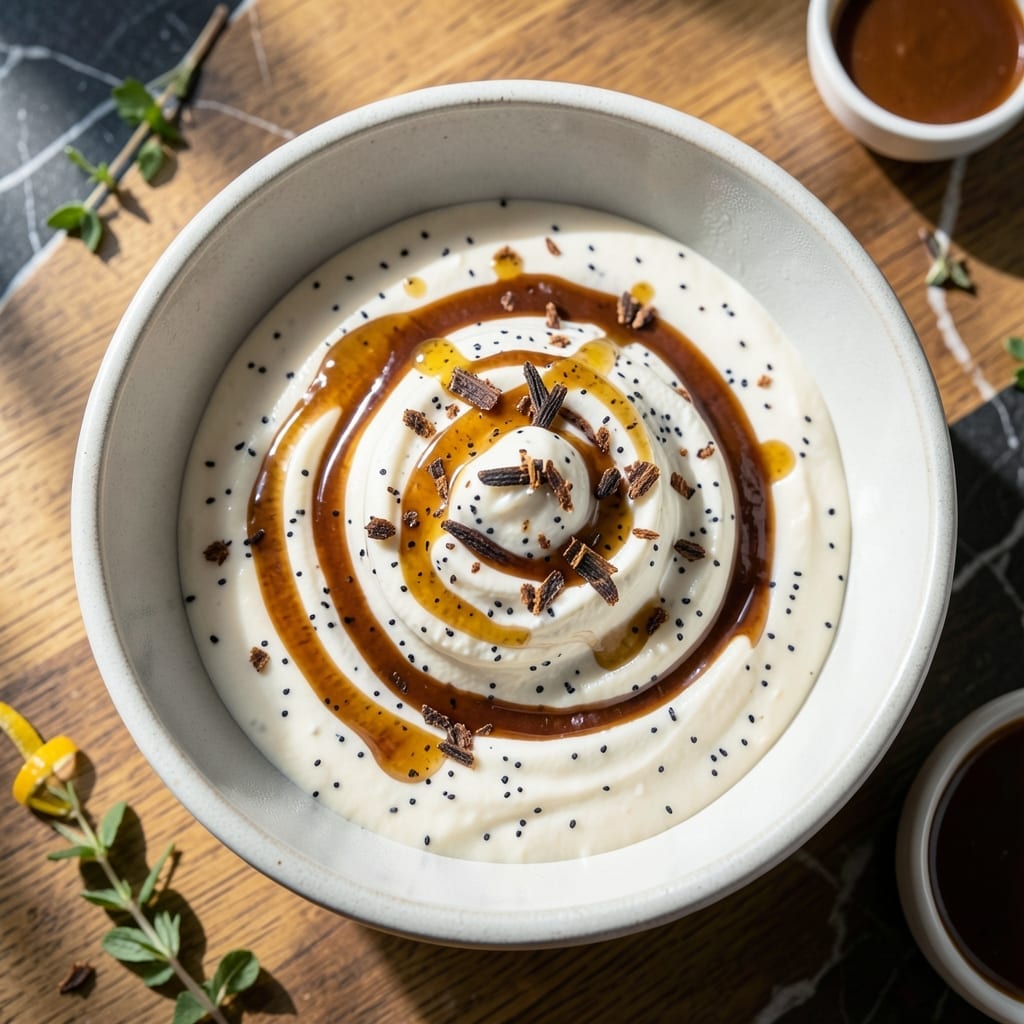
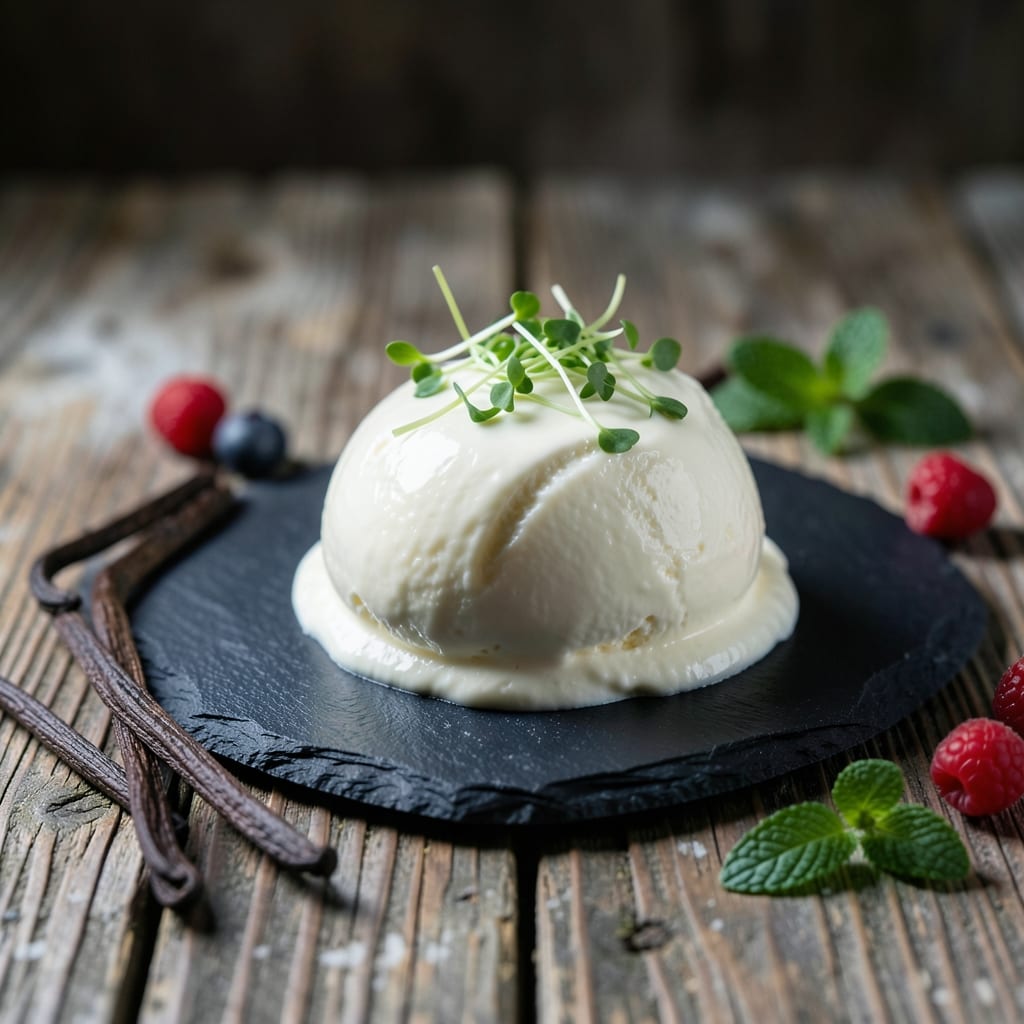
There’s nothing quite like homemade vanilla ice cream—smooth, creamy, and free from artificial additives. This recipe leverages your ice cream maker to deliver a rich, velvety texture that store-bought versions simply can’t match.
With just a handful of simple ingredients and precise churning, you’ll achieve restaurant-quality results. The key is patience: a slow churn ensures a silky finish every time.
Ingredients for Vanilla Ice Cream Recipe for Ice Cream Maker
A few simple ingredients transform into something extraordinary with your ice cream maker.
| Ingredient | Amount | Notes |
|---|---|---|
| Heavy Cream 🥛 | 2 cups | Full-fat for richness, cold |
| Whole Milk 🥛 | 1 cup | Full-fat preferred, cold |
| Granulated Sugar 🍚 | ¾ cup | Fine grain for smooth texture |
| Vanilla Bean 🌿 | 1 whole | Split and scraped, seeds reserved |
| Pure Vanilla Extract 💧 | 1 tbsp | High-quality, alcohol-free if possible |
| Egg Yolks 🥚 | 6 pieces | Large eggs, room temperature |
| Pinch of Salt 🧂 | 1 pinch | Fine sea salt preferred |
| Whole Egg 🥚 | 1 whole | Large egg, room temperature |
[recipeingredientscaler]
The dairy base is non-negotiable for that ultra-smooth texture. Heavy cream and whole milk with high fat content (36% and 3.5% respectively) deliver the richest results. Organic Valley or Straus Family Creamery offer superior quality. The vanilla bean should be plump and fragrant—avoid dry, brittle pods. For best results, use Madagascar Bourbon vanilla beans, available at specialty stores like Williams Sonoma.
No vanilla bean? Pure vanilla extract at double the quantity works, but the bean’s seeds add visual appeal. For a lighter version, half-and-half instead of heavy cream reduces richness without sacrificing texture. The eggs must be fresh—room temperature ensures better emulsification. If avoiding raw eggs, pasteurized eggs are a safe alternative, though texture may vary slightly.
The custard base keeps in the fridge for 24 hours before churning. Once churned, ice cream is best enjoyed fresh but stores in an airtight container for up to 1 week. For longer storage, freeze in a shallow container with parchment pressed directly on the surface to prevent ice crystals.
Why You’ll Love This Recipe
- I’ll be real: it freezes beautifully, so I always make a double batch for later.
- Set It and Forget: I just mix the cream, milk, sugar, and vanilla, then let the machine do all the work.
- Pure Vanilla Bliss: The combo of real vanilla bean and extract gives it that rich, deep flavor store-bought can’t touch.
- Crowd-Pleasing Staple: Honestly, it’s my go-to for summer BBQs, birthday parties, or just a regular Tuesday night craving.
Step-by-Step Instructions for Vanilla Ice Cream for Ice Cream Maker
Master the custard base and chilling process for ultra-smooth results every time.
Step 1: Infuse the Dairy with Vanilla Bean
In a heavy saucepan, combine the 2 cups Heavy Cream and 1 cup Whole Milk over medium heat. Split the 1 whole Vanilla Bean lengthwise with a sharp knife, scrape out the seeds, and add both seeds and pod to the warming dairy mixture.
Heat the mixture just until it begins to simmer at the edges—tiny bubbles will form around the pan’s perimeter. Do not allow it to boil. Remove from heat, cover, and let steep for 30 minutes to fully infuse the vanilla flavor. This slow infusion extracts the bean’s complex aromatics without bitterness.
Step 2: Whisk Eggs and Sugar into a Smooth Base
In a separate bowl, whisk together the 6 pieces Egg Yolks, 1 whole Whole Egg, 0.75 cup Granulated Sugar, and 1 pinch Pinch of Salt until pale and slightly thickened, about 2-3 minutes by hand. The mixture should leave ribbons on the surface when the whisk is lifted.
Temper the egg mixture by slowly pouring in about 1 cup of the warm cream mixture while whisking constantly. This prevents the eggs from curdling. Once tempered, pour the egg mixture back into the saucepan with the remaining cream.
Step 3: Cook the Custard to Silky Perfection
Return the saucepan to medium-low heat and cook the custard, stirring constantly with a wooden spoon or silicone spatula. The mixture will thicken gradually—after 8-12 minutes, it should coat the back of the spoon and leave a clear path when you run your finger through it.
Do not let the custard boil, or it will curdle. If you notice it thickening too quickly, reduce the heat. Strain the custard through a fine-mesh sieve into a clean bowl to remove the vanilla pod and any cooked bits of egg. Stir in the 1 tbsp Pure Vanilla Extract.
Step 4: Chill Thoroughly Before Churning
Press plastic wrap directly onto the surface of the custard to prevent a skin from forming. Refrigerate until completely cold, at least 4 hours or preferably overnight. Chilling is non-negotiable—the ice cream maker cannot properly churn warm custard.
The custard should reach 40°F or below before churning. For faster chilling, place the bowl in an ice bath and stir occasionally until cool, then transfer to the refrigerator.
Step 5: Churn and Freeze to Ideal Consistency
Pour the chilled custard into your ice cream maker and churn according to the manufacturer’s instructions, typically 20-25 minutes. The ice cream is ready when it reaches a soft-serve consistency and holds its shape when scooped.
Transfer to a lidded container and freeze for at least 4 hours to firm up. The texture will be ultra-smooth, with a rich vanilla flavor that lingers. Serve slightly softened for the creamiest experience.
Pro Tips For Making Vanilla Ice Cream Recipe For Ice Cream Maker
- Chill the Base: After mixing your cream, milk, and sugar, refrigerate the base for at least 4 hours—overnight is even better. I learned this the hard way when my first batch came out soupy.
- Split the Vanilla: Scrape the vanilla bean seeds into the mixture, then toss the empty pod in too. Sounds weird, but it works: the pod infuses extra flavor during chilling.
- Skip the Boil: Resist the urge to heat the dairy—this isn’t custard. Just whisk the sugar into cold cream and milk until fully dissolved, or you risk curdling.
- Add Extract Last: Stir in the pure vanilla extract right before churning. My grandmother swore by this, and she was right: it preserves the delicate aroma better than adding it early.
Regional Styles of These Flavors
French Style 🥄
In France, vanilla ice cream is often made with a custard base, using egg yolks for a richer, creamier texture. This method, known as crème anglaise, involves gently heating the dairy and sugar mixture before tempering the eggs. The result is a velvety-smooth treat with a deep, luxurious vanilla flavor, often enhanced with real Madagascar bourbon vanilla beans for an aromatic touch.
American Style 🍦
The classic American vanilla ice cream leans toward a lighter, fluffier texture, often made with a simple base of cream, milk, sugar, and vanilla extract. It’s churned in an ice cream maker for a smooth but airy consistency. This style is a staple in households, beloved for its simplicity and nostalgic appeal. Some variations include adding a splash of vanilla bean paste for visible specks of vanilla.
Italian Gelato Style 🍧
Italian gelato-style vanilla ice cream is denser and silkier than its American counterpart, thanks to a lower fat content and slower churning process. It’s made with more milk than cream and often includes egg yolks for stability. The flavor is intensely vanilla-forward, with a focus on high-quality ingredients like Tahitian vanilla beans, which offer floral and fruity notes.
British Style 🏰
British vanilla ice cream, often called custard ice cream, is similar to the French style but with a slightly thicker, more pudding-like consistency. It’s made with a base of egg custard and double cream, giving it a rich, indulgent mouthfeel. The vanilla is typically subtle, allowing the creamy dairy to shine, and it’s a favorite for pairing with warm desserts like apple pie or sticky toffee pudding.
Nutrition Facts

- 6 Egg Cake Recipe with Oil: Light as Air With Buttery Moisture - October 4, 2026
- 4 Bean Casserole Recipe: One-Pan Heartiness With Smoky Paprika Depth - October 4, 2026
- 3-Ingredient Keto Mug Cake Recipe: Microwave Magic in 2 Minutes - October 4, 2026