
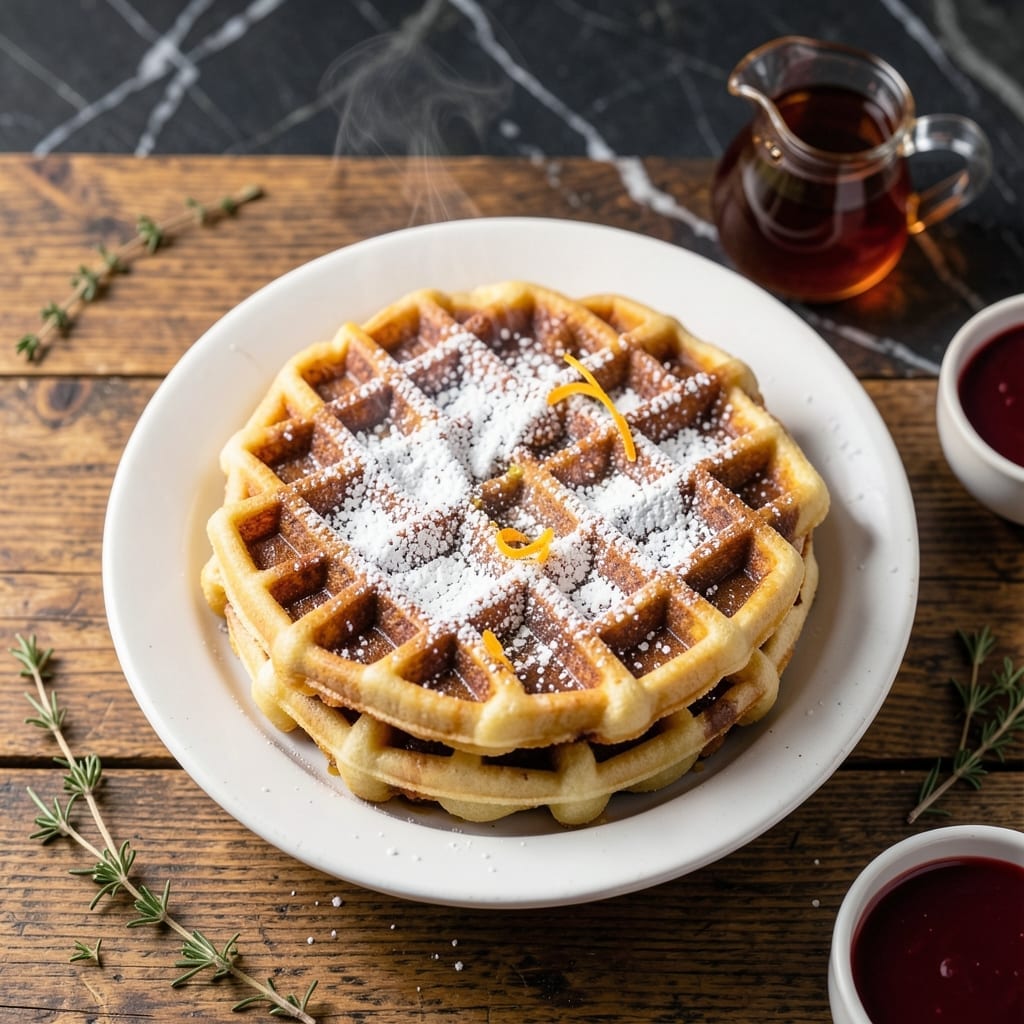
This dairy-free waffle recipe delivers fluffy interiors and crisp edges without a drop of milk.
Simple pantry staples and a smart liquid substitute create a batter that cooks up golden and light every time.
Ingredients for Waffle Recipe No Milk
Pantry staples transform into golden, dairy-free waffles with crisp edges and fluffy centers.
| Ingredient | Amount | Notes |
|---|---|---|
| All-Purpose Flour 🌾 | 2 cups | Sifted for lighter texture |
| Baking Powder 🧂 | 2 tbsp | Ensures maximum rise |
| Granulated Sugar 🍚 | 2 tbsp | Balances acidity in batter |
| Salt 🧂 | ½ tsp | Fine grain preferred |
| Large Eggs 🥚 | 2 whole | Room temperature for best volume |
| Vegetable Oil 🫒 | ⅓ cup | Neutral flavor for crispness |
| Water 💧 | 1 ½ cups | Room temperature for even mixing |
| Vanilla Extract 🌿 | 1 tsp | Pure extract for best flavor |
| Apple Cider Vinegar 🍏 | 1 tbsp | Creates dairy-free buttermilk effect |
| Melted Vegan Butter 🧈 | ¼ cup | Optional for richer flavor |
The flour quality impacts texture significantly. King Arthur all-purpose is ideal for consistent results, but any unbleached variety works well. Baking powder loses potency over time, so check the expiration date—old leaveners produce dense waffles. For the liquid substitute, the vinegar-water combination mimics buttermilk’s acidity, which tenderizes the gluten for that signature fluffiness.
No apple cider vinegar? White vinegar or lemon juice at the same ratio works perfectly. Short on eggs? Flax eggs (1 tbsp ground flax + 3 tbsp water per egg) maintain structure, though the flavor profile shifts slightly. The vegetable oil can be swapped for melted coconut oil, but expect a subtle coconut note in the final product.
Store dry ingredients in airtight containers for up to 6 months. The batter itself is best used immediately, but leftovers keep 2-3 days in the fridge. Reheat in a toaster oven to restore crispness without drying out the interior.
Why You’ll Love This Recipe
- No Fuss Mixing: I just dump the flour, baking powder, sugar, salt, and eggs into a bowl—no milk to measure or spill.
- Golden Crisp: The eggs give them this rich, slightly custardy flavor with edges that shatter when you bite.
- Breakfast or Brinner: Honestly, I’ve served these for dinner more than once when I needed something fast.
- Stays Fresh: Leftovers crisp right back up in the toaster, so I make a double batch for the week.
Step-by-Step Instructions for Dairy-Free Waffles
This method ensures light, crisp waffles using the vinegar and water combination to replace milk.
Step 1: Combine Dry Ingredients for Consistent Rise
In a large mixing bowl, whisk together the 2 cups All-Purpose Flour, 2 tbsp Baking Powder, 2 tbsp Granulated Sugar, and 0.5 tsp Salt. Sift the flour first if you notice any lumps—this prevents dense spots in your waffles.
The baking powder is your leavening agent here, so ensure it’s fresh for maximum lift. The sugar will caramelize slightly during cooking, contributing to that golden-brown exterior. Watch for a uniform, pale mixture with no visible streaks of flour.
Step 2: Create the Dairy-Free Wet Mixture
In a separate bowl, combine the 2 whole Large Eggs, 0.33 cup Vegetable Oil, 1.5 cups Water, 1 tsp Vanilla Extract, and 1 tbsp Apple Cider Vinegar. Whisk vigorously for 30 seconds until the mixture is fully emulsified.
The vinegar reacts with the baking powder to create the same tang and lift that buttermilk would provide. The water should be room temperature to prevent the oil from solidifying. You’ll notice the mixture thicken slightly as the vinegar begins its chemical reaction.
Step 3: Incorporate Wet and Dry Components
Pour the wet ingredients into the dry ingredients and fold gently with a spatula. Stop mixing as soon as the last streaks of flour disappear—overmixing develops gluten, which makes waffles tough rather than tender.
The batter should be slightly lumpy with a thick, pourable consistency. If it seems too thick, add a splash of water, but remember the 1.5 cups Water should be sufficient. The vinegar’s acidity will create small bubbles in the batter—this is normal and desired.
Step 4: Cook to Crisp Perfection
Preheat your waffle iron to medium-high heat. Lightly grease the plates if your iron isn’t nonstick. Pour about ½ cup of batter onto the hot iron, spreading it slightly with the back of a spoon if needed.
Close the lid and cook for 4-5 minutes or until the waffle releases easily and is golden brown. The steam should stop escaping from the iron when it’s done. For extra crispness, brush the finished waffle with some of the 0.25 cup Melted Vegan Butter while still hot.
Pro Tips For Making Waffle Recipe No Milk
- Preheat the Iron: I learned this the hard way—always give your waffle iron a full 10 minutes to heat up, or the first batch will be pale and soggy.
- Whip the Eggs: Sounds weird, but it works: beat those large eggs until frothy to add lightness since there’s no milk to help with texture.
- Skip Overmixing: After burning three batches, I finally figured out that stirring just until the flour disappears prevents tough, chewy waffles.
- Use Oil, Not Butter: My grandmother swore by this, and she was right: a neutral oil (about 1/4 cup) keeps the batter smooth without milk—plus it’s easier to mix.
Troubleshooting Perfect Results
🍳 Too Dry or Tough?
Overmixing the batter or using too much flour can make your waffles dense and dry. Without milk, the lack of fat might also contribute to a tough texture.
Quick Fix: Use a light hand when mixing—stop as soon as the ingredients are combined. Add a tablespoon of oil or melted butter to the batter for moisture.
🔥 Not Crispy Enough?
If your waffles are soft instead of crisp, the iron may not be hot enough, or you might be opening it too soon. Low heat or a lack of sugar can also prevent browning.
Quick Fix: Preheat the iron thoroughly and cook waffles until steam stops escaping. Add a teaspoon of sugar to the batter for extra crispiness.
⏰ Sticking to the Iron?
Sticking often happens if the iron isn’t properly greased or the batter lacks fat. Since this recipe has no milk, the lack of natural fats may be the culprit.
Quick Fix: Lightly brush the iron with oil before adding batter. Use nonstick spray or add a bit of oil to the recipe for easier release.
🎯 Uneven Cooking?
Uneven cooking can occur if the batter is too thick or spread unevenly. Overloading the iron or using an old appliance may also cause inconsistent results.
Quick Fix: Thin the batter slightly with water or a dairy-free milk substitute. Spread batter evenly and avoid overfilling the iron.
Nutrition Facts

- 6 Egg Cake Recipe with Oil: Light as Air With Buttery Moisture - October 4, 2026
- 4 Bean Casserole Recipe: One-Pan Heartiness With Smoky Paprika Depth - October 4, 2026
- 3-Ingredient Keto Mug Cake Recipe: Microwave Magic in 2 Minutes - October 4, 2026