
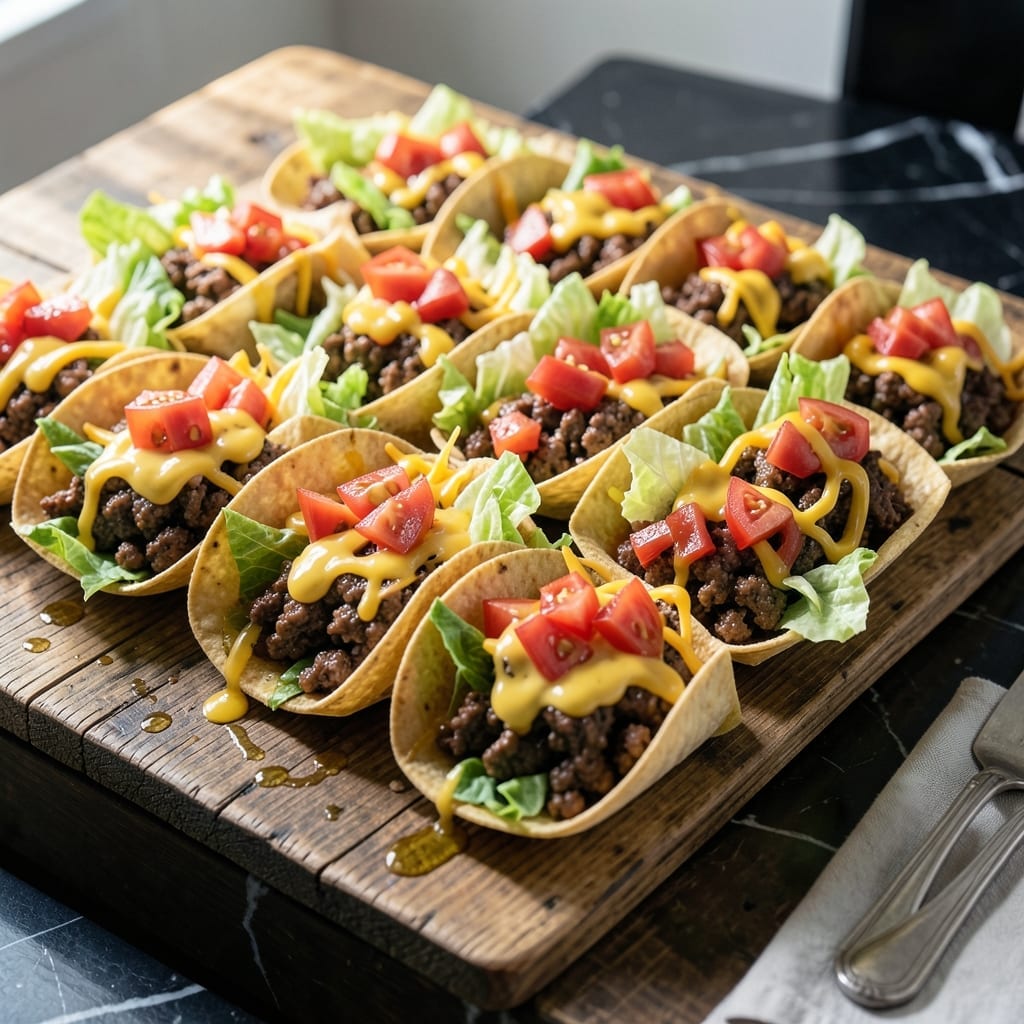
Planning a party for a crowd just got easier with this portable meal solution that keeps guests satisfied without the mess.
Each serving comes pre-assembled in individual bags, allowing everyone to customize their toppings while keeping hands clean. The method scales perfectly for 100 servings, making it ideal for large gatherings where convenience matters most.
The beauty lies in its simplicity—just brown the ground beef with taco seasoning, then let guests build their own walking tacos. It’s a foolproof way to feed a group without sacrificing flavor or fun.
Perfect for birthdays, tailgates, or any event where easy serving and minimal cleanup are priorities. Here’s how to make it happen.
Ingredients for Walking Tacos for 100
Feed a crowd with these bold, customizable ingredients for fuss-free individual servings.
| Ingredient | Amount | Notes |
|---|---|---|
| Ground Beef 🥩 | 25 lb | 80/20 lean-to-fat ratio preferred |
| Taco Seasoning 🌶️ | 1 ½ cups | Or 10 packets store-bought |
| Individual Chip Bags 🥔 | 100 bags | Single-serving size, 1 oz each |
| Shredded Lettuce 🥬 | 10 lb | Iceberg or romaine, finely shredded |
| Shredded Cheddar Cheese 🧀 | 10 lb | Mild or sharp variety |
| Diced Tomatoes 🍅 | 5 lb | Fresh or canned, drained |
| Diced Onions 🧅 | 5 lb | White or yellow onions |
| Sour Cream 🥛 | 2 lb | Full-fat for creaminess |
| Salsa 🌶️ | 2 lb | Mild or medium heat |
| Taco Sauce 🌶️ | 1 ½ lb | Optional but recommended |
| Black Olives 🫒 | 3 lb | Canned, sliced and drained |
| Jalapeños 🌶️ | 2 lb | Fresh, sliced (optional for heat) |
| Refried Beans 🫘 | 4 lb | Canned, for topping option |
| Hot Sauce 🔥 | 1 cup | For spice lovers |
The ground beef is the foundation. Costco or Sam’s Club offer bulk ground beef with the ideal 80/20 ratio for flavor and moisture. For 100 servings, you’ll need roughly 25 pounds—plan for two large coolers to keep it cold before cooking. The taco seasoning can be homemade in bulk or use 10 standard packets from the grocery store. Individual chip bags are non-negotiable—Frito-Lay sells single-serving bags in bulk for events.
No ground beef? Ground turkey or chicken work in a pinch (drain well to avoid sogginess). Skip the seasoning packets and use a homemade blend—chili powder, cumin, paprika, garlic powder, and salt. For cheese, pre-shredded saves time but blocks melt better. Lettuce can be bagged shreds (wash first) or shred your own. Canned tomatoes? Drain well to keep the chips crisp.
Prep toppings in advance—store in airtight containers. Cooked beef keeps 3-4 days in the fridge or 3 months frozen. Chips stay fresh in sealed bags until opening. Set out toppings in chafing dishes or slow cookers to maintain temperature during the party. Leftovers? Rare with this crowd-pleaser.
Why You’ll Love This Recipe
- Feeds a Crowd Fast: I can prep this in 30 minutes flat—just brown the ground beef with taco seasoning and let everyone assemble their own chip bag.
- That Crunchy Bite: Honestly, the mix of crispy chips, savory beef, and cool shredded lettuce with cheddar? Ridiculously good.
- Party or Potluck: Between us, it’s my go-to for big gatherings—no plates needed, and kids absolutely love it.
- Budget-Friendly Feast: Ground beef stretches far, and individual chip bags keep portions controlled without extra cost.
Step-by-Step Instructions for Walking Tacos
This method ensures efficient assembly for a crowd while maintaining individual customization options.
Step 1: Brown and Season the Ground Beef
In a large commercial stock pot or divided into batches in standard pots, cook the 25 lb Ground Beef over medium-high heat until no longer pink, breaking it into small crumbles with a wooden spoon. This should take 15-20 minutes per batch.
Drain excess fat, then stir in the 1.5 cups Taco Seasoning with 1 cup water. Simmer for 5 minutes until the mixture thickens and the beef is fully coated. The seasoning should appear evenly distributed with no dry spots.
Keep the seasoned beef warm in a chafing dish or slow cooker set to low heat while preparing the toppings.
Step 2: Prepare and Organize All Toppings
Arrange the 10 lb Shredded Lettuce, 10 lb Shredded Cheddar Cheese, 5 lb Diced Tomatoes, and 5 lb Diced Onions in separate large serving bowls. For the wet toppings, place the 2 lb Sour Cream, 2 lb Salsa, and 1.5 lb Taco Sauce in smaller containers with serving spoons.
The 3 lb Black Olives and 2 lb Jalapeños should be drained and placed in their own dishes. If using, warm the 4 lb Refried Beans in a separate pot until heated through. Position the 1 cup Hot Sauce in a squeeze bottle for easy distribution.
All toppings should be at room temperature or warmer for best texture and flavor distribution.
Step 3: Arrange the Individual Chip Bags
Open each of the 100 bags Individual Chip Bags by carefully cutting the top with scissors, leaving the sides intact to create an edible bowl. Arrange them on a large table or in a shallow container to keep them upright.
For stability, gently press the bottom of each bag to create a flat base. This prevents tipping when guests add their toppings. The chips should remain crisp at this stage—if they start to soften, you’ve opened them too early.
Step 4: Set Up the Assembly Station
Create an assembly line with the seasoned beef at one end and the chip bags at the other. Place the toppings in a logical order between them, with the most popular items like cheese and salsa closest to the beef.
Provide sturdy serving utensils for each topping—a slotted spoon for the beef to drain excess liquid, large spoons for the shredded toppings, and ladles for the sauces. The refried beans should have a dedicated spoon for easy spreading.
This setup allows guests to move efficiently through the line while customizing their walking taco to their preferences.
Step 5: Final Presentation and Service
Once all toppings are added, guests can eat directly from the bags. The chip bags will soften slightly from the warm ingredients but should maintain enough integrity to be held without tearing.
For best results, encourage guests to layer ingredients starting with the beef, then cheese (so it melts slightly), followed by cooler toppings like lettuce and tomatoes. The hot sauce should be added last for those who want extra heat.
Have napkins and wet wipes available at the end of the line. The entire setup should accommodate all 100 servings simultaneously, with easy access for refills as needed.
Pro Tips For Making Walking Tacos For 100
- Brown the Beef Well: Cook the ground beef over medium-high heat until deeply browned, not just gray—this builds flavor that cheap taco seasoning can’t fix. I learned this the hard way after serving bland walking tacos to 50 hungry kids.
- Drain the Fat: After browning, drain the beef thoroughly in a colander, then return it to the pan. Skipping this leaves greasy chips that no one wants to eat.
- Warm the Seasoning: Stir the taco seasoning into 1/2 cup water and simmer with the beef for 3-4 minutes—this blooms the spices and prevents a chalky aftertaste.
- Crush Chips Last: Keep the individual chip bags intact until serving, then crush them directly into the bag with the toppings. Pre-crushing turns them soggy before the party even starts.
Common Mistakes When Making walking tacos for 100
Overcooking the Beef
Cook the 25 lb Ground Beef just until browned—overcooking dries it out, especially when scaling up. I pull it off at 160°F internal temperature since it continues cooking while resting. Use a meat thermometer for accuracy. 🌡️
Skipping the Draining
Always drain excess fat after browning to prevent soggy chips. I tilt the pot and spoon out fat, or use a colander for large batches. This step keeps the individual chip bags crisp longer.
Opening Bags Too Early
Don’t open the 100 bags until ready to serve. The chips lose crispness fast once exposed to air. I keep them sealed until the assembly line starts.
Uneven Seasoning Distribution
Mix the 1.5 cups Taco Seasoning thoroughly with the beef. I add it in stages to ensure every bite is flavorful. Stir well and let it sit for 5 minutes before serving.
Cold Toppings
Serve toppings at room temperature or warmer. Cold cheese or salsa can chill the beef and make the chips soggy. I use chafing dishes to keep everything warm. 🔥
Poor Assembly Order
Guide guests to layer beef first, then cheese, then cooler toppings. This prevents the chips from getting soggy too quickly. I place signs at the station for clarity.
Nutrition Facts
Frequently Asked Questions
How far in advance can I prep the toppings?
Chop veggies up to 2 days ahead and store in airtight containers. Cook beef 1 day before and reheat gently. Keep chips sealed until serving to maintain crispness.
What’s the best way to keep everything warm?
Use chafing dishes or slow cookers on low heat for beef and beans. Place other toppings in shallow bowls over ice if needed. This maintains ideal serving temperatures.
Can I use different chips?
Frito Lay single-serve bags work best, but any sturdy chip like Doritos or tortilla chips can substitute. Avoid thin chips that may tear under toppings.
How do I prevent soggy chips?
Open bags just before serving and layer toppings carefully—beef first, then cheese, then cooler items. This creates a moisture barrier.

- 6 Egg Cake Recipe with Oil: Light as Air With Buttery Moisture - October 4, 2026
- 4 Bean Casserole Recipe: One-Pan Heartiness With Smoky Paprika Depth - October 4, 2026
- 3-Ingredient Keto Mug Cake Recipe: Microwave Magic in 2 Minutes - October 4, 2026