
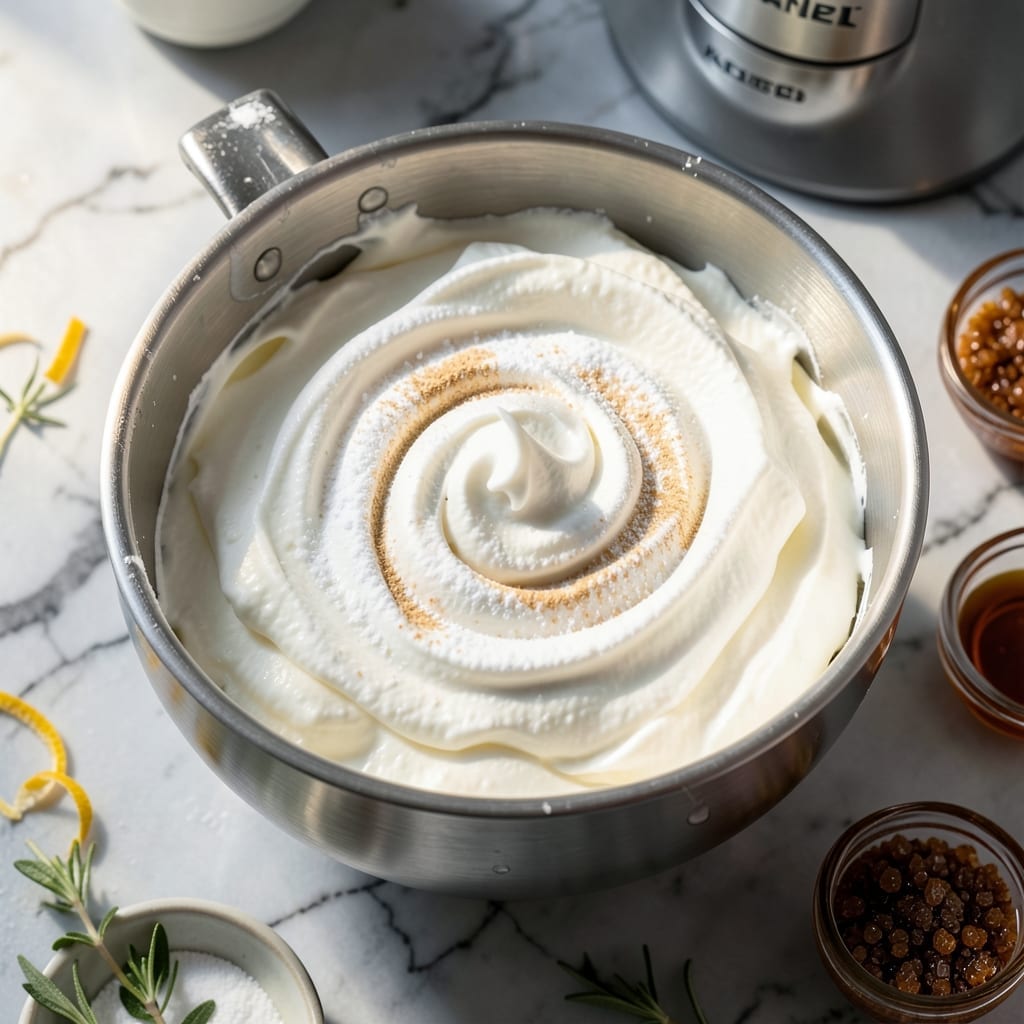
There’s a reason homemade whipped cream beats store-bought every time—freshness, texture, and pure flavor. This method uses a KitchenAid mixer to achieve perfectly fluffy peaks with minimal effort.
Heavy cream and a touch of sugar are all you need for this simple recipe. The stand mixer does most of the work, whipping air into the cream until it forms soft, billowy peaks that hold their shape.
You’ll end up with light, airy whipped cream that’s ideal for topping desserts, filling pastries, or enjoying by the spoonful. The process takes just 5 minutes from start to finish.
Make it ahead for gatherings or whip it up fresh for immediate use. The results are always worth the effort.
Ingredients for Whipped Cream Recipe Kitchenaid
Just four ingredients transform into light, airy whipped cream with perfect texture.
| Ingredient | Amount | Notes |
|---|---|---|
| Heavy Cream 🥛 | 1 cup | Cold, 36-40% fat content |
| Granulated Sugar 🍚 | 2 tbsp | Adjust to taste preference |
| Pure Vanilla Extract 🌿 | 1 tsp | Optional for flavor depth |
| Powdered Sugar 🍚 | 1 tbsp | For stabilized version |
The heavy cream is non-negotiable here—36-40% fat content is essential for proper structure. Organic Valley or Darigold are reliable brands with consistent results. Chill your KitchenAid bowl and whisk attachment for 15 minutes beforehand (this prevents the cream from warming during whipping). Ultra-pasteurized cream whips faster but may not hold peaks as long.
No vanilla extract? Skip it entirely or use vanilla bean paste for visible speckles. Want sweeter cream? Increase sugar to 3 tbsp but add gradually. For a stabilized version (holds shape longer), replace granulated with powdered sugar at a 1:1 ratio. Avoid substitutes like coconut cream unless making vegan whipped cream.
Use immediately or store in an airtight container for up to 2 days. Rewhip briefly before serving if separated. Not suitable for freezing. A dollop of this lasts 5 days in the fridge if properly covered, though fresh is always best.
Why You’ll Love This Recipe
- Hands-Off Magic: I just pour the heavy cream, sugar, and vanilla into the KitchenAid, flip the switch, and walk away—no whisking, no sore arms.
- Vanilla Cloud: The real vanilla extract gives it that deep, warm sweetness that store-bought can’t touch.
- Pies to Pancakes: I dollop it on everything from Thanksgiving pie to my kid’s weekend pancakes.
- Stays Fresh: Honestly, it holds up in the fridge for days without deflating, so I always make extra.
Step-by-Step Instructions for Kitchenaid Whipped Cream
This method ensures perfectly stable peaks with minimal effort and maximum quality.
Step 1: Chill Equipment and Heavy Cream
Place the mixing bowl and whisk attachment in the freezer for 10-15 minutes to ensure they are ice cold. Cold equipment is critical for achieving proper volume and stability in whipped cream.
Pour the 1 cup Heavy Cream into the chilled bowl. The cream should be cold straight from the refrigerator at 36-40°F. Using cream that’s even slightly warm will result in a flat, soupy mess rather than light, fluffy peaks.
Step 2: Begin Whipping on Low Speed
Attach the chilled whisk to your Kitchenaid mixer. Start on the lowest speed setting to gradually incorporate air into the cream. This initial slow mixing prevents splattering and ensures even aeration from the beginning.
After 30 seconds at low speed, increase to medium speed and continue whipping. You’ll notice the cream begin to thicken and develop soft, billowy mounds. This gradual speed increase creates a more stable foam structure.
Step 3: Add Sweeteners at the Right Moment
When the cream reaches soft peak stage (the whisk leaves gentle trails that quickly disappear), add the 2 tbsp Granulated Sugar and 1 tsp Pure Vanilla Extract in a slow, steady stream down the side of the bowl. This timing ensures the sugar dissolves completely without deflating the developing structure.
For a more stabilized version, add the 1 tbsp Powdered Sugar at this point. Powdered sugar contains a small amount of cornstarch, which helps maintain the whipped cream’s shape for longer periods, especially useful for piping or decorative work.
Step 4: Whip to Desired Consistency
Increase the mixer speed to medium-high and continue whipping. Watch closely for the cream to reach stiff peaks – when you lift the whisk, the cream should hold distinct, firm peaks that maintain their shape without drooping.
This process typically takes 2-3 minutes total from the start of mixing. Be careful not to over-whip, which will cause the cream to separate into butter and buttermilk. The moment you see the peaks hold perfectly, stop the mixer immediately.
Step 5: Use or Store Immediately
Use the whipped cream right away for best texture and volume. For short-term storage, transfer to an airtight container and refrigerate for up to 2 hours. The cream will maintain its structure better if kept cold and undisturbed.
If you notice any slight weeping or separation in storage, simply rewhip briefly by hand. The stabilized version with powdered sugar will hold its shape significantly longer, making it ideal for recipes requiring advance preparation.
Pro Tips For Making Whipped Cream Recipe Kitchenaid
- Chill Everything First: I learned this the hard way—warm cream or a warm bowl will leave you with a sad, soupy mess. Pop your mixing bowl and beaters in the freezer for 10 minutes before starting, and use the coldest heavy cream straight from the fridge.
- Use Powdered Sugar: Skip the granulated sugar if you can—powdered sugar dissolves instantly and gives you that smooth, cloud-like texture without any grainy bits. I was skeptical until I tried it.
- Stop Before Peaks: Resist the urge to walk away—whipped cream goes from perfect to buttery in seconds. Turn off the mixer as soon as you see soft peaks forming, then finish by hand if needed.
- Add Vanilla Last: Sounds weird, but it works: fold in the vanilla extract after the cream has thickened to avoid weighing it down early. My grandmother swore by this, and she was right.
Serving Suggestions for This Dish
Dessert Toppings
This creation shines atop warm apple pie or pecan pie—the cool, creamy contrast against the warm filling is divine. I also love it on hot chocolate with a sprinkle of cocoa powder for an extra touch. 💛
Pastry Filling
Use it to fill cream puffs or éclairs by piping it into the centers just before serving. For a showstopper, layer it with fresh berries in a trifle dish for a colorful, impressive dessert.
Fruit Pairings
Serve alongside fresh strawberries, peaches, or mixed berries for a simple yet elegant treat. The natural sweetness of the fruit complements the lightly sweetened cream perfectly.
Beverage Enhancer
Dollop it onto iced coffee or milkshakes for a café-style experience. It also elevates a simple strawberry shortcake by adding a cloud-like texture that melts beautifully in your mouth.
Breakfast Twist
Spread it on pancakes or waffles with a drizzle of maple syrup. The fluffy texture pairs wonderfully with the crisp edges of freshly made waffles. ✨
Stabilized Decorating
For piping decorations, the version with powdered sugar holds its shape better. Pipe rosettes or borders on cakes, or create swirls on cupcakes for a bakery-style finish.
Nutrition Facts
Frequently Asked Questions
Why chill the bowl and whisk first?
Cold equipment keeps the cream stable while whipping, preventing it from warming and turning soupy. Chill for 10-15 minutes in the freezer for best results.
Can I use a hand mixer instead?
Yes, but a stand mixer offers more control and consistent speed. With a hand mixer, use the highest setting and watch closely to avoid over-whipping.
How do I fix over-whipped cream?
If it turns grainy or buttery, stop immediately. Fold in 1-2 tbsp of fresh cold cream by hand to smooth it out.
Can I make it ahead of time?
Yes, but it’s best used within 2 hours. Store in an airtight container in the fridge and rewhip briefly before serving.

- 6 Egg Cake Recipe with Oil: Light as Air With Buttery Moisture - October 4, 2026
- 4 Bean Casserole Recipe: One-Pan Heartiness With Smoky Paprika Depth - October 4, 2026
- 3-Ingredient Keto Mug Cake Recipe: Microwave Magic in 2 Minutes - October 4, 2026