
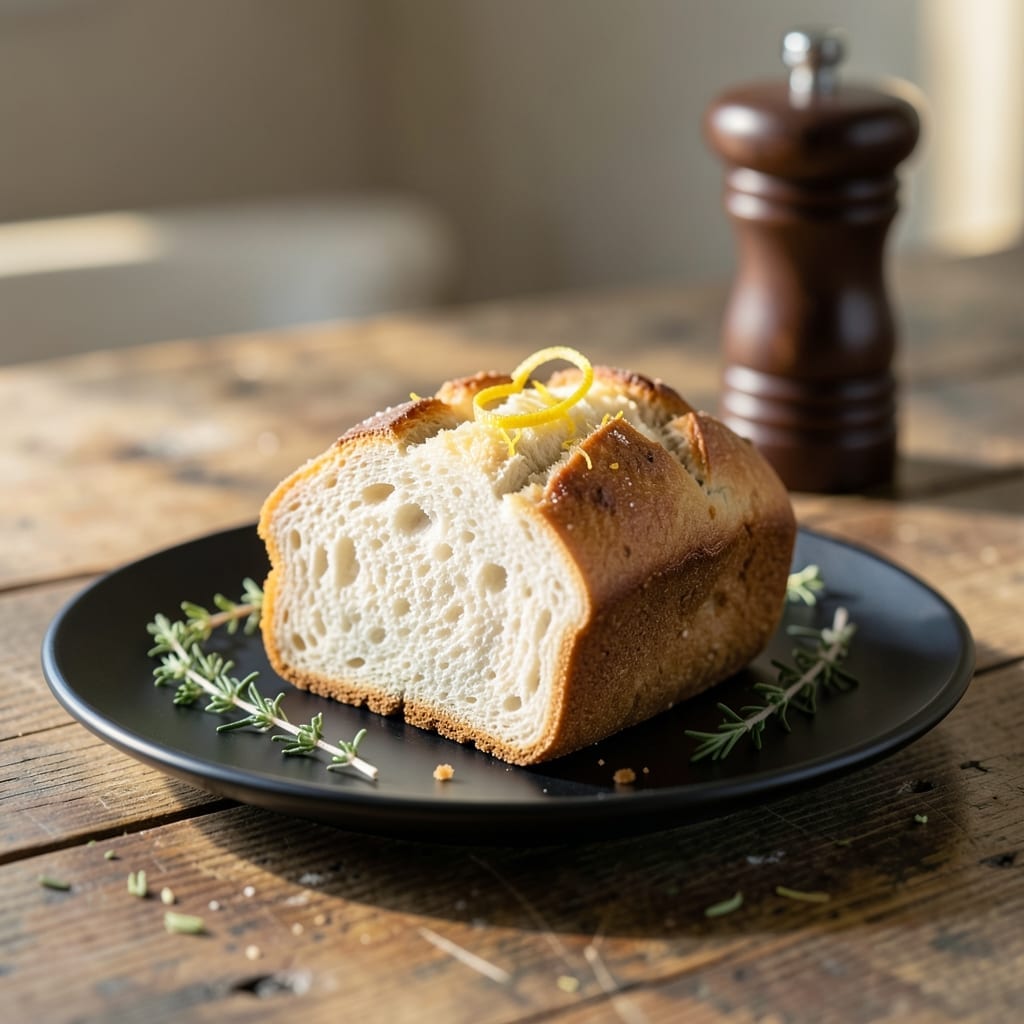
There’s nothing quite like the aroma of fresh bread filling your kitchen, and this bread machine recipe makes it effortless. With just a few simple ingredients and the press of a button, you’ll have a foolproof loaf ready in hours.
The beauty of this method is its simplicity—no kneading, no rising, just perfectly baked bread every time. Ideal for sandwiches, toast, or enjoying warm with butter.
Ingredients for White Bread Recipe for the Bread Machine
A few pantry staples and your machine does the rest for perfect bread every time.
| Ingredient | Amount | Notes |
|---|---|---|
| Bread Flour 🌾 | 3 ½ cups | All-purpose works in pinch |
| Warm Water 💧 | 1 ¼ cups | 110°F to 115°F |
| Unsalted Butter 🧈 | 2 tbsp | Softened or melted |
| Granulated Sugar 🍚 | 2 tbsp | White or raw cane |
| Active Dry Yeast 🍞 | 2 ¼ tsp | Or one packet |
| Salt 🧂 | 1 ½ tsp | Fine sea salt preferred |
| Non-Fat Dry Milk 🥛 | 2 tbsp | Enhances texture and rise |
| Vegetable Oil 🫒 | 1 tbsp | For greasing pan |
The flour is critical here—King Arthur Bread Flour gives the best rise and structure. Find it in the baking aisle at most grocery stores or order online. The yeast must be fresh; check the expiration date and store it in the freezer if you won’t use it within a month. Warm water temperature is non-negotiable: too hot kills the yeast, too cool won’t activate it.
No bread flour? Use all-purpose with 1 tbsp vital wheat gluten per cup. Out of dry milk? Skip it—the loaf will be slightly denser but still edible. Butter can be swapped for vegetable oil at the same volume. For a sweeter loaf, increase sugar to 3 tbsp, but reduce yeast slightly to avoid over-rising.
Store flour in an airtight container to prevent spoilage—it lasts 6-12 months. Yeast keeps 1 year in the freezer. Baked loaves stay fresh for 3-4 days wrapped at room temperature or freeze for up to 3 months.
Why You’ll Love This Recipe
- Set and Forget: I toss the flour, yeast, sugar, butter and warm water into the machine before bed and wake up to fresh bread—no kneading, no fuss.
- Buttery Perfection: The unsalted butter melts into the dough, giving every slice that rich, tender crumb I crave with jam or toasted.
- Sandwich Savior: This loaf holds up to thick PB&J, delicate turkey slices, or just a slab of butter—honestly, it’s my meal prep MVP.
- Penny-Wise Loaf: A bag of bread flour and a stick of butter cost less than a bakery loaf, and I get two from one batch.
Step-by-Step Instructions for White Bread in a Bread Machine
This method guarantees a perfect loaf with minimal effort and maximum consistency.
Step 1: Activate the Yeast and Prepare Wet Ingredients
Begin by verifying the warm water temperature—it should register between 110°F to 115°F on an instant-read thermometer. This range is critical: too hot kills the yeast, too cool prevents activation. Pour the 1.25 cups warm water into the bread machine pan first.
Add the 2 tbsp granulated sugar and 2.25 tsp active dry yeast to the water. The sugar feeds the yeast, creating the bubbles you’ll see forming within 5-10 minutes. This visual confirmation means your yeast is alive and active—essential for a proper rise.
Step 2: Incorporate Dry Ingredients and Fats
Next, add the dry components. Measure the 3.5 cups bread flour precisely—spoon it into the measuring cup and level it off. Pour it over the liquid mixture, then add the 2 tbsp non-fat dry milk and 1.5 tsp salt to opposite corners of the pan. This distribution prevents direct contact between salt and yeast, which could inhibit rising.
Create a small well in the center of the flour and add the 2 tbsp unsalted butter, softened or melted. The butter enriches the dough and contributes to a tender crumb. Avoid letting the butter touch the pan sides, as this can cause premature melting and affect the texture.
Step 3: Select Settings and Begin the Cycle
Secure the bread pan in the machine and close the lid. Select the “basic” or “white bread” setting on your bread machine. If your model offers crust color options, choose “medium” for this recipe—it produces the ideal balance between a soft interior and a golden-brown exterior.
Most bread machines take 3-4 hours for a complete cycle, including kneading, rising, and baking. During the kneading phase (the first 10-15 minutes), check that the dough forms a smooth, elastic ball. If it appears too dry, add 1 tsp water; if too sticky, add 1 tsp bread flour. Don’t over-adjust—small variations often correct themselves as the cycle progresses.
Step 4: Monitor Progress and Prepare for Completion
About 30 minutes into the cycle, open the lid briefly to confirm the dough has doubled in size and appears smooth. The machine will handle the rising, but this quick check ensures everything is on track. Resist the urge to intervene further—the bread machine’s environment is carefully calibrated for optimal results.
As the baking phase begins (typically the last 45-60 minutes), you’ll notice the aroma of fresh-baked bread filling your kitchen. The loaf should rise to fill the pan and develop a deep golden-brown crust. Most machines automatically keep the bread warm for 1 hour after baking, but remove it promptly if you prefer a softer crust.
Step 5: Cool and Serve the Finished Loaf
When the cycle completes, use oven mitts to carefully remove the pan from the machine. Gently shake the pan to release the loaf onto a wire rack. Before slicing, let it cool for at least 20-30 minutes. This cooling period allows the internal structure to set, preventing a gummy texture.
Use the 1 tbsp vegetable oil to lightly grease a sharp serrated knife before slicing. This helps create clean cuts without dragging the crumb. Serve warm for the best texture and flavor, with the crust slightly crisp and the interior soft and pillowy.
Pro Tips For Making White Bread Recipe For The Bread Machine
- Check Water Temp: Use a thermometer to hit 110°F—any hotter kills the yeast, any cooler and your loaf won’t rise. I learned this the hard way after killing three batches with tap water that was just a little too warm.
- Weigh Your Flour: Scooping flour with a cup can pack it down, adding up to 20% extra. A kitchen scale guarantees the right ratio for a light, airy crumb—about 4.5 oz per cup of bread flour.
- Soften the Butter: Cut the butter into small cubes and let it sit at room temp for 20-30 minutes before adding. Cold butter won’t incorporate properly, leaving greasy pockets in your bread.
- Use Bread Flour: Skip all-purpose flour—bread flour’s higher protein content (12-14%) gives the gluten the strength it needs for that perfect chewy texture. Sounds picky, but it actually changes the outcome.
Serving Suggestions for white bread recipe for the bread machine
🍽️ Plating Styles
Present your fresh bread machine white bread in a way that suits the occasion. For casual meals, serve warm slices on a wooden board with butter or jam. A formal setting calls for neatly sliced portions on a tiered stand, paired with fine cheeses or charcuterie. At a buffet, pre-slice the loaf and arrange it in a bread basket lined with a linen cloth for easy access.
🎨 Garnishing Techniques
Enhance the visual appeal with simple yet effective garnishes. Brush the crust with melted butter or olive oil for a glossy finish, or dust it with a sprinkle of flour or sesame seeds before baking. For a rustic touch, top the loaf with rolled oats or herbs like rosemary or thyme. Serve with a drizzle of honey or flavored oil for dipping.
📏 Portion Sizes
Adjust portions based on your serving style. For individual servings, slice the bread into ½-inch thick pieces, ideal for sandwiches or toast. For family-style, leave the loaf whole and let guests tear off chunks, which adds a cozy, communal feel. Use a bread knife or serrated cutter for clean, even slices.
🌡️ Serving Temperature
White bread is best served warm, so let it cool in the pan for 10-15 minutes after baking to set the texture. Slice once it’s cool enough to handle but still retains warmth. If serving later, reheat slices in a toaster or oven at 300°F for 5-10 minutes to restore freshness. Always use a cooling rack to prevent a soggy crust.
Nutrition Facts

- 6 Egg Cake Recipe with Oil: Light as Air With Buttery Moisture - October 4, 2026
- 4 Bean Casserole Recipe: One-Pan Heartiness With Smoky Paprika Depth - October 4, 2026
- 3-Ingredient Keto Mug Cake Recipe: Microwave Magic in 2 Minutes - October 4, 2026