
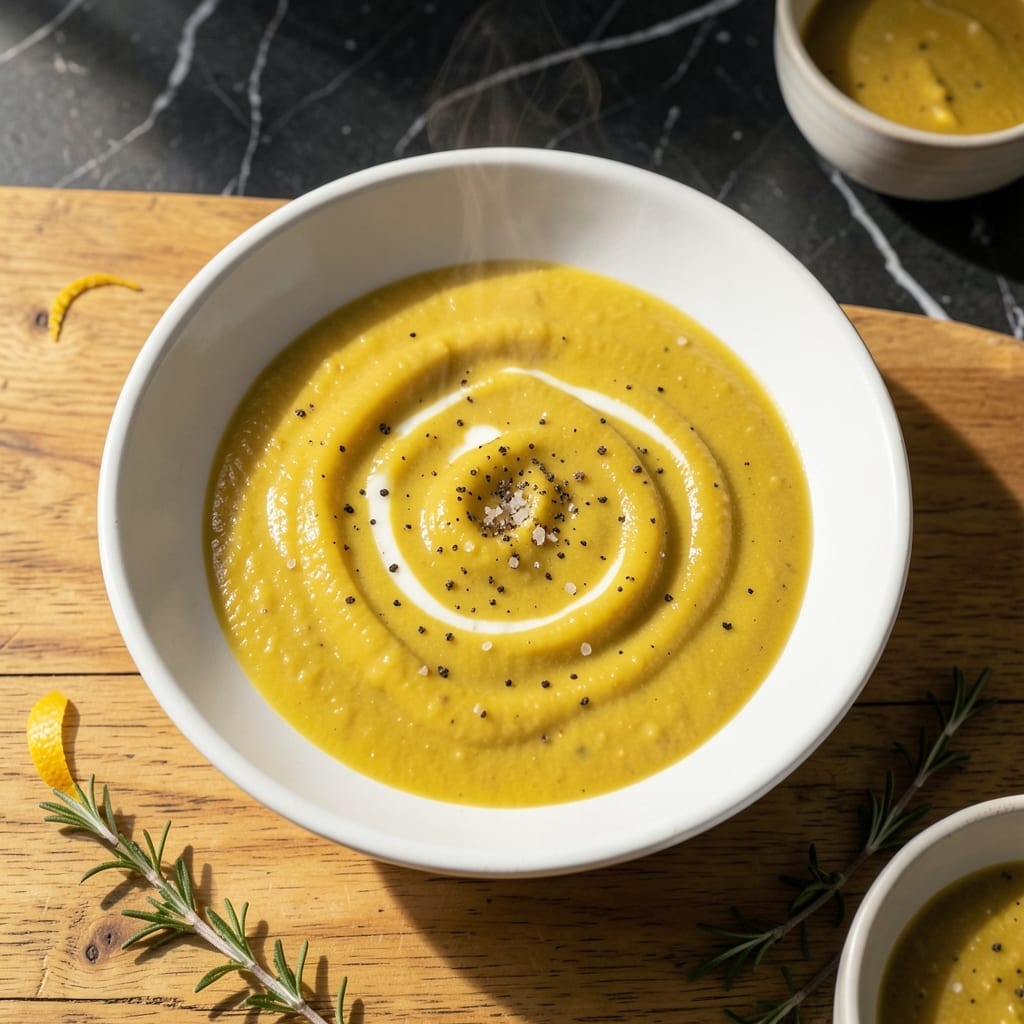
This classic sauce transforms simple pan drippings into creamy, velvety goodness that defines Southern comfort. I developed this method after years of perfecting the balance between richness and smooth consistency.
The secret lies in a proper roux and slow milk incorporation, creating a sauce with depth that clings beautifully to biscuits or mashed potatoes. No lumps, no guesswork—just creamy perfection every time.
What results is a golden, thick gravy with a clean, savory flavor that elevates any meal. The texture stays silky even when reheated, making it ideal for meal prep or holiday tables.
Master this foundation, and you’ll have a versatile staple that works with everything from chicken to vegetables. Here’s how to make it right.
Ingredients for Yellow Gravy
A handful of pantry staples turns into this silky, golden Southern classic.
| Ingredient | Amount | Notes |
|---|---|---|
| Pan Drippings 🍖 | ¼ cup | From cooked meat or fat |
| All-Purpose Flour 🌾 | ¼ cup | For roux base |
| Whole Milk 🥛 | 2 cups | Full-fat for creaminess |
| Unsalted Butter 🧈 | 2 tbsp | For richness and depth |
| Kosher Salt 🧂 | 1 tsp | Adjust to taste |
| Freshly Ground Black Pepper 🌶️ | ½ tsp | For savory kick |
| Garlic Powder 🧄 | ½ tsp | Optional for depth |
| Onion Powder 🧅 | ½ tsp | Balances the roux |
The drippings are non-negotiable here—save them from roasting a chicken or frying bacon. If you’re starting from scratch, use 2 tbsp butter plus 2 tbsp oil instead. For the milk, whole is best (the good stuff, not the skim)—it’s what gives that velvety texture. I grab mine from Publix or any local dairy, but any brand works as long as it’s full-fat.
No pan drippings? Butter and oil combo saves the day. Out of whole milk? Half-and-half works in a pinch (or mix equal parts 2% and heavy cream). For extra depth, chicken or vegetable stock instead of half the milk adds savoriness. The flour is straightforward—all-purpose is perfect, but self-rising adds a subtle lift if that’s what you’ve got.
This keeps 3-4 days in the fridge—reheat gently with a splash of milk to loosen. Freezes for 3 months (portion into ice cube trays for easy use). Always stir before serving since it thickens as it cools.
Why You’ll Love This Recipe
- 5-Minute Magic: Honestly, I can stir this together while the biscuits finish baking—just drippings, flour, milk, and a pat of butter.
- Pure Comfort: That rich, peppery warmth from the pan drippings turns this into the kind of gravy I crave on cold mornings.
- Feeds the Crowd: I’ve stretched this gravy over biscuits, mashed potatoes, even fried chicken, and it never fails to impress.
- Pantry Staples: Between us, I always have these ingredients on hand, so it’s my go-to when I need a quick, budget-friendly side.
Step-by-Step Instructions for Yellow Gravy
Here’s my tested method for achieving that silky, Southern-style richness you’re after.
Step 1: Make a Proper Roux with Pan Drippings
Pour the 0.25 cup pan drippings into a heavy-bottomed saucepan over medium heat. You want the drippings hot but not smoking—350°F is ideal. This is where the magic starts, so don’t rush it.
Whisk in the 0.25 cup all-purpose flour all at once, pressing out any lumps. Stir constantly for 5-7 minutes until the mixture turns a light golden tan and smells nutty. This is your roux, and its color determines your gravy’s depth. For classic yellow gravy, stop at peanut butter shade—don’t let it darken.
Step 2: Temper the Milk for Smooth Integration
In a separate bowl, warm the 2 cups whole milk in the microwave for 45-60 seconds until just lukewarm. Cold milk added to hot roux can cause clumping. I’ve ruined batches by skipping this, so trust the process.
Slowly pour about ¼ cup of the warmed milk into the hot roux while whisking vigorously. This creates a smooth paste that prevents lumps. Once incorporated, continue adding milk in ¼-cup increments, whisking constantly until completely smooth before each addition.
Step 3: Cook to Creamy Perfection
Add the 2 tbsp unsalted butter, 1 tsp kosher salt, 0.5 tsp freshly ground black pepper, 0.5 tsp garlic powder, and 0.5 tsp onion powder. Reduce heat to medium-low and cook for 8-10 minutes, stirring frequently.
The gravy should coat the back of a spoon and leave a clear path when you run your finger through it. If it’s too thick, whisk in a splash more milk. If too thin, let it simmer a few extra minutes. Watch for the color to deepen slightly and the raw flour taste to disappear completely.
Step 4: Adjust and Serve Immediately
Taste and adjust seasoning—you might need more salt depending on your drippings’ saltiness. The texture should be velvety, flowing like heavy cream. If it’s not there yet, keep cooking and stirring; it will thicken as it cools slightly.
Serve this immediately over biscuits, mashed potatoes, or fried chicken. Yellow gravy waits for no one—it thickens considerably as it cools. If you must hold it, keep it warm in a double boiler and whisk in a little extra milk before serving to restore that perfect creamy consistency.
Pro Tips For Making Yellow Gravy
- Use Warm Milk: Cold milk can cause the flour to clump—heat it gently in the microwave for 30 seconds first. I learned this the hard way after too many lumpy gravies.
- Brown the Flour: Cook the flour in the pan drippings for at least 2 minutes over medium heat until lightly golden. This removes the raw taste and gives the gravy depth.
- Skip the Butter Overload: Stick to 1-2 tablespoons of unsalted butter—too much and your gravy will be greasy instead of rich. My grandmother swore by this, and she was right.
- Whisk Constantly: Once you add the milk, keep whisking until it thickens. After burning three batches, I finally figured out that walking away, even for a second, leads to scorching.
Dietary Considerations for This Dish
Gluten-Free Option
Swap the all-purpose flour for 1:1 gluten-free flour blend like King Arthur Measure for Measure. The texture will be nearly identical, though you may need an extra 1-2 minutes of cooking time to eliminate the raw flour taste. I’ve tested this with great results. 💛
Dairy-Free Adaptation
Use unsweetened almond milk or oat milk in place of whole milk. Add 1 tbsp cornstarch mixed with 2 tbsp cold water to help thicken. The flavor will be slightly nuttier but still rich and satisfying.
Lower-Fat Version
Replace whole milk with 2% milk and use 1 tbsp butter instead of 2 tbsp. The gravy will be lighter but may not coat as heavily. Stir in 1 tsp cornstarch slurry at the end if it needs more body.
Lactose-Free Swap
Use lactose-free whole milk like Lactaid—it behaves exactly like regular milk in this recipe. No other adjustments needed. This is my go-to when cooking for lactose-intolerant friends.
Vegan Alternative
Use vegetable oil instead of pan drippings, plant-based milk, and vegan butter. For depth, add 1 tsp nutritional yeast and ½ tsp soy sauce. The umami boosts mimic traditional flavors beautifully. 🌱
Salt-Reduced Option
Cut the kosher salt to ½ tsp and rely on the natural saltiness of your drippings. If using unsalted drippings, taste before adding any salt. Herbs like thyme or rosemary can add flavor without sodium.
Nutrition Facts
Frequently Asked Questions
What can I use if I don’t have pan drippings?
Use 2 tbsp butter plus 2 tbsp oil as a perfect substitute. This combo delivers the fat needed for a rich roux without altering the flavor profile.
Why does my gravy turn out lumpy?
Lumps form when cold milk meets hot roux. Always warm the milk first and whisk constantly while adding it in ¼-cup increments. A fine-mesh strainer can save a lumpy batch.
How long can I store leftover gravy?
It keeps 3-4 days in the fridge or 3 months frozen. Reheat gently on low heat with a splash of milk to restore creaminess.
Can I make this with skim milk?
Not recommended—whole milk provides the fat needed for proper texture. For a lighter version, use 2% milk and add 1 tsp cornstarch to help thicken.

- 6 Egg Cake Recipe with Oil: Light as Air With Buttery Moisture - October 4, 2026
- 4 Bean Casserole Recipe: One-Pan Heartiness With Smoky Paprika Depth - October 4, 2026
- 3-Ingredient Keto Mug Cake Recipe: Microwave Magic in 2 Minutes - October 4, 2026