
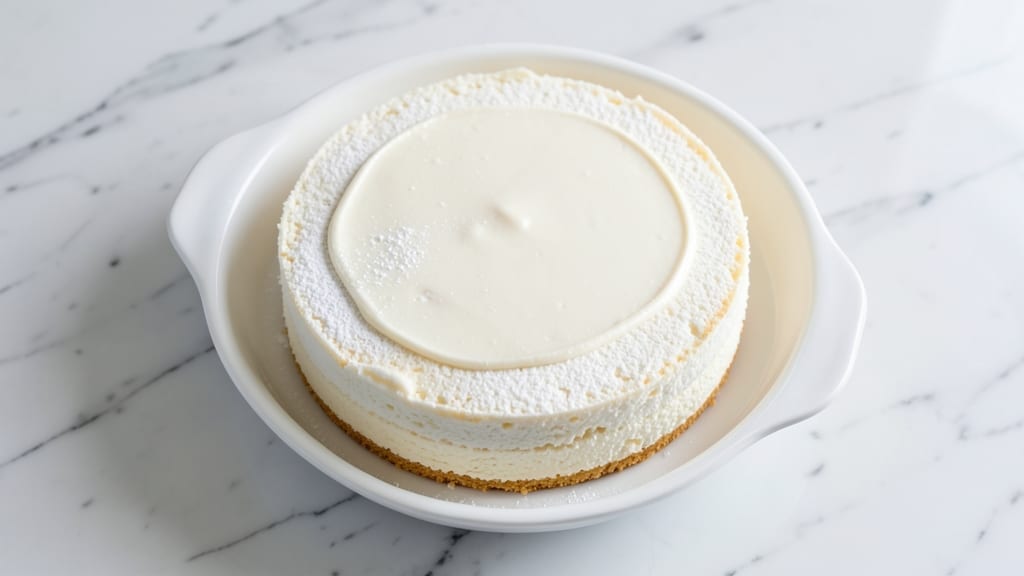
A 13×9 white cake with vanilla bean swirls and a light-as-air crumb is the perfect centerpiece for celebrations or cozy gatherings. This recipe delivers a tender, fluffy texture with subtle vanilla flavor that pairs beautifully with any frosting.
The secret lies in proper mixing techniques and precise oven temperature to ensure a perfectly baked cake every time.
This recipe uses simple ingredients like all-purpose flour, granulated sugar, and butter to create a foolproof white cake that bakes in about 35 minutes at 350°F. The addition of vanilla bean paste (not extract) gives it that signature aromatic depth without overpowering the delicate flavor.
A well-prepared 13×9 pan ensures even baking and a clean release.
Once baked, you’ll have a cake with a golden top and soft, moist layers that slice cleanly. The vanilla swirls create a stunning visual contrast, making it perfect for special occasions.
Whether you plan to frost it with buttercream, cream cheese, or simply dust with powdered sugar, this cake delivers restaurant-quality results at home.
Ready to impress? This recipe scales easily for parties or meal prep, and the leftovers keep well for 3-4 days when stored properly. Let’s get started on creating a cake that will be the highlight of any dessert table.
Ingredients for 13×9 white cake
Twelve essential ingredients create this restaurant-quality 13×9 white cake with signature vanilla swirls.
| Ingredient | Amount | Notes |
|---|---|---|
| All-Purpose Flour 🌾 | 3 cups | Sifted for even texture |
| Granulated Sugar 🍚 | 2 cups | Superfine for smoother batter |
| Unsalted Butter 🧈 | 1 ½ cups | Room temperature, cubed |
| Large Eggs 🥚 | 4 whole | Room temperature, separated |
| Egg Whites 🥚 | 4 whole | Room temperature, separated |
| Vanilla Bean Paste 🌿 | 2 tbsp | High-quality, seeds scraped |
| Baking Powder 🧂 | 2 tsp | Aluminum-free preferred |
| Salt 🧂 | ½ tsp | Fine sea salt |
| Whole Milk 🥛 | 1 cup | Room temperature |
| Vanilla Extract 🌿 | 1 tsp | Pure vanilla extract |
| Powdered Sugar 🍚 | 1 cup | For swirls, sifted |
The flour and butter form the foundation of this cake—King Arthur flour and European-style butter elevate the texture. For the butter, Plugrá or Land O’Lakes unsalted are reliable choices, but any high-fat butter works. The vanilla bean paste is non-negotiable for authentic flavor; Madagascar bourbon vanilla from specialty stores adds depth. Eggs should be separated carefully—room temperature ensures better volume. If you can’t find vanilla bean paste, high-quality vanilla extract plus 1/2 tsp scraped seeds works as a substitute, though it lacks the same intensity.
No vanilla bean paste? Pure vanilla extract plus a pinch of vanilla sugar mimics the flavor, though the swirls will lack visual contrast. Powdered sugar for the swirls should be sifted to avoid lumps—Domino brand is finely milled. The baking powder must be fresh; if older than six months, test it by mixing with water to see if it bubbles. For a dairy-free version, substitute unsweetened almond milk for the whole milk and vegan butter for the regular butter, though the texture will differ slightly. The milk should be room temperature to ensure proper emulsification with the butter.
Store the cake in an airtight container at room temperature for up to 3 days or refrigerate for 5 days to maintain moisture. The swirls will lose some definition over time but remain visually appealing. For longer storage, wrap tightly in plastic wrap and freeze for up to 3 months. Thaw at room temperature before serving. The cake reheats beautifully in the oven at 300°F for 10 minutes if it has been refrigerated, restoring its soft texture.
Why You’ll Love This Recipe
- No-Fuss Mixing: The butter, sugar, and eggs come together in one bowl—no messy separate batters. I swear by the egg whites folded in at the end; that’s what gives it that signature lightness without the fuss of a stand mixer.
- Buttery-Sweet Payoff: That rich, creamy texture? All thanks to the butter and sugar ratio—it’s not too sweet, not too heavy, just right. Honestly, the first time I made this, I ate a slice straight from the pan. (Don’t judge.)
- Layering Magic: This cake bakes flat but slices like a dream—perfect for stacking with fillings or frosting. I’ve used it for birthdays, potlucks, and even breakfast casseroles. The possibilities? Endless.
- Budget-Friendly Staples: Flour, sugar, butter, eggs—these are pantry basics that won’t break the bank. Between us, I’ve made this cake for holidays, last-minute gifts, and even repurposed the leftovers into trifles. Zero waste, all win.
Step-by-step instructions for vanilla bean swirl cake
Precision and patience yield a cake with signature swirls and a tender crumb every time.
Prepare the Dry Ingredients for Maximum Lightness
In a medium bowl, whisk together the 3 cups All-Purpose Flour, 2 tsp Baking Powder, and 0.5 tsp Salt. Sift the mixture through a fine-mesh sieve directly into a separate bowl to aerate the flour and eliminate any lumps. This step is critical—it prevents dense pockets in the final cake. Set aside the sifted dry ingredients for now.
In a small bowl, sift the 1 cup Powdered Sugar separately. This ensures your swirls will be smooth and lump-free when incorporated later. Keep both bowls nearby as you’ll need them in the next step.
Cream Butter and Sugars to Peak Volume
In a stand mixer fitted with the paddle attachment, beat the 1.5 cups Unsalted Butter (room temperature) and 2 cups Granulated Sugar on medium speed for 3-4 minutes. The mixture should lighten in color and nearly triple in volume, forming a pale, fluffy ribbon when the beaters are lifted. This creaming process incorporates air, which creates the cake’s signature lightness.
Scrape down the sides of the bowl with a rubber spatula to ensure even mixing, then add the 2 tbsp Vanilla Bean Paste and 1 tsp Vanilla Extract. Mix on low speed for 30 seconds until fully combined. Here’s the thing—vanilla bean paste contains seeds that need to be fully dispersed for even flavor distribution throughout the cake.
Incorporate Wet Ingredients in Stages
Add the 4 whole Large Eggs one at a time, mixing on low speed after each addition until just combined. Then add the 1 cup Whole Milk and mix until smooth. The batter should be thick but pourable—if it’s too stiff, you can add 1-2 tablespoons of milk to reach the right consistency.
With the mixer running on low, gradually add the sifted dry ingredients in three additions, mixing just until incorporated after each. Avoid overmixing—this develops gluten and results in a tough cake. The batter should be smooth and velvety with no visible flour streaks.
Prepare the Egg White Meringue
While the cake batter rests, prepare the egg whites in a separate, spotlessly clean bowl. Add the 4 whole Egg Whites and begin beating on medium speed. Once soft peaks form, gradually add the remaining sifted 1 cup Powdered Sugar, 1 tablespoon at a time, increasing the speed to high. Beat until the meringue is glossy and holds stiff peaks that stand upright when the beaters are lifted.
This meringue will create the signature swirls and add to the cake’s lightness. If the meringue becomes grainy, it means you added the sugar too quickly—start over with fresh egg whites. The meringue should be thick enough to hold its shape when dropped from a spoon.
Layer and Swirl with Precision
Pour half of the cake batter into an ungreased 13×9-inch baking pan. Using a spatula, spread the batter evenly to the edges. Drop spoonfuls of the egg white meringue onto the batter, then use the spatula to gently swirl the meringue in a circular motion, creating a marbled effect. This is where the magic happens—those swirls are what make this cake special.
Repeat with the remaining batter and meringue, creating another layer with swirls. Use the spatula to smooth the top, then run a knife through the center to the bottom of the pan to release any air pockets. Bake in a preheated 350°F oven for 30-35 minutes, or until a toothpick inserted in the center comes out clean and the edges pull away slightly from the pan.
Pro Tips For Making 13×9 White Cake
- Whip Whites First: I learned this the hard way—whisk your egg whites to stiff peaks before folding them into the batter. That extra 5 minutes of beating makes the cake light and airy instead of dense, especially in a 13×9 pan where volume matters. (Yes, even if you’re impatient like me.)
- Room-Temp Butter: Unsalted butter straight from the fridge won’t cream properly, and that means a grainy texture. Let it sit out for 30-45 minutes until it’s soft but not melted—press your finger in and it should leave a slight indent. No guessing: use a food thermometer for 65°F.
- Don’t Overmix Dry Ingredients: Once you add the flour to the butter-sugar mix, stop stirring the second it’s just combined. Overmixing develops gluten, and that turns your tender white cake into a tough, chewy mess. Two or three strokes max—this isn’t pancake batter.
- Test for Done with a Toothpick: Skip the “poke the center” trick—insert a toothpick in the thickest part of the cake. If it comes out clean (or with one crumb), it’s done. If it’s wet or gummy, bake another 5-10 minutes. Underbaking is the silent killer of white cake moisture.
Flavor customization for 13×9 white cake
Citrus Zest Twist
Brighten the classic vanilla flavor with 1 tbsp lemon or orange zest mixed into the butter-sugar cream. The citrus oils add a refreshing contrast that cuts through the richness, especially when paired with cream cheese frosting.
I like to use organic Meyer lemons for their natural sweetness. Add the zest with the vanilla paste during Step 2 for even distribution. 🍋
Spiced Vanilla Swirl
Infuse the vanilla swirls with warmth by adding ½ tsp cinnamon and ¼ tsp cardamom to the powdered sugar before whipping with egg whites. The spices complement the vanilla beautifully while adding depth.
For extra coziness, fold in 1 tbsp toasted almond slivers into the meringue mixture. This works especially well for fall gatherings or holiday cakes.
Chocolate-Dipped Swirls
Take the swirls to the next level by drizzling melted dark chocolate (I use 70% Valrhona) over the meringue before swirling. The chocolate will create striking marbled patterns that contrast beautifully with the vanilla.
Let the chocolate cool slightly before swirling to prevent melting the meringue. This variation pairs perfectly with white chocolate buttercream or a dusting of cocoa powder.
Coconut-Lime Surprise
For a tropical twist, replace ½ cup of the all-purpose flour with ½ cup fine shredded coconut (unsweetened) and add 1 tbsp lime zest to the batter. The coconut adds subtle texture while the lime zest brightens the flavor.
Use toasted coconut for extra depth. This works wonderfully with a lime-infused cream cheese frosting for a vacation-worthy dessert.
Salted Caramel Swirl
Elevate the cake by adding ¼ cup salted caramel sauce (homemade or store-bought like Trader Joe’s) to the meringue before swirling. The caramel will create beautiful ribbons while adding a sweet-salty contrast.
Finish with a sprinkle of flaky sea salt on top before baking. This variation is a showstopper for dinner parties and pairs beautifully with vanilla or caramel frosting.
Berry Compote Swirl
Create a fruity version by mixing ½ cup mixed berry compote (simmered with 1 tbsp sugar until thick) into the meringue before swirling. The berries will create colorful streaks while adding natural sweetness.
I recommend using fresh raspberries and blueberries for vibrant colors. This variation works especially well with a light whipped cream** topping instead of heavy frosting.
Nutrition facts
Frequently asked questions
Can I bake this white cake in a different pan size?
Yes, but you’ll need to adjust the baking time. For a 9×13-inch pan, this recipe works perfectly. If using an 8×8-inch pan, reduce the batter by about 25% and bake for 25-30 minutes at 350°F. For round pans, use a 9-inch and reduce batter by 33%, baking for 30-35 minutes. Always check doneness with a toothpick.
Why does my cake turn out dense instead of light and fluffy?
Overmixing the batter develops gluten, making the cake tough. Mix dry ingredients just until combined, and fold wet ingredients gently. Also, ensure your butter and eggs are room temperature—cold ingredients don’t cream properly. Finally, don’t overfill the pan (batter should be 2/3 full for even baking).
How do I prevent the cake from cracking?
Cracking often happens from uneven cooling. After baking, let the cake cool in the pan for 10 minutes, then transfer to a wire rack. Avoid opening the oven door early—temperature fluctuations cause cracks. If cracks appear, they’re usually cosmetic and won’t affect taste. For extra insurance, chill the cake in the pan for 15 minutes before removing.
Can I make this cake gluten-free?
Yes, but texture may differ slightly. Replace all-purpose flour with a 1:1 gluten-free flour blend (like Bob’s Red Mill) and add ½ tsp xanthan gum to improve structure. Use 1/3 cup more gluten-free flour than called for, as it absorbs more liquid. Expect a denser crumb, but the flavor remains excellent. Test with a small batch first.
What’s the best way to store leftover cake?
For short-term storage (3 days), keep at room temperature in an airtight container with parchment between layers. Refrigerate for up to 5 days if storing longer. For freezing, wrap tightly in plastic and freeze for up to 3 months. Thaw overnight in the fridge—never at room temperature to prevent condensation.

- 3lb Prime Rib Roast Recipe: Juicy Pink Center Guaranteed in 3 Hours - October 31, 2026
- 5 Spice Cake Recipe: Warmly Spiced Layers With Crunchy Top - October 31, 2026
- 1950’s Macaroni and Cheese Recipe: Nostalgic Creamy Cheese Sauce with Buttery Noodles - October 31, 2026