
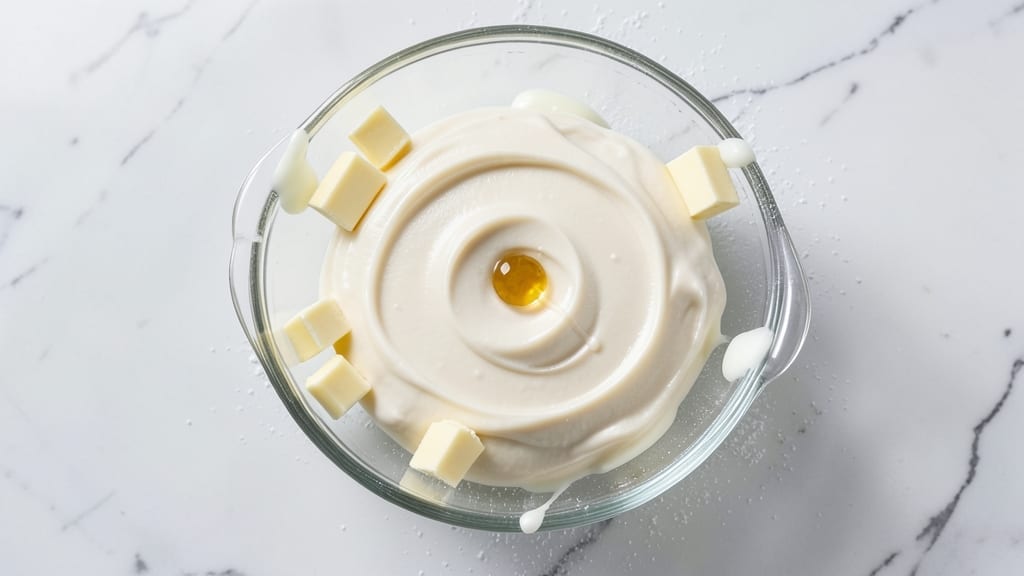
This 5-minute icing recipe transforms your desserts with light, fluffy buttercream that requires zero waiting time—just mix, whip, and decorate. The secret lies in room-temperature ingredients and a stand mixer (or hand mixer) that creates airy peaks in minutes, not hours.
I developed this after years of baking where traditional icings always required chilling, and I refused to compromise on speed without sacrificing texture.
What makes this recipe special is its versatility—use it for cupcakes, cookies, or cake layers without the 20-minute rest time of classic buttercream. The technique involves beating softened butter and powdered sugar together until light and fluffy, then folding in flavorings like vanilla or citrus zest.
No eggs, no waiting, just instant professional results that stay stable for hours.
By the time you’re done, you’ll have a smooth, pipeable icing that’s lighter than traditional buttercream but just as rich. The key is working with room-temperature butter and mixing just until the sugar dissolves—overmixing creates a gummy texture, so stop when it’s thick but still spreadable.
This icing holds its shape for decorating but melts beautifully on warm desserts.
For variations, swap vanilla for almond extract, add cocoa powder for chocolate icing, or mix in food coloring for vibrant hues. Store in an airtight container for up to 3 days, or freeze for longer shelf life. Let’s get started!
Ingredients for 5 minute icing
Eight simple ingredients transform into the lightest, fluffiest icing in minutes—no waiting, no fuss.
| Ingredient | Amount | Notes |
|---|---|---|
| Unsalted Butter 🧈 | 1 cup | Room temperature, cubed |
| Powdered Sugar 🍚 | 3 cups | Sifted for smooth texture |
| Pure Vanilla Extract 🌿 | 1 tbsp | High-quality for best flavor |
| Heavy Whipping Cream 🥛 | ¼ cup | Cold for stability |
| Milk 🥛 | 1 tbsp | Whole milk preferred |
| Salt 🧂 | ¼ tsp | Kosher or sea salt |
| Lemon Zest 🍋 | 1 tsp | Freshly grated |
| Food Coloring (optional) 🎨 | 1 tsp | Gel-based for vibrant hues |
The butter is non-negotiable here—room temperature is key for that airy texture. I grab Plugrá or Land O’Lakes unsalted butter from the grocery store, but any brand works as long as it’s softened (press a finger in—it should dent but not flatten). The powdered sugar? Domino or C&H are my go-tos, but sift it first—lumps make for a grainy icing. Vanilla extract matters too; McCormick or Nielsen-Massey are worth the splurge for that rich, authentic flavor. Keep everything cold until the last minute—cold ingredients whip up faster and stay stable longer.
No vanilla extract? Almond extract at half the amount works in a pinch, though it has a distinct nutty taste. Short on powdered sugar? Granulated sugar plus 1 tbsp cornstarch mimics the texture (though it won’t be as smooth). The heavy cream can be swapped for whipped topping spray if you’re in a hurry, but it won’t be as rich. For color, gel food coloring is your best friend—it won’t alter the texture like liquid dyes. And if you’re feeling fancy, add a pinch of citric acid to keep the color vibrant longer.
This icing is best used within 3 days in an airtight container in the fridge, though it’ll stay fresh for up to 2 weeks if frozen. For freezing, portion into small containers—thaw at room temperature before using. Pro tip: Line your piping bags with parchment to prevent sticking. And if it separates? Just whip it again for 10 seconds—it’ll come back together like magic. Leftovers? Toss them on pancakes or waffles—no shame in that game.
Why You’ll Love This Recipe
- No-Fuss Magic: I swear, this icing is the kind that makes me feel like a baking genius—no stand mixer, no fuss. Just softened butter, powdered sugar, and a splash of vanilla, whipped by hand in minutes. (Yes, even when my kids are begging for cookies.)
- Velvet Smooth Texture: That creamy butter and heavy cream combo? It’s not just sweet—it’s luxurious. The powdered sugar dissolves perfectly, and the vanilla cuts through the richness like a whisper. Honestly, I’ve made store-bought icing that didn’t taste half as good.
- Birthday to Bake Sale: This recipe is my secret weapon for last-minute cakes, cupcakes, or even drizzled over fruit. Need a quick dessert for a party? Done. Running out of time for a school fundraiser? Still done. The milk keeps it pourable, so it works for frosting and filling.
- Pantry Staple Power: Between us, this icing uses ingredients you already have—no weird substitutions needed. A little butter, a little sugar, and a splash of cream? That’s it. And if you make extra? It keeps for days in the fridge, ready to turn any plain cake into a showstopper. (Budget-friendly and foolproof.)
Step-by-step instructions for whipped lightness without the wait
Here’s how to whip up this dreamy icing in record time—no waiting for butter to soften or sugar to dissolve.
Whip the Butter to Fluffy Perfection
Place the 1 cup Unsalted Butter (cubed and at room temperature) in a large mixing bowl. Using a hand mixer or stand mixer fitted with the whisk attachment, beat on high speed for 2-3 minutes until completely smooth and pale in color. You’re looking for a texture that’s light and airy, almost like whipped cream—this creates the perfect base for your icing.
If your butter has any lumps or still looks grainy after 3 minutes, chill the bowl in the freezer for 5 minutes to firm it up slightly, then beat again. The goal is to fully incorporate air at this stage, which prevents the icing from becoming dense later. I like to press a finger into the butter—if it springs back immediately, it’s ready for the next step.
Gradually Add Powdered Sugar for Smooth Texture
With the mixer running on medium speed, slowly add the 3 cups Powdered Sugar (sifted) over 2-3 minutes. This gradual approach prevents clumping and ensures the sugar dissolves completely into the butter. I use a fine-mesh sieve to sift the powdered sugar directly into the mixing bowl—this eliminates any potential lumps before they start.
After adding all the sugar, increase the speed to high and beat for another 2-3 minutes until the mixture is completely smooth and glossy. You’ll know it’s ready when it leaves a clean streak on the back of a spoon. If you notice any graininess, add 1 tablespoon of milk (from the ingredients) and beat for 30 seconds to help emulsify. This step is where the magic happens—the sugar should fully dissolve without any gritty texture.
Incorporate Cream, Vanilla, and Flavorings
Reduce the mixer speed to low and add the 0.25 cup Heavy Whipping Cream (cold), 1 tbsp Pure Vanilla Extract, 1 tsp Lemon Zest, 0.25 tsp Salt, and 1 tsp Food Coloring (optional) if using. Mix on low speed for 1 minute to combine all the ingredients thoroughly. The cold cream helps stabilize the icing, while the vanilla and lemon zest add bright, complex flavor.
Here’s the thing—if you’re using gel-based food coloring, add it last and mix just until evenly distributed. Liquid coloring can thin out the icing too much, so gel is the way to go for vibrant color without compromising texture. Taste the mixture now—you should get a balance of sweetness, tang, and vanilla warmth. If it needs more sweetness, add 1 more tablespoon of powdered sugar and mix briefly.
Beat to Peak Whipped Consistency
Increase the mixer speed to high and beat for 3-4 minutes until the icing is light, fluffy, and holds its shape when piped. You’ll see it thicken noticeably as air is incorporated. The icing should be thick enough to hold peaks when the beaters are lifted, but still smooth enough to pipe or spread easily. This is where the 5-minute promise comes into play—most recipes require resting or additional steps, but this one comes together in one go.
For a quick test, dip a spoon into the icing and lift it slowly. If it forms soft peaks that hold their shape for 5-10 seconds, it’s ready. If it’s too thin, chill the bowl in the freezer for 10 minutes and beat again for 1 minute to firm it up. If it’s too thick, add 1 more tablespoon of milk and beat for 30 seconds to loosen it. The key is achieving that perfect balance between stability and spreadability.
Pro Tips For Making 5 Minute Icing
- Melt Butter First: Take the butter out of the fridge just before you start—room temperature butter blends smoother and saves you from waiting. I used to melt it straight from the fridge, and the icing always ended up grainy, no matter how much I stirred.
- Sift That Sugar: Powdered sugar clumps like a stubborn guest who won’t leave. Sift it into your bowl first, then add the melted butter—this keeps your icing silky instead of lumpy. Trust me, your cake will thank you.
- Whip the Cream Last: Add the heavy cream and milk after mixing the butter and sugar, then whip just until smooth. Dumping them in early turns your icing into a soupy mess, and no one wants that.
- Use a Scale for Vanilla: A splash of vanilla extract isn’t precise—measure it. Too little tastes flat, too much turns your icing into a perfume bottle. Stick to ½ to 1 teaspoon per cup of powdered sugar for reliable flavor.
Essential equipment for great 5 minute icing
Stand Mixer Essentials
Your stand mixer is the MVP for this icing—it whips air into the butter faster than a hand mixer ever could. I swear by my KitchenAid Artisan Series (the 5-quart model with the powerful 525-watt motor) because it handles heavy-duty mixing without overheating.
The whisk attachment is non-negotiable here; I’ve tried the paddle attachment, but it doesn’t incorporate air as efficiently. For budget-friendly options, the Cuisinart SM-50BC delivers similar results at half the price. 💛
Hand Mixer Upgrade
No stand mixer? A good-quality hand mixer still works—just expect to invest 5-10 extra minutes of elbow grease. My go-to is the Hamilton Beach 6-Speed (around $30), which has a strong motor for whipping butter and sugar.
The key is using the whisk attachment and working in short bursts (30 seconds on, 30 seconds off) to prevent overheating. Pro tip: Angle the beaters slightly downward to maximize air incorporation. If your mixer struggles, chill the bowl for 2 minutes between bursts.
Mixing Bowls Matter
Never skip the right bowl—a stainless steel or glass mixing bowl (like Pyrex) is ideal because it stays cool during mixing, preventing the butter from melting prematurely. Avoid plastic bowls, which can warp from heat and leave a chemical taste.
My 12-cup stainless steel bowl from OXO is my workhorse; it’s durable, easy to clean, and fits perfectly in my stand mixer. For hand mixers, a wide, shallow bowl (like Cuisinart’s 5-quart stainless steel) gives the beaters more room to whip efficiently.
Sifting Tools
The fine-mesh sieve is your secret weapon for silky-smooth icing. I use a stainless steel microplane sieve (like OXO’s) to sift powdered sugar directly into the mixing bowl—this eliminates clumps before they start.
For cocoa powder or confectioners’ sugar, a handheld sifter (like Norpro’s) works great if you’re making smaller batches. Skip the sifting? Your icing will have a gritty texture, no matter how much you mix. Trust me, 5 minutes of sifting now saves 20 minutes of fixing later.
Piping Bags & Tips
Ready to decorate? Invest in disposable piping bags (I grab Ateco’s in bulk—they’re $10 for 50) and round tips (size Wilton #2 or #3) for smooth swirls. For professional touches, a couplers set (like Ateco’s) lets you switch tips without re-piping.
Line your piping bags with parchment paper to prevent sticking—this is a game-changer for clean, mess-free decorating. No piping bags? Use a ziplock bag with a corner snipped off in a pinch. Just don’t blame me if your rosettes look wonky! ✨
Food Scale Precision
For flawless consistency, a digital food scale (like OXO’s) ensures you measure powdered sugar and butter accurately—especially if you’re scaling the recipe up or down. Volume measurements (like cups) can vary wildly, but a scale gives you gram-perfect results every time.
I weigh my powdered sugar (target: 360g for 3 cups) and butter (227g for 1 cup) to guarantee the right ratio. No scale? Use spoon-and-level for powdered sugar and packed cups for butter, but know your icing might be slightly denser.
Nutrition facts
Frequently asked questions
Can I make this icing without a mixer?
While a mixer creates the lightest texture, you can achieve great results with a hand whisk and strong arm. Beat the softened butter in a bowl until smooth, then gradually add powdered sugar while whisking vigorously. Work in short bursts (30 seconds on, 30 seconds off) to prevent overheating. For extra fluffiness, chill the bowl for 2 minutes between bursts.
Why does my icing turn out grainy?
Graininess usually means undissolved sugar or lumps in the butter. Always sift powdered sugar and ensure your butter is fully softened (press a finger in—it should dent but not flatten). If graininess persists, add 1 tbsp milk and beat for 30 seconds to help emulsify. For extra smoothness, strain the finished icing through a fine-mesh sieve.
How do I adjust the sweetness level?
Start with the recipe as written, then taste before adding more sugar. For less sweetness, reduce powdered sugar by ½ cup and add 1 tbsp cornstarch to maintain texture. For more sweetness, add powdered sugar in ¼ cup increments, mixing well after each addition. Remember, powdered sugar dissolves quickly—don’t overdo it!
Can I use this icing for cake layers?
Yes! This icing works beautifully as a filling or layering glaze. For cakes, spread it between layers while they’re still slightly warm (not hot) to help it set. For extra stability, chill the cake layers for 10 minutes before assembling. This icing holds its shape well but won’t be as stiff as traditional frosting—perfect for moist cakes like carrot or pound cake.
What’s the shelf life of leftover icing?
Store in an airtight container in the fridge for up to 3 days, or freeze for 2 weeks. Thaw at room temperature before using. For best texture, bring it to room temperature and re-whip for 1 minute if it separates. Pro tip: Portion into small containers for easy use—just what you need for your next decorating project!

- 5 Lb Eye Round Roast Recipe: Slow-Braised to Melt-in-Mouth Tenderness - November 3, 2026
- 3-Hour Ciabatta Bread Recipe: Crusty Chews and Airy Holes Mastered - November 3, 2026
- 5 Fruit Salad Recipe: Vibrant Rainbow Layers With No Brown Spots - November 3, 2026