
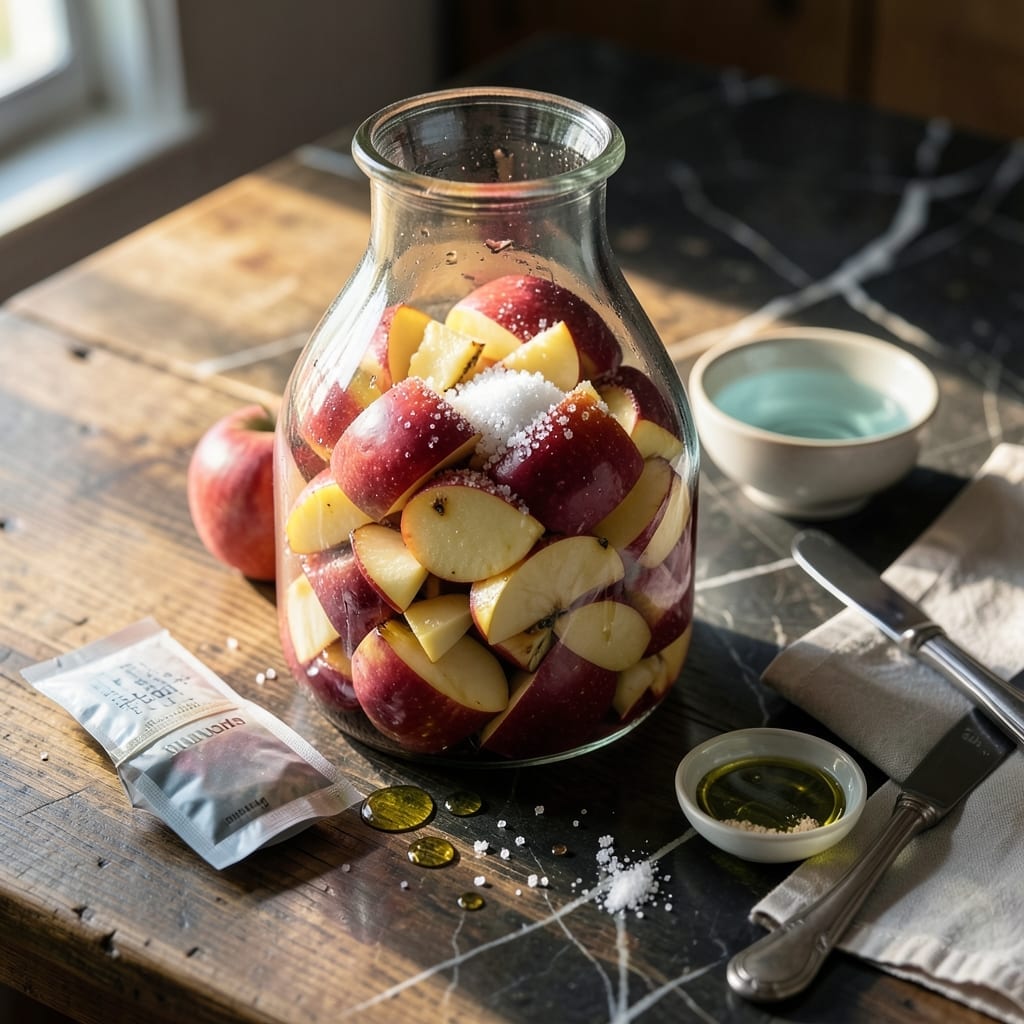
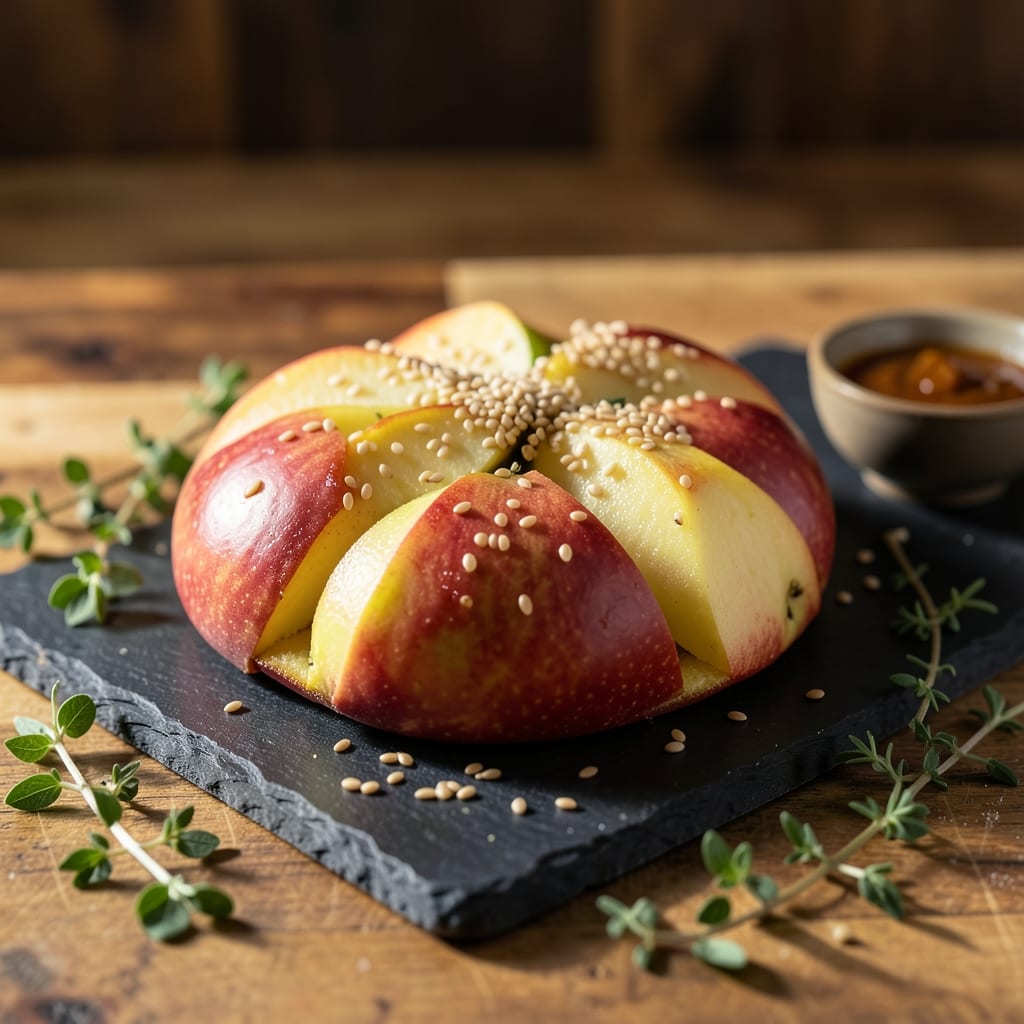
Crafting wine from fresh apples at home delivers homemade satisfaction like no store-bought bottle can match. This method transforms simple fruit into a sophisticated beverage with minimal equipment.
The process requires patience as natural fermentation works its magic over weeks. The result is a crisp, aromatic wine that captures the essence of your chosen apple varieties.
Ingredients for Apple Wine Recipe from Apples
Simple fruit and a few specialty items transform into fermented perfection right at home.
| Ingredient | Amount | Notes |
|---|---|---|
| Fresh Apples 🍎 | 10 lb | Sweet varieties preferred, cored and chopped |
| Granulated Sugar 🍚 | 2 ½ cups | Organic cane sugar recommended |
| Water 💧 | 1 cup | Filtered for best results |
| Wine Yeast 🍷 | 1 package | Champagne yeast works well |
| Acid Blend 🍋 | 1 tsp | For balancing flavor |
| Pectic Enzyme 🧪 | ½ tsp | Clarifies the wine |
| Campden Tablets 💊 | 2 pieces | For sterilizing must |
| Raisins 🍇 | ½ cup | Optional for extra body |
| Lemon Juice 🍋 | ¼ cup | Freshly squeezed preferred |
| Yeast Nutrient 🍞 | 1 tsp | Supports fermentation |
| Cinnamon Stick 🌿 | 1 whole | Optional for spiced variation |
| Cloves 🌰 | 2 whole | Optional for depth |
[recipeingredientscaler]
The apples are everything here. Sweet varieties like Fuji or Gala yield the best results—avoid tart apples as they require more sugar. Local orchards often have seconds perfect for winemaking at a discount. Organic isn’t mandatory, but thorough washing is essential to remove any wax or pesticides. The sugar should be plain granulated, nothing with additives.
No wine yeast? Bread yeast works in a pinch but expect a shorter fermentation and less alcohol content. Skip the Campden tablets? Use potassium sorbate instead. Raisins aren’t mandatory, but they add body and complexity. For acid blend, a mix of citric and malic acid (found at homebrew shops) does the trick if you can’t find it pre-mixed.
Store unopened yeast in the fridge for up to 2 years. Once opened, use within 6 months. The wine itself improves with age—6-12 months in a cool, dark place brings out the best flavors. Always sanitize all equipment before and after use to prevent contamination.
Why You’ll Love This Recipe
- Minimal Effort: I just chop the apples, mix everything in a jar, and let the yeast do the work.
- Sweet-Tart Perfection: The acid blend balances the sugar so well it’s like biting into a fresh apple.
- Gift-Worthy Batch: I bottle it for dinner parties—everyone always asks for the recipe.
- Pantry Hero: A bag of apples and a few staples turn into something fancy without the fancy price.
Step-by-Step Instructions for Apple Wine
Master the fermentation process with precision and patience for exceptional homemade results.
Step 1: Sanitize Equipment and Prepare the Must
Begin by sanitizing all fermentation equipment with a no-rinse sanitizer to prevent contamination. Wash, core, and chop the 10 lb Fresh Apples into small pieces, leaving the skins on for added tannins and color. Place the chopped apples in your primary fermentation vessel.
In a saucepan, heat the 1 cup Water to 160°F and dissolve the 2.5 cups Granulated Sugar completely. Pour this hot syrup over the apples. Add the 0.5 cup Raisins, 0.25 cup Lemon Juice, 1 tsp Acid Blend, 1 whole Cinnamon Stick, and 2 whole Cloves to the vessel.
Step 2: Sterilize and Add Enzymes
Crush the 2 pieces Campden Tablets and stir them into the must. These tablets release sulfur dioxide, which sterilizes the mixture and prevents wild yeast or bacteria from spoiling your batch. Cover the vessel with a clean cloth and let it sit undisturbed for 24 hours.
After the waiting period, stir in the 0.5 tsp Pectic Enzyme. This enzyme breaks down pectin in the apples, which clarifies the wine by preventing cloudiness. Let the mixture sit for another 12 hours to allow the enzyme to work effectively.
Step 3: Pitch the Yeast and Nutrient
Sprinkle the 1 package Wine Yeast and 1 tsp Yeast Nutrient over the surface of the must. The nutrient supports healthy yeast activity, ensuring a strong and complete fermentation. Stir gently to incorporate, then cover the vessel with a fermentation lock or a cloth secured with a rubber band.
Place the vessel in a dark, temperature-stable location, ideally between 68-75°F. You should see active bubbling within 12-24 hours as the yeast begins converting sugar into alcohol. Stir the must daily for the first 5 days to prevent the apples from compacting and to encourage even fermentation.
Step 4: Monitor Fermentation and Rack
After 5-7 days, the vigorous fermentation will slow. At this point, strain the liquid into a sanitized secondary fermentation vessel, leaving behind the apple solids. This process, called racking, helps clarify the wine by separating it from sediment.
Attach a fermentation lock to the vessel and let the wine ferment for an additional 4-6 weeks in the same dark, stable environment. Check the specific gravity with a hydrometer—when it reads below 1.000, fermentation is complete.
Step 5: Age and Bottle
Once fermentation stops, rack the wine again into a clean vessel to remove any additional sediment. Let it age for at least 3-6 months to allow flavors to mature and mellow. The longer you age, the smoother and more complex the wine becomes.
When ready, siphon the clear wine into sanitized bottles, leaving sediment behind. Cork or cap the bottles and store them in a cool, dark place. Your homemade apple wine is now ready to enjoy, with a balanced sweetness and subtle spice from the cinnamon and cloves.
Pro Tips For Making Apple Wine Recipe From Apples
- Sanitize Everything: I learned this the hard way—one contaminated spoon can ruin your whole batch. Scrub and sanitize all equipment with hot water or a no-rinse sanitizer before touching the must.
- Use Ripe Apples: Sounds obvious, but overripe or bruised apples give the best flavor and sugar content. Skip the shiny ones from the store—grab the slightly soft ones from your tree or market.
- Control Ferment Temp: After burning three batches, I finally figured out that yeast works best between 60-75°F. Too cold and it stalls, too hot and it dies—keep it steady in a dark closet or basement.
- Add Acid Last: My grandmother swore by this, and she was right: mix the acid blend into the must just before pitching the yeast. Adding it too early can inhibit fermentation and give your wine a harsh taste.
Common Mistakes When Making This Recipe
🍎 Using Unripe or Overripe Apples
Using apples that aren’t at peak ripeness can lead to a lack of natural sugars, resulting in weak or overly tart wine. Overripe apples may introduce unwanted bacteria or off-flavors.
Fix: Select firm, sweet apples like Fuji or Gala. Avoid bruised or moldy fruit, and wash them thoroughly before use.
🌡️ Ignoring Temperature Control
Fermentation temperature is critical. If it’s too cold, yeast becomes dormant; if too hot, it can die or produce harsh flavors. Inconsistent temps can also stall fermentation.
Fix: Maintain a steady 68–75°F (20–24°C) in a dark, insulated space. Use a fermentation chamber or a water bath to stabilize temperature.
🧂 Skipping Sanitization Steps
Unsanitized equipment can introduce wild yeast or bacteria, ruining your batch with off-flavors or spoilage. Even minor contamination can lead to cloudy or fizzy wine.
Fix: Sterilize all tools, jars, and airlocks with a no-rinse sanitizer like Star San. Rinse with boiled water if needed.
⏰ Rushing the Fermentation Process
Patience is key—rushing can leave residual sugars, causing bottle explosions or overly sweet wine. Short fermentation also misses out on complex flavors.
Fix: Allow primary fermentation for 1–2 weeks and secondary fermentation for at least a month. Test with a hydrometer to confirm completion.
Nutrition Facts

- 6 Egg Cake Recipe with Oil: Light as Air With Buttery Moisture - October 4, 2026
- 4 Bean Casserole Recipe: One-Pan Heartiness With Smoky Paprika Depth - October 4, 2026
- 3-Ingredient Keto Mug Cake Recipe: Microwave Magic in 2 Minutes - October 4, 2026