
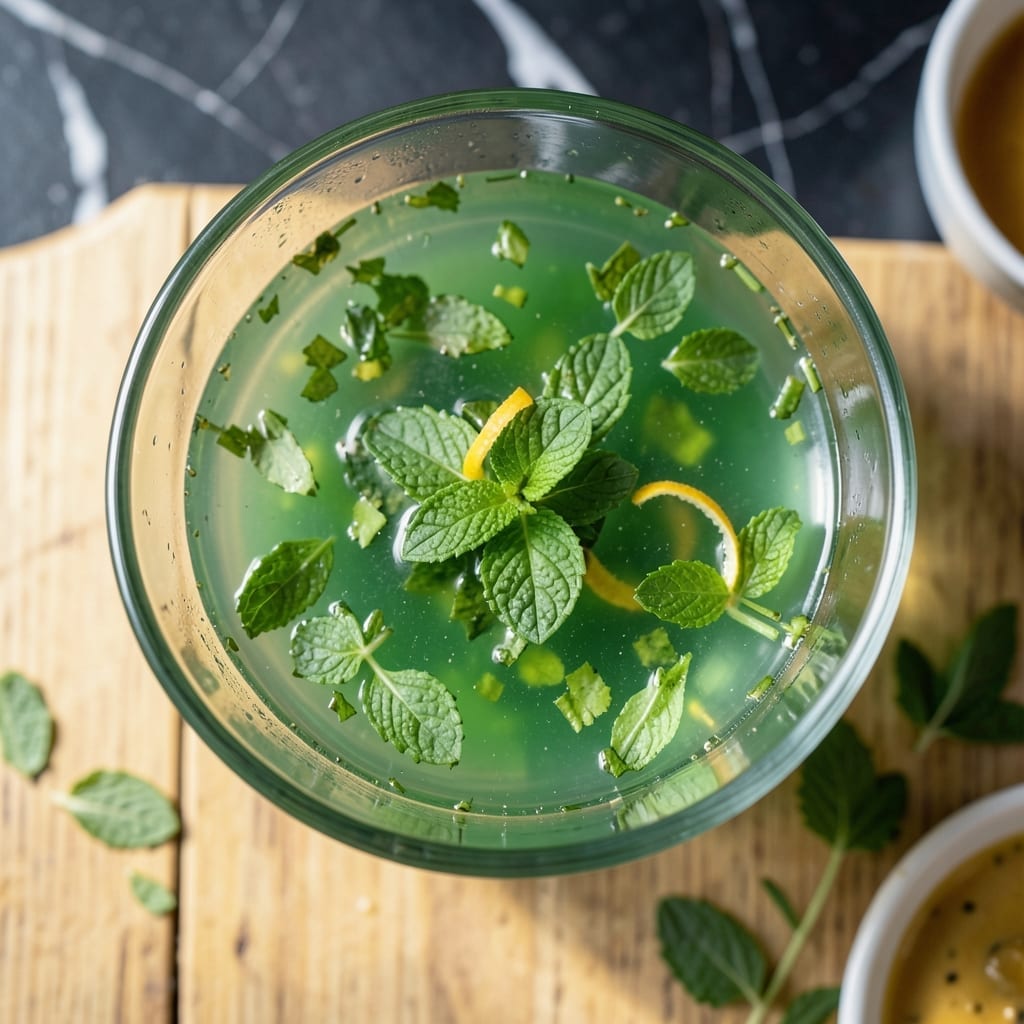
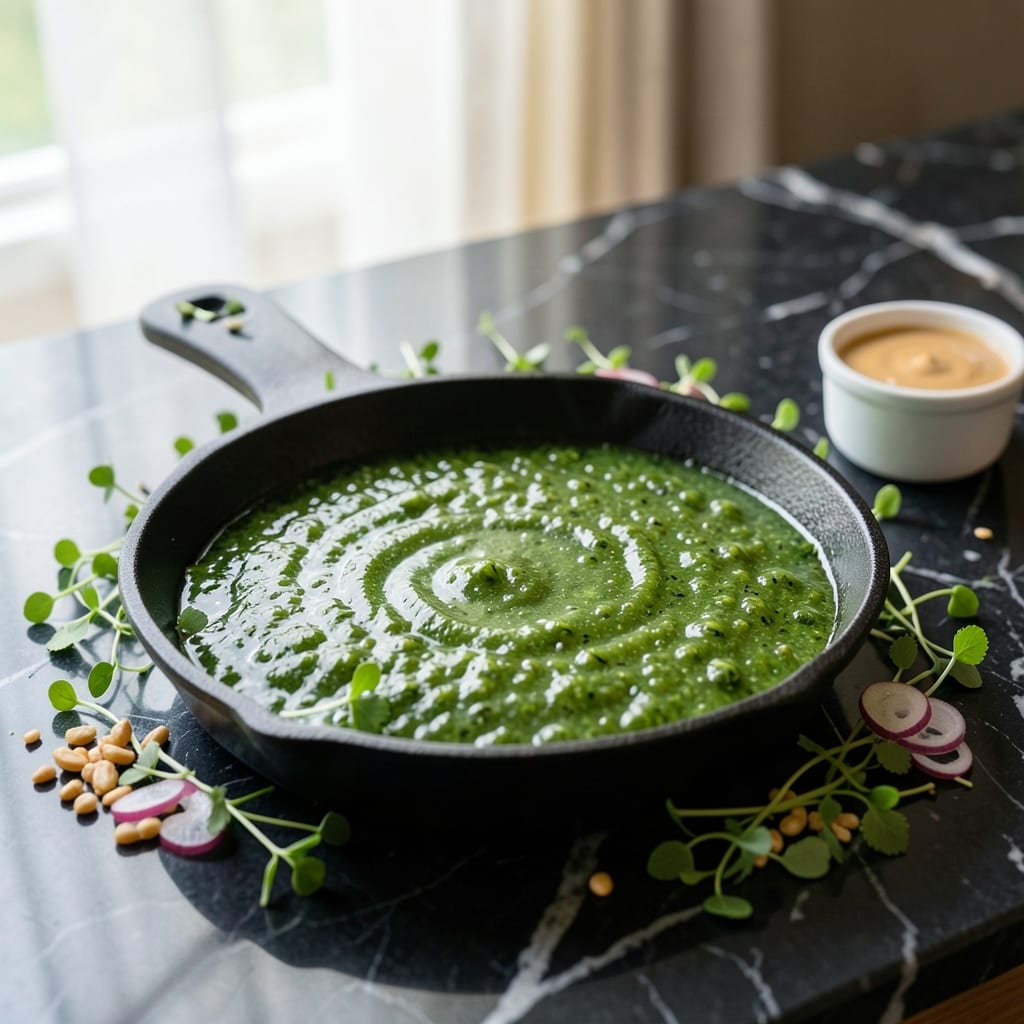
This vibrant mint jelly transforms fresh herb leaves into a glossy, sweet-tart spread with minimal effort. The process is straightforward yet yields professional results every time.
Perfect alongside roast lamb or as a unique addition to cheese boards, it captures the essence of mint in a versatile condiment. Store in airtight jars for up to a year.
Ingredients for Mint Jelly Recipe Jamie Oliver
Seven simple ingredients create this glossy, herb-forward spread with professional results.
| Ingredient | Amount | Notes |
|---|---|---|
| Fresh Mint Leaves 🌿 | 4 cups | Packed, stems removed |
| Granulated Sugar 🍚 | 3 cups | For sweetness and preservation |
| White Vinegar 💧 | 1 cup | 5% acidity preferred |
| Water 💧 | ½ cup | For initial cooking |
| Lemon Juice 🍋 | 2 tbsp | Freshly squeezed for brightness |
| Pectin 📦 | 1 package | Powdered, for thickening |
| Green Food Coloring 🎨 | ¼ tsp | Optional, for vibrant color |
[recipeingredientscaler]
The mint quality is paramount here. Source fresh, vibrant spearmint leaves (peppermint can be overpowering) from a trusted grocer or farmers market. Avoid wilted or yellowed leaves—bright green, fragrant bunches yield the best flavor. For sugar, standard granulated works perfectly, though super-fine sugar dissolves slightly faster. Domino or C&H are reliable brands for consistent results.
No pectin? Extended cooking time can reduce the liquid, though the texture may be slightly softer. Substitute apple juice for water for added depth. If avoiding food coloring, the jelly will be pale green but equally delicious. Certified pectin at the grocery store (Ball or Sure-Jell) ensures proper thickening. For a tart twist, add 1 tbsp of citric acid with the lemon juice.
This jelly keeps beautifully in sterilized jars for up to 1 year unopened, and 3 months once opened. Store in a cool, dark pantry. The flavor intensifies over time, making it even more delicious after a few weeks. Always use clean, dry utensils to prevent contamination.
Why You’ll Love This Recipe
- 5-Minute Simmer: I can walk away while the sugar, vinegar, and mint do their magic on the stove.
- Bright Zing: That fresh mint and lemon juice hit—sweet with a sharp, clean finish that cuts through rich meats.
- Roast Partner: Slather it on lamb or serve with cheese boards; honestly, it’s my Sunday dinner secret.
- Pantry Stapel: A jar lasts months, and I’ll be real: it’s cheaper than store-bought with way better flavor.
Step-by-Step Instructions for Mint Jelly
This method ensures a vibrant, perfectly set jelly with balanced sweetness and herbaceous freshness.
Step 1: Infuse the Mint in Liquid
Combine the 4 cups Fresh Mint Leaves with the 0.5 cup Water and 1 cup White Vinegar in a medium saucepan. The vinegar’s acidity helps preserve the bright green color while extracting the mint’s essential oils.
Bring to a gentle boil over medium-high heat, then reduce to a simmer. Cover and let steep for 10 minutes—this coaxes out the maximum flavor without bitterness. The liquid should turn a pale green and smell intensely aromatic.
Step 2: Strain and Prepare the Mixture
Strain the hot liquid through a fine-mesh sieve into a clean saucepan, pressing gently on the Fresh Mint Leaves to extract all liquid. Discard the spent leaves—you should have about 1.5 cups of infused liquid.
Stir in the 3 cups Granulated Sugar and 2 tbsp Lemon Juice until the sugar dissolves completely. The lemon juice adds brightness and helps with the setting process. At this stage, the mixture will be thin and syrupy.
Step 3: Add Pectin and Achieve the Set
Whisk in the 1 package Pectin until fully dissolved, ensuring no lumps remain. Bring the mixture to a full, rolling boil over high heat, stirring constantly. This is critical—pectin only activates at a hard boil.
Boil for exactly 1 minute, then test for set by placing a small amount on a chilled plate. If it wrinkles when pushed with a finger, it’s ready. For a more vibrant hue, stir in the 0.25 tsp Green Food Coloring during the final 10 seconds of boiling.
Step 4: Jar and Seal
Ladle the hot jelly into sterilized jars, leaving ¼-inch headspace. The jelly will still be liquid at this stage but will thicken as it cools. Wipe the rims clean with a damp cloth to ensure a proper seal.
Process the jars in a water bath for 10 minutes to create an airtight seal, or simply invert them for 5 minutes for a quick seal if using immediately. As the jelly cools, it will transform into a glossy, slightly jiggly spread with a jewel-like clarity.
Pro Tips For Making Mint Jelly Recipe Jamie Oliver
- Boil the Vinegar: I learned this the hard way—bring the vinegar, sugar, and water to a full rolling boil before adding the mint, or you’ll end up with a thin, syrupy mess instead of a proper set jelly.
- Bruise the Mint: Sounds weird, but it works: lightly crush the mint leaves with a rolling pin or mortar and pestle before infusing to release more of their oils and get a stronger, fresher flavor in the jelly.
- Skip the Overcooking: After adding the mint, pull the mixture off the heat as soon as it reaches a gentle simmer—any longer and the leaves turn bitter, ruining that bright, clean mint taste.
- Strain While Hot: Pour the mixture through a fine-mesh sieve immediately after cooking while it’s still hot; waiting even a few minutes makes the mint leaves cling to the jelly, leaving you with a murky, textured finish.
Make-Ahead Tips for mint jelly recipe jamie oliver
🔪 Week Before
Start by gathering your ingredients. Fresh mint is key, so check your local market or garden 3-5 days ahead to ensure you have the best quality. If using gelatine sheets or powder, verify the expiration date and store them properly. This is also a great time to sanitize your jars—wash them in hot, soapy water and let them air-dry completely to prevent any contamination.
⏰ Day Before
Prep your mint by washing the leaves thoroughly and patting them dry with a paper towel. 24 hours before making the jelly, you can infuse the mint in a light sugar syrup. Gently heat 1 cup of water with 1 cup of sugar and a handful of mint leaves until the sugar dissolves, then let it steep overnight in the fridge. This deepens the mint flavor and saves time on the day of cooking.
🍳 Day Of
Strain the mint-infused syrup and set it aside. 1-2 hours before assembling, prepare any additional flavorings like lemon juice or vinegar. If your recipe includes pectin or gelatine, measure it out and have it ready. This ensures a smooth workflow when you start cooking the jelly, as timing is critical for achieving the perfect set.
✨ Last-Minute Tasks
Just before cooking, give your mint leaves a final rinse if needed and finely chop them for even distribution. 10-15 minutes before starting, set up your workspace with all tools—saucepan, whisk, ladle, and jars—within reach. This keeps the process efficient and stress-free, so you can focus on nailing that glossy, vibrant finish. 💡 Pro tip: Keep a bowl of ice water nearby to test the jelly’s set as it cooks!
Nutrition Facts

- 6 Egg Cake Recipe with Oil: Light as Air With Buttery Moisture - October 4, 2026
- 4 Bean Casserole Recipe: One-Pan Heartiness With Smoky Paprika Depth - October 4, 2026
- 3-Ingredient Keto Mug Cake Recipe: Microwave Magic in 2 Minutes - October 4, 2026