
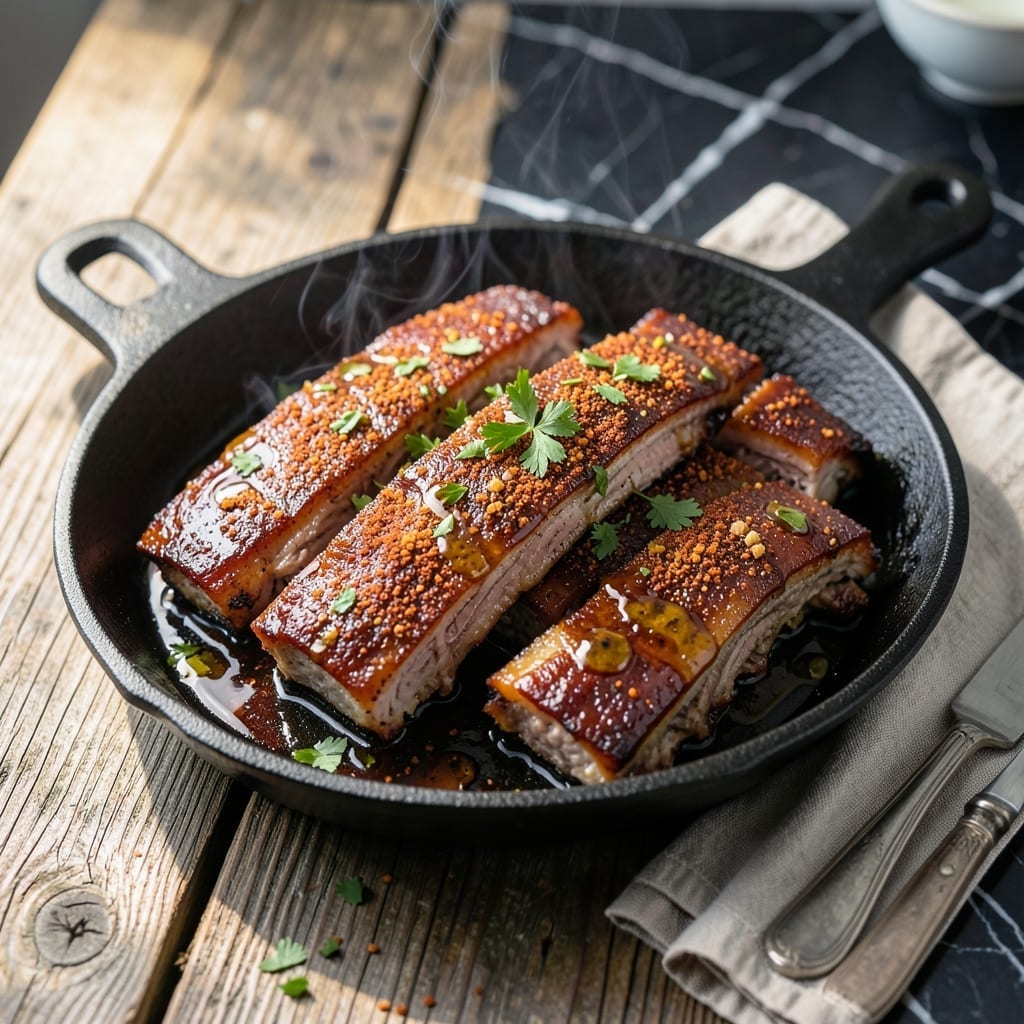
Achieving fall-off-the-bone ribs in your oven is simpler than you think. This method delivers consistently tender results without a smoker or grill.
The secret lies in a well-balanced dry rub and precise oven temperature control. Slow cooking at 275°F breaks down the collagen, creating that signature melt-in-your-mouth texture.
You’ll start with a flavorful spice blend that forms a crust while locking in moisture. The ribs emerge juicy, with meat that separates effortlessly from the bone.
Finish under the broiler for a caramelized glaze. This technique guarantees restaurant-quality ribs every time.
Ingredients for Baby Back Ribs Recipe Oven
These ribs need just a handful of bold spices and a slow oven. Nothing complicated here.
| Ingredient | Amount | Notes |
|---|---|---|
| Baby Back Ribs 🥩 | 2 lb | Racks, membrane removed |
| Brown Sugar 🧂 | ½ cup | Light or dark variety |
| Paprika 🌶️ | 2 tbsp | Sweet or smoked variety |
| Garlic Powder 🧄 | 1 tbsp | Fresh ground preferred |
| Onion Powder 🧅 | 1 tbsp | Fine grain for even coating |
| Chili Powder 🌶️ | 1 tbsp | Mild or hot variety |
| Ground Cumin 🌿 | 1 tsp | Toasted for deeper flavor |
| Salt 🧂 | 1 tbsp | Kosher or sea salt |
| Black Pepper 🌶️ | 1 tsp | Freshly ground preferred |
| Dijon Mustard 🟡 | 2 tbsp | For binding dry rub |
| Apple Cider Vinegar 💧 | 1 tbsp | Balances sweetness in rub |
| Barbecue Sauce 🍯 | 1 cup | For final glaze |
| Olive Oil 🫒 | 1 tbsp | For brushing ribs |
The ribs are the star, so don’t skimp. Costco has great baby back racks at a fair price—look for ones with good marbling. The membrane on the back needs to come off (trust me, it’s worth the extra minute). For the dry rub, Penzeys spices are my go-to, but any fresh, potent spices will do. If your paprika has been sitting in the cabinet for years, it’s time to replace it.
No brown sugar? Coconut sugar or maple syrup works in a pinch (just reduce the liquid elsewhere). Short on time? Pre-made rib rub can substitute for the dry mix—just add a tablespoon of Dijon to help it stick. The apple cider vinegar is key for balance, but white vinegar in a pinch does the job. Barbecue sauce is flexible—use your favorite, or even a homemade mix of ketchup and brown sugar.
Ribs can dry out fast, so let them rest 10 minutes after cooking. Leftovers keep 4-5 days in the fridge, but they’re best the same day. Freeze for up to 3 months if you need to. Always reheat gently—microwave is fine, but oven works better.
Why You’ll Love This Recipe
- Set and Forget: I toss the ribs with the dry rub, pop them in the oven, and let the heat do all the work—no babysitting required.
- Sticky Sweet Crust: That brown sugar caramelizes with the paprika and garlic into this finger-licking glaze I can’t resist.
- Feeds the Gang: One full rack serves my whole family, and honestly, it’s just as good reheated the next day.
- Budget Friendly Luxury: Baby back ribs feel fancy, but the oven method keeps it affordable and low-fuss.
Step-by-Step Instructions for Oven-Baked Baby Back Ribs
Here’s my foolproof method for achieving that coveted fall-off-the-bone tenderness right in your oven.
Step 1: Prepare and Season the Ribs
Start by patting the 2 lb Baby Back Ribs completely dry with paper towels. This step is crucial for helping the dry rub adhere properly and developing a good bark during cooking.
In a bowl, mix together 0.5 cup Brown Sugar, 2 tbsp Paprika, 1 tbsp Garlic Powder, 1 tbsp Onion Powder, 1 tbsp Chili Powder, 1 tsp Ground Cumin, 1 tbsp Salt, and 1 tsp Black Pepper. Add 2 tbsp Dijon Mustard and 1 tbsp Apple Cider Vinegar to create a paste.
Rub this mixture all over the ribs, pressing it in firmly to create an even coating. Let them sit at room temperature for 30 minutes while your oven preheats.
Step 2: Slow-Roast the Ribs
Preheat your oven to 275°F. Place the seasoned ribs meat-side down on a foil-lined baking sheet. Cover the entire pan tightly with foil, creating a sealed environment that will steam the ribs to tenderness.
Roast in the oven for 2.5 to 3 hours. The low temperature and long cooking time are key to breaking down the connective tissue without drying out the meat. You’ll know they’re ready when the meat begins to pull away from the bones.
Step 3: Apply the Glaze and Finish
Carefully remove the ribs from the oven and increase the temperature to 375°F. Uncover the pan and brush the ribs generously with 1 cup Barbecue Sauce on all sides. Drizzle with 1 tbsp Olive Oil to help the sauce caramelize beautifully.
Return the ribs to the oven, uncovered, and bake for an additional 15-20 minutes until the sauce thickens and becomes sticky. The edges should be slightly charred, and the sauce should bubble when you brush it on.
Step 4: Rest and Serve
Remove the ribs from the oven and let them rest for 10 minutes before slicing. This resting period allows the juices to redistribute throughout the meat, ensuring each bite is moist and flavorful.
Slice between the bones and serve immediately. The meat should pull away from the bone cleanly with just a gentle tug, revealing that perfect fall-off-the-bone tenderness you worked so hard to achieve.
Pro Tips For Making Baby Back Ribs Recipe Oven
- Preheat to 275°F: Low and slow is non-negotiable for tender ribs—any higher and the meat dries out before it falls off the bone. I learned this the hard way after my first batch came out tough as leather.
- Pat Ribs Dry: Sounds weird, but it works: drying the ribs with paper towels before seasoning helps the brown sugar and spices stick better and form a proper crust.
- Skip the Boiling: Resist the urge to parboil the ribs first—it washes away flavor and makes the texture mushy. Just season, wrap in foil, and let the oven do the work.
- Add Apple Juice: Pour ½ cup of apple juice into the foil packet with the ribs before baking. It adds moisture and a subtle sweetness that pairs perfectly with the brown sugar and spices.
Health Benefits of This Recipe
Rich Protein Source
These ribs pack a serious protein punch with about 22 grams per 3-ounce serving. Protein is essential for muscle repair and growth, making this dish a great post-workout meal. The slow cooking preserves these nutrients beautifully. 💪
Essential Vitamins
Pork ribs provide important B vitamins, particularly B12 and B6, which support energy metabolism and brain function. A serving covers about 30% of your daily B12 needs. I always feel energized after enjoying ribs.
Mineral Boost
You’ll get a healthy dose of iron and zinc from this recipe. Iron helps transport oxygen in your blood, while zinc supports immune function. The 2 lb serving provides about 15% of your daily iron requirements.
Moderate Calorie Count
With about 250 calories per 3-ounce serving, this dish fits well into balanced meal plans. The protein content helps keep you full, while the natural fats provide sustained energy. Just watch your portion sizes.
Collagen Benefits
The slow cooking process breaks down collagen in the ribs, which may support joint health. Collagen is a structural protein that becomes gelatin during cooking, contributing to that perfect fall-off-the-bone texture we love. 🥗
Nutrition Facts
Frequently Asked Questions
Should I remove the membrane before cooking?
The tough membrane on the bone side prevents flavors from penetrating. Slide a butter knife under it, lift, and pull it off with a paper towel for better grip. This step takes 2 minutes but makes a huge difference.
Can I use a different cooking temperature?
You can, but 275°F is ideal for breaking down collagen slowly. Higher temps risk drying out the meat. If you’re short on time, try 300°F for 2 hours, but monitor closely.
How do I know when the ribs are done?
The meat should pull away from the bones by about ¼ inch and bend easily when picked up. For extra certainty, use a meat thermometer—it should read 195-203°F internally.
Can I make these ribs ahead of time?
Yes! Cook and glaze them, then refrigerate for up to 3 days. Reheat covered at 350°F for 15-20 minutes to restore tenderness. Avoid microwaving, as it can make them tough.

- 6 Egg Cake Recipe with Oil: Light as Air With Buttery Moisture - October 4, 2026
- 4 Bean Casserole Recipe: One-Pan Heartiness With Smoky Paprika Depth - October 4, 2026
- 3-Ingredient Keto Mug Cake Recipe: Microwave Magic in 2 Minutes - October 4, 2026