
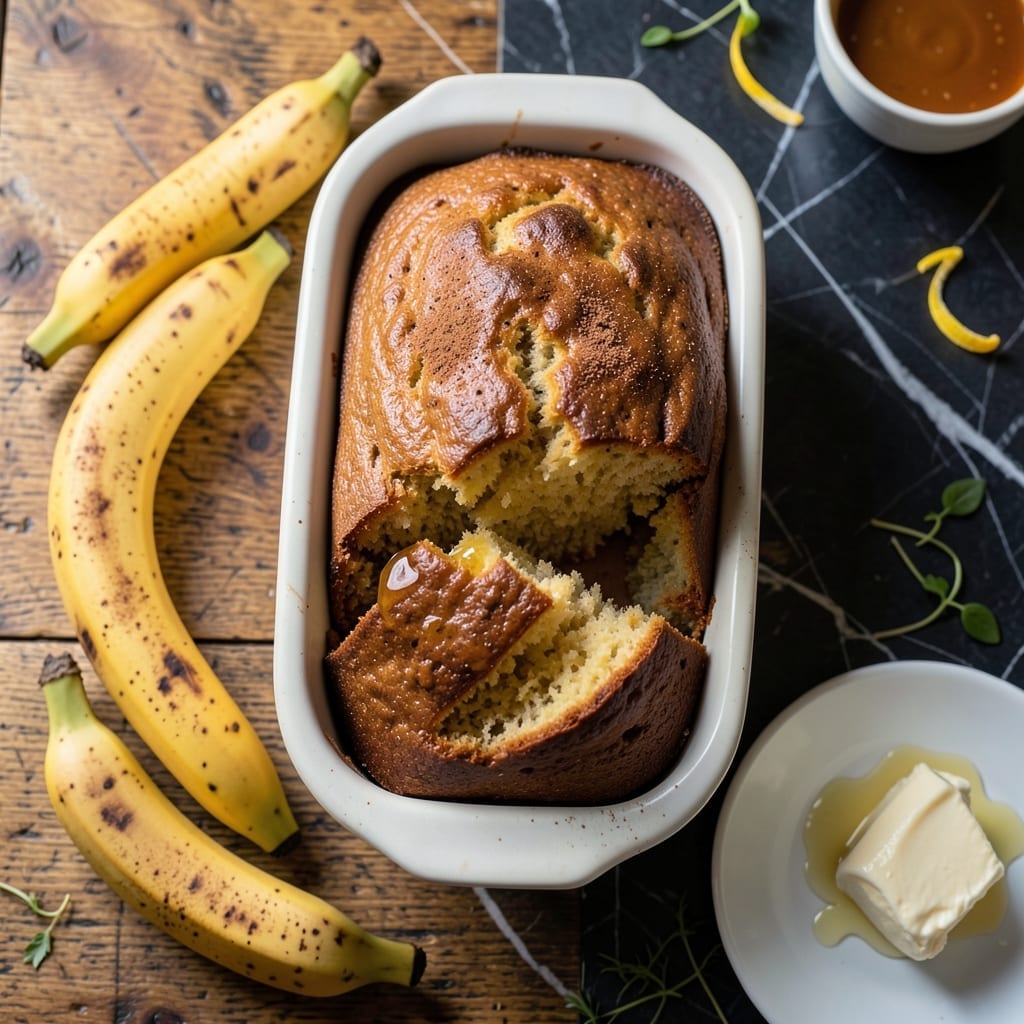
This recipe proves you don’t need baking soda to achieve a moist, tender banana bread. A simple swap with self-rising flour does the trick.
With ripe bananas and a few pantry staples, you’ll have a golden loaf that’s perfectly soft every time. The method is straightforward and beginner-friendly.
Ingredients for Basic Banana Bread Recipe Without Baking Soda
Ripe bananas and pantry staples create a perfectly moist, tender loaf every time.
| Ingredient | Amount | Notes |
|---|---|---|
| Ripe Bananas 🍌 | 3 whole | Very ripe, heavily spotted |
| Self-Rising Flour 🌾 | 2 cups | All-purpose alternative possible |
| Granulated Sugar 🍚 | ¾ cup | White or light brown |
| Large Eggs 🥚 | 2 whole | Room temperature preferred |
| Unsalted Butter 🧈 | ½ cup | Melted and cooled |
| Vanilla Extract 🌿 | 1 tsp | Pure, not imitation |
| Ground Cinnamon 🌶️ | 1 tsp | Optional for warmth |
| Salt 🧂 | ½ tsp | Fine sea salt |
| Chopped Walnuts 🌰 | ½ cup | Toasted, optional add-in |
| Whole Milk 🥛 | 2 tbsp | Or any plant-based milk |
The bananas are critical here—look for heavily spotted, nearly black peels for maximum sweetness and moisture. Self-rising flour replaces baking soda, so ensure it’s fresh (check the expiration date). King Arthur or Gold Medal brands are reliable. Butter should be unsalted to control sodium levels. For the best texture, use room-temperature eggs (they emulsify better with the butter).
No self-rising flour? Add 1.5 tsp baking powder and 0.5 tsp salt to all-purpose flour per cup. Swap walnuts for pecans or chocolate chips if preferred. Brown sugar can replace white for a deeper flavor. For dairy-free, coconut oil works instead of butter, and any plant-based milk substitutes the whole milk seamlessly.
Store the loaf wrapped in foil at room temperature for 2-3 days, or refrigerate for up to 5 days. For longer storage, slice and freeze in an airtight container for 3 months. Reheat slices in the toaster or microwave for that fresh-baked warmth.
Why You’ll Love This Recipe
- One Bowl Wonder: I just dump everything in, mix, and pour—no extra bowls, no fuss. Honestly, cleanup is almost nonexistent.
- Sweet Nostalgia: The caramelized bananas and butter give it that old-school, moist crumb I remember from my grandma’s kitchen.
- Breakfast or Dessert: I slice it for my kid’s lunchbox or serve it warm with ice cream for a treat. Between us, it works every time.
- Pantry Hero: Self-rising flour does the lifting, so I skip the baking soda and still get a perfect rise. Saves me a grocery run.
Step-by-Step Instructions for Banana Bread Without Baking Soda
This method leverages self-rising flour to achieve perfect rise without chemical leaveners.
Step 1: Prepare the Wet Ingredients
In a large mixing bowl, mash the 3 whole Ripe Bananas until smooth with only small lumps remaining. I find a potato masher works best for this—it breaks down the fruit efficiently without overworking it.
Add the 0.5 cup Unsalted Butter (melted and cooled), 0.75 cup Granulated Sugar, 2 whole Large Eggs, and 1 tsp Vanilla Extract. Whisk vigorously for 2-3 minutes until the mixture is fully emulsified and pale in color. This step ensures maximum moisture distribution throughout the batter.
Step 2: Incorporate Dry Ingredients
In a separate bowl, combine the 2 cups Self-Rising Flour, 1 tsp Ground Cinnamon, and 0.5 tsp Salt. Whisk to aerate and evenly distribute the spices.
Gradually add the dry mixture to the wet ingredients, folding gently with a silicone spatula until just combined—you should still see a few flour streaks. Overmixing develops gluten, which would make the bread dense rather than tender. The self-rising flour provides all the leavening needed for a proper rise.
Step 3: Fold in Add-Ins and Adjust Consistency
Gently fold in the 0.5 cup Chopped Walnuts (if using) until evenly distributed. If the batter appears too thick, incorporate the 2 tbsp Whole Milk to achieve a smooth, pourable consistency.
Here’s the thing—self-rising flour can vary in protein content between brands. If your batter seems too stiff, that extra splash of milk ensures the final loaf stays moist. The nuts should be suspended evenly throughout, not settled at the bottom.
Step 4: Bake to Golden Perfection
Transfer the batter to a greased 9×5-inch loaf pan, smoothing the top with your spatula. Bake in a preheated 350°F oven for 50-60 minutes, or until a toothpick inserted in the center comes out clean with only a few moist crumbs attached.
Don’t open the oven during the first 30 minutes—this allows the bread to set properly. You’ll know it’s nearly done when the top is deep golden brown and the edges begin pulling away from the pan. The self-rising flour ensures a consistent rise without the need for additional leavening agents.
Step 5: Cool and Serve
Let the bread cool in the pan for 10 minutes, then transfer to a wire rack to cool completely. This cooling period prevents the loaf from becoming gummy—it allows the structure to set while the interior finishes cooking.
For the best texture, wait at least 1 hour before slicing. The result should be a moist crumb with a tender crust, and every bite should deliver sweet banana flavor with subtle spice from the cinnamon. Serve at room temperature for optimal taste and texture.
Pro Tips For Making Basic Banana Bread Recipe Without Baking Soda
- Preheat the Pan: Always start with your oven at 350°F—self-rising flour needs that consistent heat to activate properly, or you’ll end up with a dense loaf.
- Mash Bananas Well: Use a fork to break them down until nearly smooth, with just a few small lumps; I learned this the hard way after biting into chunks of under-mashed banana.
- Skip Overmixing: Stir the batter just until the flour disappears—overworking it makes the bread tough, and nobody wants that.
- Soften Butter First: Leave the unsalted butter out for 30 minutes before starting; cold butter doesn’t cream well with sugar, and your loaf will be uneven.
Storing and Reheating basic banana bread recipe without baking soda
🍞 Refrigerator Storage
To keep your banana bread fresh for a few days, let it cool completely before storing. Wrap it tightly in plastic wrap or place it in an airtight container. It will stay moist and delicious in the refrigerator for 3-4 days. For best results, slice the bread before storing to make it easier to grab a piece whenever you crave it!
❄️ Freezer Storage
For longer storage, freezing is your best bet. Wrap the loaf or individual slices in plastic wrap, then place them in a freezer-safe bag or container. Properly wrapped, your banana bread will stay fresh in the freezer for 2-3 months. This method is perfect for meal prep or saving leftovers for a later treat.
🔥 Reheating Methods
To enjoy your banana bread warm, try reheating it in the oven at 350°F for 10-15 minutes for a whole loaf or 5-10 minutes for slices. For a quick fix, microwave individual slices for 20-30 seconds. If you’re feeling adventurous, a smoker at 225°F for 15-20 minutes can add a smoky twist!
💡 Quality Preservation
To maintain moisture, avoid storing banana bread in direct sunlight or near heat sources. When thawing frozen bread, let it sit at room temperature for a few hours or overnight in the refrigerator. For extra moisture, lightly sprinkle water on the bread before reheating in the oven. This ensures your banana bread stays soft and flavorful!
Nutrition Facts

- 6 Egg Cake Recipe with Oil: Light as Air With Buttery Moisture - October 4, 2026
- 4 Bean Casserole Recipe: One-Pan Heartiness With Smoky Paprika Depth - October 4, 2026
- 3-Ingredient Keto Mug Cake Recipe: Microwave Magic in 2 Minutes - October 4, 2026