
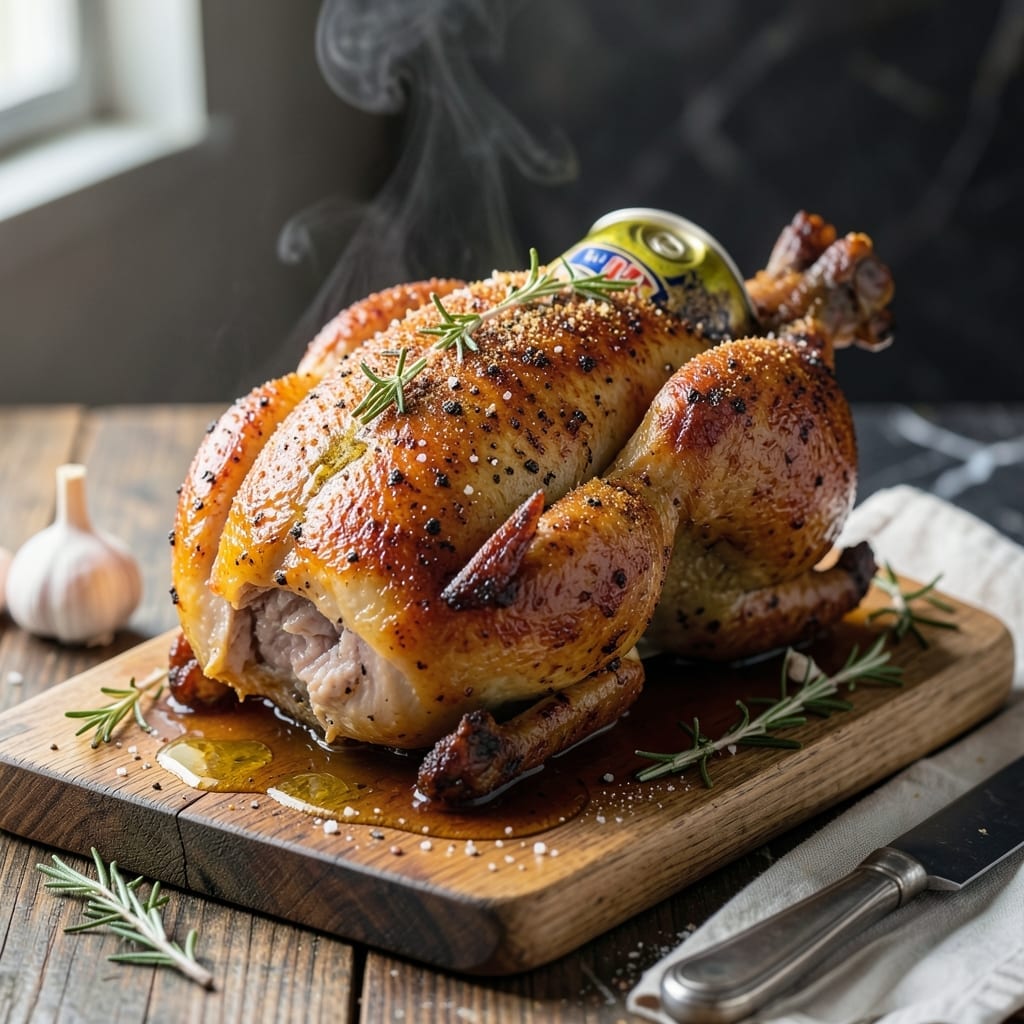
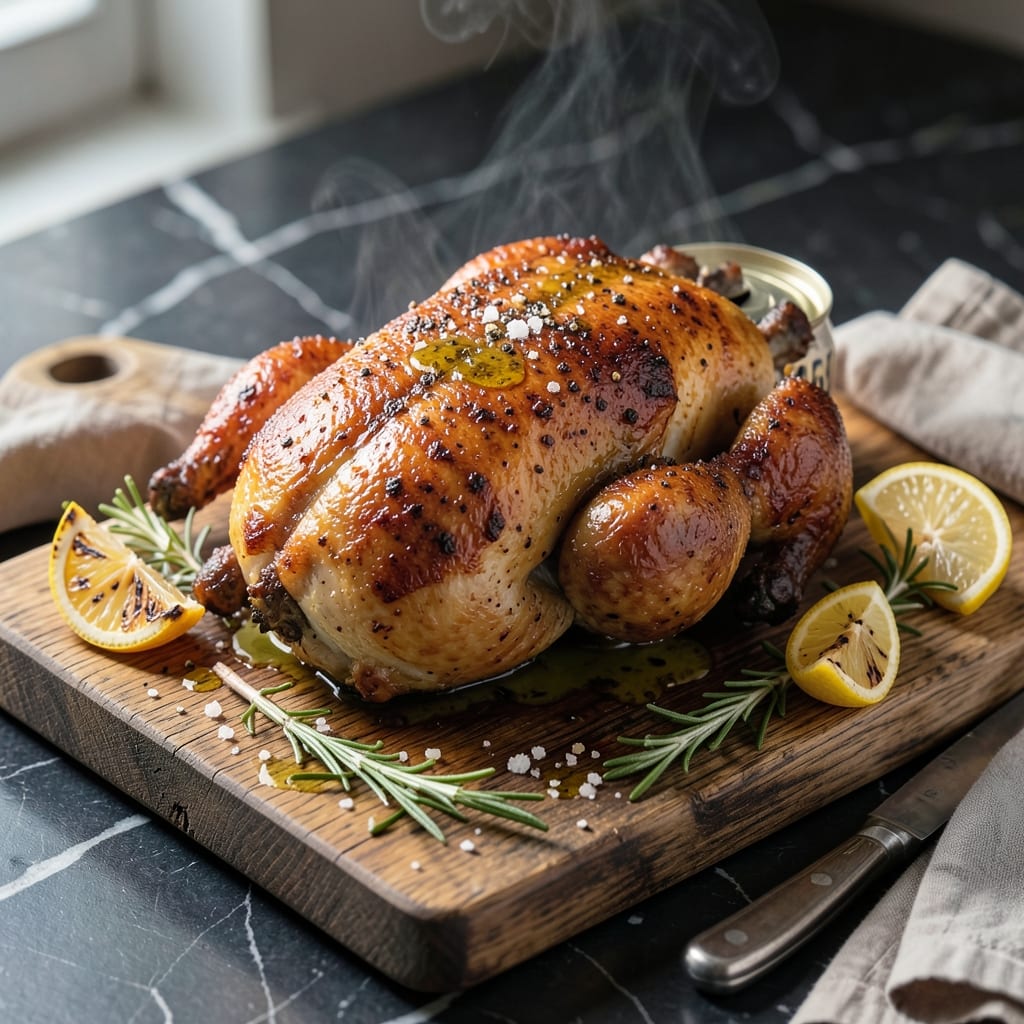
This oven method delivers crispy beer can chicken with smoky flavor without a grill.
Using a simple setup and high heat, the skin browns while the meat stays juicy. The beer infuses subtle depth into every bite.
Ingredients for Beer Can Chicken Recipe Oven
Simple setup with bold flavors brings smoky, crispy results indoors without a grill.
| Ingredient | Amount | Notes |
|---|---|---|
| Whole Chicken 🍗 | 1 whole | About 4-5 lb, giblets removed |
| Beer 🍺 | 12 oz | Any lager or pilsner, half consumed |
| Olive Oil 🫒 | 2 tbsp | For rubbing chicken skin |
| Kosher Salt 🧂 | 1 tbsp | Plus more to taste |
| Black Pepper 🌶️ | 1 tsp | Freshly ground preferred |
| Garlic Powder 🧄 | 1 tsp | For dry rub seasoning |
| Onion Powder 🧅 | 1 tsp | For dry rub depth |
| Smoked Paprika 🌶️ | 1 tsp | Key for indoor smoke flavor |
| Dried Thyme 🌿 | ½ tsp | Optional herb addition |
| Dried Rosemary 🌿 | ½ tsp | Optional herb addition |
| Lemon 🍋 | 1 whole | Zested and juiced for brightness |
| Butter 🧈 | 2 tbsp | Melted for basting |
The chicken is the star here. Look for a 4-5 lb bird—too small and it dries out, too large and it won’t cook evenly. Whole Foods or local butchers often have the best selection. Pat it dry thoroughly before seasoning (worth the extra minute)—this is what ensures that crispy skin the recipe promises. Most supermarkets carry suitable birds, but avoid pre-brined ones as they can affect the flavor balance.
No beer on hand? Chicken broth with a splash of apple cider vinegar mimics the acidity. Want more smoke? Add an extra half teaspoon of smoked paprika. The olive oil can be swapped for avocado oil if that’s what you’ve got. Fresh herbs work too—a tablespoon of chopped fresh rosemary or thyme instead of the dried. Just don’t skip the lemon; its brightness cuts through the richness.
Leftovers keep well wrapped in the fridge for 3-4 days. Reheat gently in the oven to maintain that crispy skin. The cooked chicken freezes for up to 3 months—great for quick meals later. Always bring it to room temperature before reheating for best texture.
Why You’ll Love This Recipe
- One Pan Wonder: I just season, pop the chicken on a beer can, and let the oven do the work. One dish, minimal cleanup.
- Juicy and Crisp: The beer steams the chicken inside while the skin roasts to golden perfection. That first bite? Ridiculously good.
- Feeds a Crowd: Between us, this one chicken serves four with leftovers for sandwiches tomorrow. My go-to for Sunday dinner.
- Budget Friendly: A whole chicken and a beer—that’s it. Honestly, it feels fancy for how little it costs.
Step-by-Step Instructions for Beer Can Chicken Oven Method
This method delivers perfectly crispy skin with deep, smoky flavor using your oven.
Step 1: Prepare the Chicken and Dry Rub
Pat the 1 whole Whole Chicken completely dry inside and out with paper towels. This step is crucial for achieving crispy skin—moisture is the enemy of proper browning.
In a small bowl, combine the 1 tbsp Kosher Salt, 1 tsp Black Pepper, 1 tsp Garlic Powder, 1 tsp Onion Powder, 1 tsp Smoked Paprika, 0.5 tsp Dried Thyme, and 0.5 tsp Dried Rosemary. Rub this mixture evenly over the entire chicken, including inside the cavity. The smoked paprika is what gives this dish its signature indoor smoke flavor.
Step 2: Set Up the Beer Can and Preheat
Pour out half of the 12 oz Beer (save it for the cook to enjoy). Place the remaining beer in a can or heatproof container that can support the chicken upright. Preheat your oven to 425°F.
Zest the 1 whole Lemon and mix the zest into the 2 tbsp Olive Oil. Add a squeeze of lemon juice to the oil as well. This citrus-infused oil will add brightness and help create that golden, crispy skin we’re after.
Step 3: Position the Chicken and Begin Roasting
Carefully lower the chicken cavity over the beer can so it stands upright. Brush the outside of the chicken with the lemon and olive oil mixture, ensuring it’s fully coated. This not only enhances flavor but also promotes even browning.
Place the chicken on a baking sheet to catch any drippings and transfer it to the preheated oven. Roast for 45 minutes at 425°F before checking for doneness.
Step 4: Baste and Finish Cooking
After 45 minutes, melt the 2 tbsp Butter and mix it with a bit more lemon juice. Carefully baste the chicken with this buttery lemon mixture, ensuring you cover all exposed surfaces. This step adds richness and an extra layer of flavor to the skin.
Return the chicken to the oven and continue roasting for another 20-30 minutes, or until the internal temperature reaches 165°F in the thickest part of the thigh. The skin should be deep golden brown and crisp to the touch.
Step 5: Rest and Serve
Remove the chicken from the oven and let it rest for 10-15 minutes before carefully lifting it off the beer can. This resting period allows the juices to redistribute, ensuring moist, flavorful meat.
Carve the chicken and serve immediately. The result should be tender, juicy meat with a crispy, flavorful skin that’s infused with smoky, citrusy notes. Discard the beer can and any remaining liquid inside.
Pro Tips For Making Beer Can Chicken Recipe Oven
- Preheat the Can: Fill the beer can only halfway and let it sit at room temperature for 10 minutes before inserting it—this prevents the chicken from cooking unevenly or the can from bursting in the oven.
- Pat the Chicken Dry: Use paper towels to thoroughly dry the chicken skin before rubbing it with olive oil, salt, and pepper—this guarantees crispy skin instead of a steamed exterior.
- Skip the Full Beer: I learned this the hard way—using a full can of beer makes the chicken top-heavy and unstable in the oven, which leads to uneven cooking and potential spills.
- Rest Before Carving: After pulling the chicken from the oven, let it rest for at least 10 minutes on the can—this keeps the juices from pooling on your cutting board and drying out the meat.
Creative Variations of This beer can chicken recipe oven
Ready to take your oven-baked beer can chicken to the next level? Here are some creative twists to keep things exciting! 🔥😋
🔥 Spicy Texas Style
Kick up the heat with a bold Texas-inspired rub. Mix 2 tbsp smoked paprika, 1 tbsp cayenne pepper, 1 tbsp brown sugar, and 1 tsp garlic powder for a fiery crust. Use a dark beer like a stout to complement the spices, and baste with a mix of hot sauce and butter halfway through cooking.
🍳 Sweet and Savory Fusion
Combine sweet and umami flavors by swapping the beer for a hard cider and brushing the chicken with a glaze of ¼ cup honey, 2 tbsp soy sauce, and 1 tbsp grated ginger. The result is a sticky, caramelized skin with a tangy kick.
💪 Healthy Lighter Version
For a leaner take, use light beer or even chicken broth in the can. Skip the butter and opt for a dry rub of 1 tsp garlic powder, 1 tsp onion powder, and ½ tsp black pepper. Roast at 375°F for crispy skin without extra fat.
🍂 Seasonal Twist
Embrace fall flavors with a rub of 1 tbsp maple syrup, 1 tsp cinnamon, and 1 tsp rosemary. Use a pumpkin ale in the can for a festive touch. The sweet and herbal notes pair perfectly with roasted root vegetables.
Nutrition Facts

- 6 Egg Cake Recipe with Oil: Light as Air With Buttery Moisture - October 4, 2026
- 4 Bean Casserole Recipe: One-Pan Heartiness With Smoky Paprika Depth - October 4, 2026
- 3-Ingredient Keto Mug Cake Recipe: Microwave Magic in 2 Minutes - October 4, 2026