
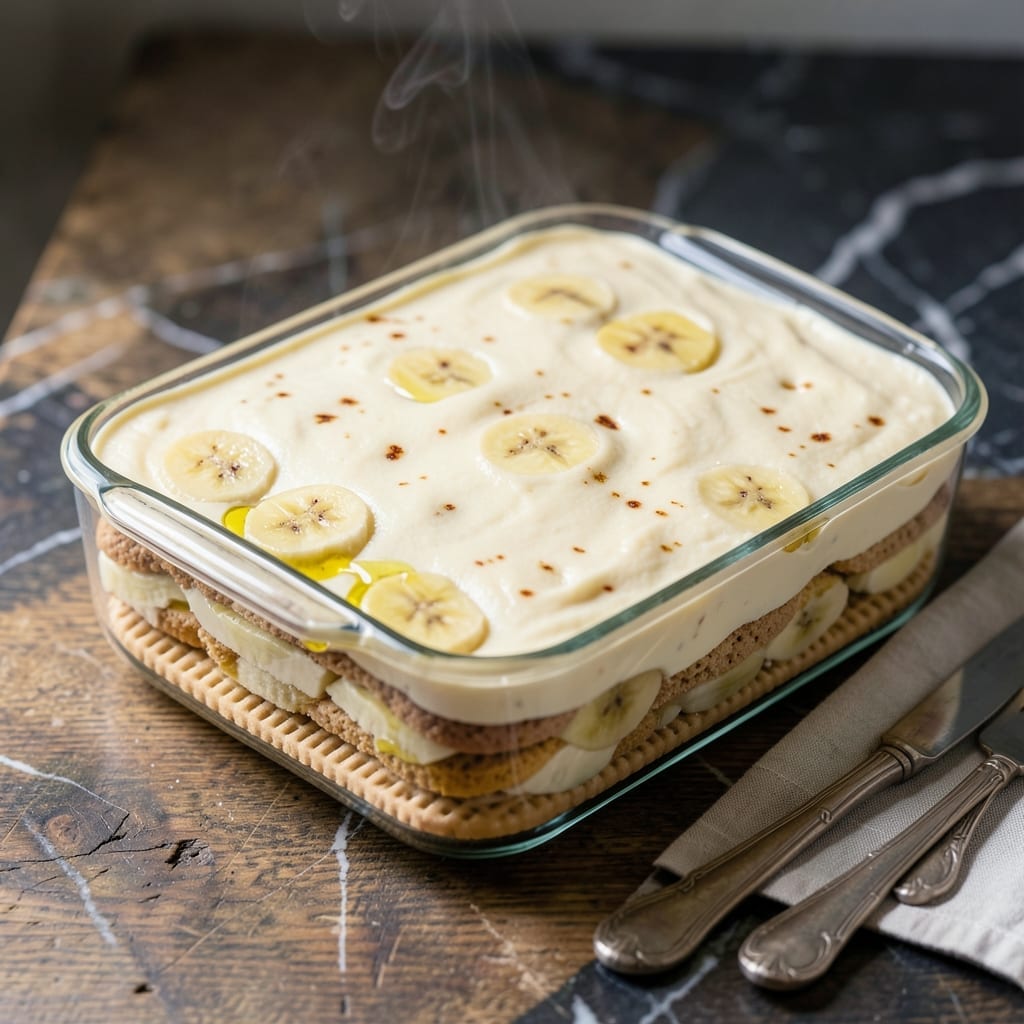
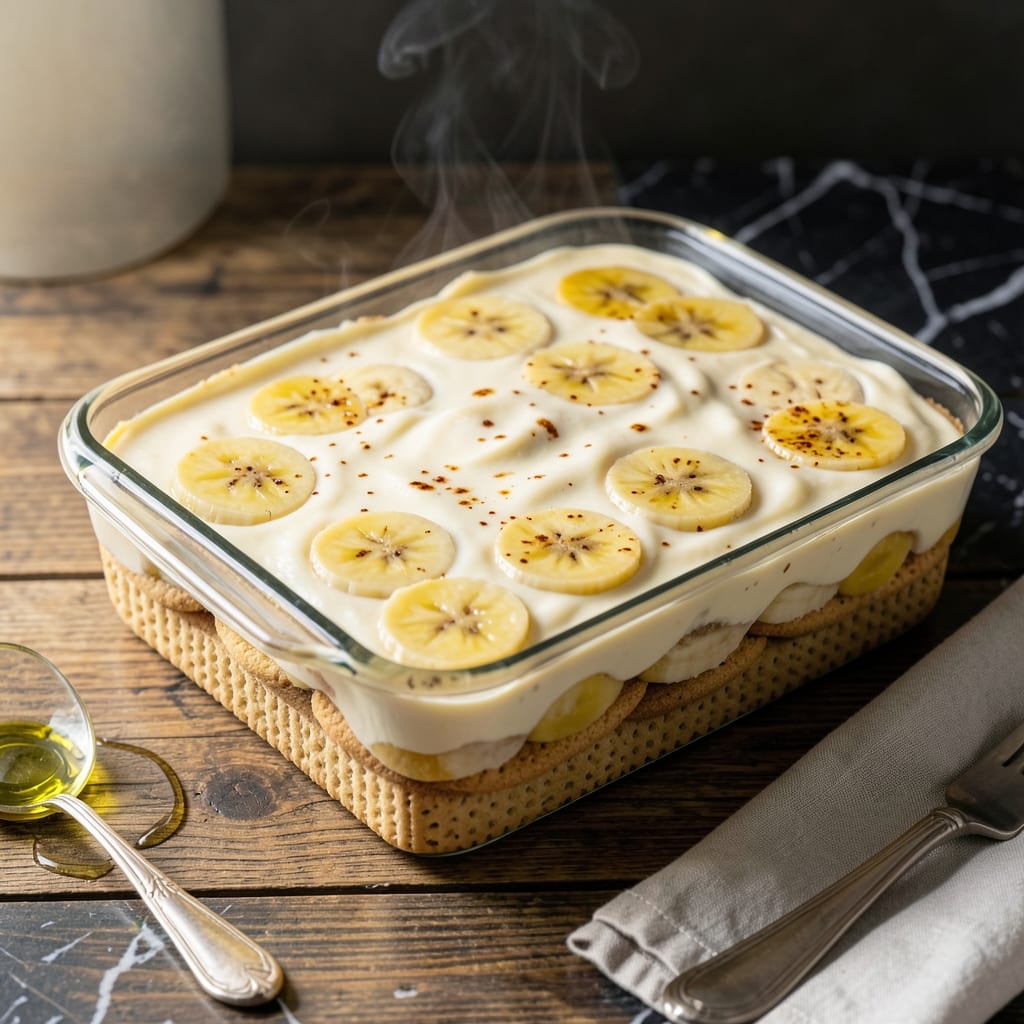
This classic dessert delivers creamy layers of vanilla custard, fresh bananas, and crisp vanilla wafers. It’s a timeless treat that’s as comforting as it is delicious.
Simple to assemble with everyday ingredients, it transforms basic components into something extraordinary. The wafers soften just enough to blend with the custard while keeping their texture.
Ingredients for Recipe for Banana Pudding with Vanilla Wafers
Everyday ingredients transform into extraordinary layers of creamy custard and banana goodness.
| Ingredient | Amount | Notes |
|---|---|---|
| Vanilla Wafers 🍪 | 12 oz | About 48 wafers, divided |
| Granulated Sugar 🧈 | ¾ cup | Divided for custard and meringue |
| All-Purpose Flour 🌾 | 3 tbsp | For thickening custard |
| Salt 🧂 | ¼ tsp | Fine sea salt preferred |
| Whole Milk 🥛 | 2 ½ cups | Full-fat for creaminess |
| Large Egg Yolks 🥚 | 4 whole | Room temperature preferred |
| Vanilla Extract 🌿 | 2 tsp | Pure extract for best flavor |
| Unsalted Butter 🧈 | 2 tbsp | For enriching custard |
| Ripe Bananas 🍌 | 4 whole | Sliced just before assembly |
| Heavy Cream 🥛 | 1 cup | For whipped topping |
| Powdered Sugar 🍚 | 2 tbsp | For sweetening whipped cream |
[recipeingredientscaler]
The vanilla wafers are the foundation—Nilla brand is the classic choice for authenticity (the good stuff, not the generic kind). Whole milk is essential for that ultra-creamy texture; avoid low-fat as it won’t set properly. For the best vanilla flavor, Nielsen-Massey extract is worth the splurge, but any pure extract works. Most grocery stores carry these staples in the baking aisle.
No vanilla wafers? Graham crackers or shortbread cookies work in a pinch (though the texture differs). Out of heavy cream? Whipped topping from a can saves time—just skip the powdered sugar. Bananas should be ripe but firm (yellow with brown speckles). The custard thickens best with whole milk, but 2% works if that’s what you have on hand.
Assemble just before serving—bananas brown quickly. Leftovers keep 2-3 days in the fridge, though the wafers soften completely. Best enjoyed fresh. For make-ahead, store components separately and layer right before serving.
Why You’ll Love This Recipe
- No Fuss Layers: I just alternate vanilla wafers, bananas, and pudding—no baking, no fancy techniques.
- Sweet Nostalgia: The creamy custard with those crispy wafers? Tastes like my grandma’s kitchen.
- Potluck Hero: I bring this to every gathering and come home with an empty dish.
- Stretches Far: One batch feeds my whole family for days, and the ingredients cost pennies.
Step-by-Step Instructions for Banana Pudding With Vanilla Wafers
This method ensures creamy custard layers with perfect texture and balanced sweetness every time.
Step 1: Prepare the Vanilla Wafer Base Layer
Line the bottom of a 9×13-inch baking dish with a single layer of vanilla wafers, using approximately half of the 12 oz package. I arrange them in neat rows with minimal gaps to create an even foundation for the layers.
This first layer needs to be sturdy enough to support the custard and bananas. Gently press the wafers into the dish so they don’t shift when you add the next layer. The cookies will soften slightly as they absorb moisture from the custard, creating that signature banana pudding texture.
Step 2: Create the Creamy Custard Base
In a medium saucepan, whisk together 0.75 cup granulated sugar, 3 tbsp all-purpose flour, and 0.25 tsp salt until no lumps remain. Gradually whisk in the 2.5 cups whole milk until smooth—this prevents clumping when the mixture heats.
Place the saucepan over medium heat and cook, stirring constantly with a wooden spoon, until the mixture thickens and comes to a gentle boil. This should take 8-10 minutes. The custard is ready when it coats the back of the spoon and leaves a clear trail when you run your finger through it.
In a separate bowl, lightly beat the 4 large egg yolks. Slowly temper the yolks by whisking in about ½ cup of the hot milk mixture, then pour the tempered yolks back into the saucepan. Cook for an additional 2 minutes, stirring constantly, until the custard thickens further.
Remove from heat and stir in the 2 tsp vanilla extract and 2 tbsp unsalted butter until fully melted and incorporated. The butter enriches the custard, giving it a velvety finish. Let the custard cool slightly for 10 minutes before assembling—this prevents the bananas from turning mushy.
Step 3: Layer Bananas and Custard
Slice the 4 ripe bananas into ¼-inch thick rounds just before assembling—this prevents browning. Arrange half of the banana slices evenly over the vanilla wafer layer in the baking dish.
Pour half of the warm custard over the bananas, spreading it gently with a spatula to cover them completely. Repeat with another layer of vanilla wafers, followed by the remaining banana slices and the rest of the custard. The layers should be distinct but fully coated to ensure every bite includes all the elements.
Step 4: Top with Whipped Cream and Chill
In a chilled bowl, whip the 1 cup heavy cream with the 2 tbsp powdered sugar until stiff peaks form. This should take 3-4 minutes with an electric mixer on medium-high speed. Be careful not to over-whip, or the cream will turn buttery.
Spread the whipped cream evenly over the top layer of custard. For a polished look, use the back of a spoon to create gentle swirls. Cover the dish with plastic wrap, pressing it directly onto the surface of the whipped cream to prevent a skin from forming.
Refrigerate for at least 4 hours, or ideally overnight. This chilling time allows the flavors to meld and the vanilla wafers to soften into that perfect, pudding-like consistency. Serve cold, with each portion showcasing the distinct layers of wafer, banana, custard, and cream.
Pro Tips For Making Recipe For Banana Pudding With Vanilla Wafers
- Chill Between Layers: After adding each layer of vanilla wafers and pudding, pop it in the fridge for 15-20 minutes—this prevents the wafers from turning to mush before serving.
- Use Fresh Wafers: Stale vanilla wafers won’t soften properly, so check the package date and give them a quick sniff before using.
- Whisk Vigorously: When mixing the flour, sugar, and milk, whisk like you mean it to avoid lumps in your pudding base—I learned this the hard way after my first few grainy batches.
- Skip the Salt: If your vanilla wafers are already salted, omit the added salt in the pudding—it’s an easy mistake that can make the whole dessert taste unbalanced.
Perfect Pairings for recipe for banana pudding with vanilla wafers
Side Dishes
Pair your banana pudding with vanilla wafers with light, refreshing sides to balance the richness. A fresh fruit salad with berries, melon, and citrus adds a bright contrast, while shortbread cookies or buttery pound cake complement the creamy layers with a satisfying crunch. For a savory twist, try cheese and crackers to cut through the sweetness.
Drink Pairings
Enhance your dessert experience with the right beverage. A cold glass of milk or a frothy vanilla latte highlights the pudding’s custard base. For an adult touch, a dessert wine like Moscato or a bourbon old-fashioned adds depth. Iced chai tea or lemonade also work wonderfully for a refreshing sip.
Complementary Flavors
Boost the flavors of your banana pudding with toppings or mix-ins. A drizzle of caramel sauce or chocolate syrup adds indulgence, while toasted nuts or whipped cream provide texture. For a tropical twist, sprinkle toasted coconut flakes or add crushed pineapple between the layers.
Nutrition Facts

- 6 Egg Cake Recipe with Oil: Light as Air With Buttery Moisture - October 4, 2026
- 4 Bean Casserole Recipe: One-Pan Heartiness With Smoky Paprika Depth - October 4, 2026
- 3-Ingredient Keto Mug Cake Recipe: Microwave Magic in 2 Minutes - October 4, 2026