
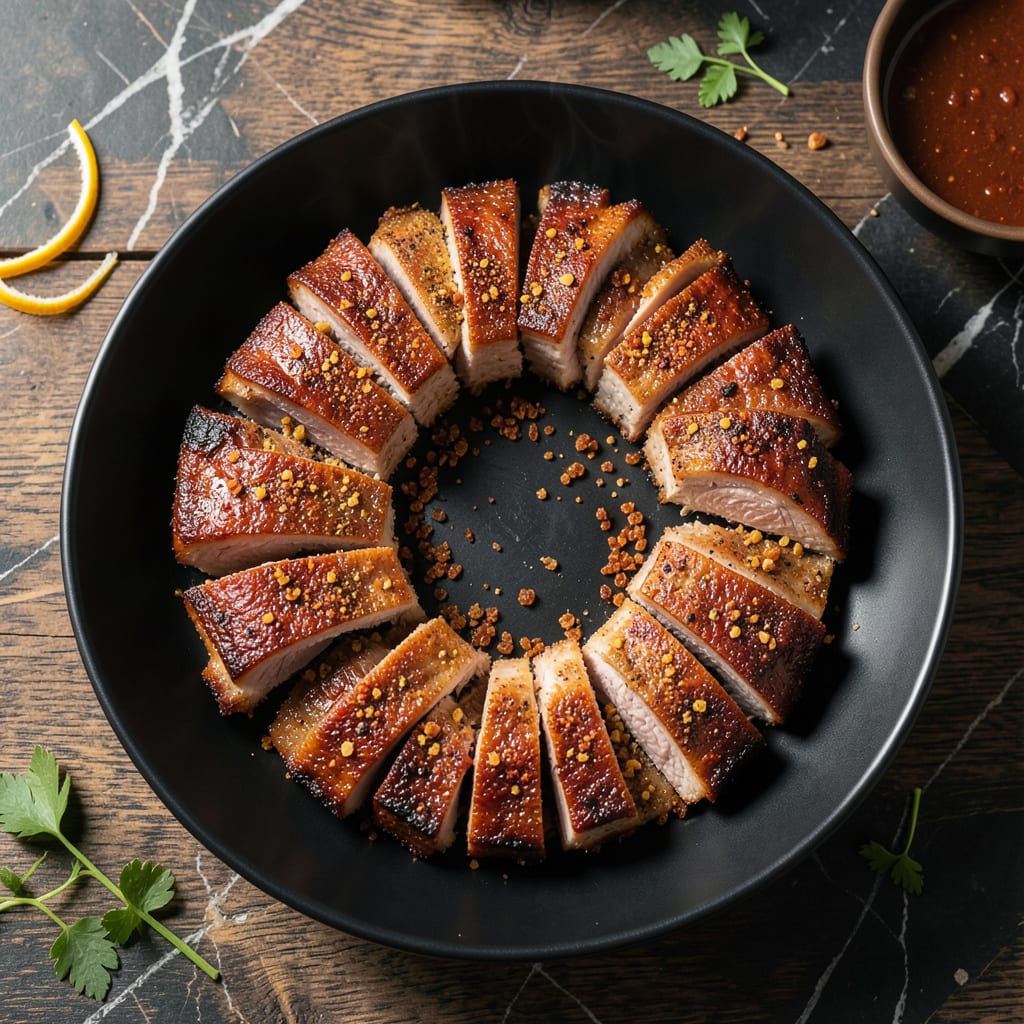
This proven method delivers tender, fall-off-the-bone pork spare ribs every time.
The smoky dry rub creates a flavorful crust while slow cooking ensures perfect texture. No fancy equipment required—just patience and the right technique.
Ingredients for Best Recipe for Pork Spare Ribs
Tender pork spare ribs start with a bold smoky dry rub and time.
| Ingredient | Amount | Notes |
|---|---|---|
| Pork Spare Ribs 🥩 | 3 lb | Full rack, membrane removed |
| Brown Sugar 🍚 | ½ cup | Light or dark variety |
| Smoked Paprika 🌶️ | 2 tbsp | For deep smoky flavor |
| Garlic Powder 🧄 | 1 tbsp | Not garlic salt |
| Onion Powder 🧅 | 1 tbsp | Fresh ground preferred |
| Ground Black Pepper 🌶️ | 1 tbsp | Freshly ground for best flavor |
| Kosher Salt 🧂 | 1 tbsp | Diamond Crystal preferred |
| Chili Powder 🌶️ | 1 tbsp | Mild or hot variety |
| Ground Cumin 🌿 | 1 tsp | Toasted for deeper flavor |
| Dried Oregano 🍃 | 1 tsp | Mexican oregano if available |
| Apple Cider Vinegar 🍏 | ¼ cup | For acidity balance |
| Olive Oil 🫒 | 2 tbsp | For rubbing dry rub |
| Yellow Mustard 🟡 | 2 tbsp | Binder for dry rub |
The pork spare ribs are the foundation—look for full racks with good marbling at your butcher or Costco for bulk savings. Remove the membrane yourself (a butter knife helps) for maximum flavor penetration. The dry rub spices should be fresh; Penzeys offers high-quality options, but most grocery store brands work if stored properly. Optimal texture requires patience, so don’t rush the cooking process.
No smoked paprika? Regular paprika plus a pinch of liquid smoke can substitute. Out of apple cider vinegar? White vinegar or lemon juice works in a pinch. The brown sugar can be swapped for coconut sugar or maple syrup, though the texture may vary slightly. Yellow mustard as a binder is non-negotiable for adhesion—Dijon works too but adds extra tang.
Store ribs in the fridge for up to 3 days before cooking, or freeze for 3 months. The dry rub keeps indefinitely in a sealed container. Once cooked, leftovers stay fresh for 4-5 days refrigerated or can be frozen for longer storage.
Why You’ll Love This Recipe
- Set It and Forget: The ribs just need a quick dry rub with brown sugar and spices, then the oven does the rest.
- Smoky Sweet Perfection: That brown sugar caramelizes with the smoked paprika to create this ridiculous sticky-sweet crust I can’t stop sneaking bites of.
- Feeds My Crew: I stretch one rack into tacos, then sandwiches, then soup—three totally different meals from one cook.
- Leftovers Reheat Like Magic: Honestly, they taste even better the next day, and the flavor holds up in the fridge for four solid days.
Step-by-Step Instructions for Pork Spare Ribs
This method ensures fall-off-the-bone tenderness with maximum flavor penetration.
Step 1: Prepare the Dry Rub Mixture
In a medium bowl, combine the 0.5 cup Brown Sugar, 2 tbsp Smoked Paprika, 1 tbsp Garlic Powder, 1 tbsp Onion Powder, 1 tbsp Ground Black Pepper, 1 tbsp Kosher Salt, 1 tbsp Chili Powder, 1 tsp Ground Cumin, and 1 tsp Dried Oregano. Stir thoroughly until the mixture is uniform in color and texture.
The brown sugar will create a caramelized crust while the smoked paprika provides that signature depth. I always toast the cumin first for enhanced aroma, though this isn’t mandatory for good results.
Step 2: Apply the Rub to the Ribs
Pat the 3 lb Pork Spare Ribs completely dry with paper towels. This removes surface moisture that would prevent the rub from adhering properly. Brush both sides lightly with the 2 tbsp Yellow Mustard—this acts as a binder without imparting mustard flavor.
Massage the dry rub mixture generously over all surfaces of the ribs, pressing firmly so it creates a thick, even coating. The mustard’s mild tang will balance the sweetness of the brown sugar while helping the spices cling during cooking. Let the seasoned ribs sit at room temperature for 30 minutes to allow the flavors to begin penetrating the meat.
Step 3: Set Up for Indirect Cooking
Prepare your grill for indirect heat at 275°F. For charcoal grills, bank the coals to one side; for gas grills, turn off one set of burners. Place a drip pan filled with the 0.25 cup Apple Cider Vinegar and water (50/50 mix) under the grate where the ribs will cook. The vinegar in the pan will create a subtle steam that tenderizes the meat.
Lightly oil the grate with the 2 tbsp Olive Oil to prevent sticking. This indirect setup ensures the ribs cook low and slow, which is essential for breaking down the connective tissue while keeping the meat moist.
Step 4: Slow Cook to Perfection
Place the ribs bone-side down on the grate away from direct heat. Cover the grill and maintain the temperature at 275°F throughout the cook. Cook for 2.5 to 3 hours, spritzing with a mix of apple cider vinegar and water every 45 minutes to keep the surface moist.
You’ll know they’re nearing completion when the meat has pulled back from the bones by about ¼ inch and the surface has developed a deep, mahogany bark. For the final 30 minutes, wrap the ribs tightly in foil with a splash of the vinegar mixture to steam and further tenderize.
Step 5: Rest and Serve
Remove the ribs from the grill and let them rest, still wrapped, for 15 minutes. This allows the juices to redistribute throughout the meat. Unwrap carefully—the steam will be hot—and transfer to a cutting board.
Slice between the bones and serve immediately. The ideal result will have meat that pulls cleanly from the bone with just a gentle tug, with a slightly sticky, flavorful crust that’s neither too sweet nor too spicy. The apple cider vinegar in both the rub and spritz balances the richness of the pork beautifully.
Pro Tips For Making Best Recipe For Pork Spare Ribs
- Pat ribs dry first: I learned this the hard way—wet ribs steam instead of caramelize, so blot them thoroughly with paper towels before applying the brown sugar rub.
- Low and slow wins: After burning two racks at high heat, I now cook spare ribs at 250°F for 3-4 hours until they bend but don’t fall apart.
- Skip the foil wrap: Sounds weird, but it works: leaving the ribs unwrapped the entire time gives a stickier, more flavorful bark with that brown sugar and smoked paprika crust.
- Rest before slicing: Give them a solid 10 minutes under loose foil after cooking—this keeps the juices from running all over your cutting board when you slice between the bones.
Storing and Reheating This Dish
Refrigerator Storage
Let your ribs cool completely before storing—this prevents condensation that can make them soggy. Place in an airtight container or wrap tightly in heavy-duty aluminum foil, then refrigerate at 40°F or below for up to 4 days. The flavors actually deepen overnight. ❄️
Freezing for Later
For longer storage, wrap individual portions in plastic wrap, then place in a freezer bag with all air removed. These will keep for 3 months without losing quality. Thaw overnight in the fridge before reheating.
Oven Reheating
Preheat your oven to 300°F. Wrap ribs in foil with 2 tbsp apple cider vinegar to maintain moisture, then heat for 20-25 minutes. This method preserves texture better than microwaving. I always check the internal temp reaches 165°F. 🔥
Grill Reheating
For that just-cooked taste, reheat on a medium-low grill for 5-7 minutes per side. Brush with extra dry rub or sauce during the last minute. This works best if you’ve stored them vacuum-sealed.
Sauce Considerations
If your ribs were sauced before storing, reheat in a skillet over low heat to prevent burning. Add 1-2 tbsp water to thin the sauce. For dry-rub ribs, serve sauce on the side to maintain crispness.
Nutrition Facts
Frequently Asked Questions
What temperature should I cook the ribs at?
Maintain a steady 275°F for low and slow cooking. This breaks down connective tissue without drying out the meat.
How long do spare ribs need to cook?
Plan for 2.5 to 3 hours total, including 30 minutes wrapped in foil at the end. Check for tenderness when meat pulls back from the bones.
Can I use the oven instead of a grill?
Yes! Bake at 275°F on a rack over a pan with 1 cup water. Cover with foil for the first 2 hours, then uncover to finish.
What’s the best way to remove the membrane?
Slide a butter knife under the membrane at one end, lift, then grip with a paper towel for better traction. Pull firmly in one motion.

- 6 Egg Cake Recipe with Oil: Light as Air With Buttery Moisture - October 4, 2026
- 4 Bean Casserole Recipe: One-Pan Heartiness With Smoky Paprika Depth - October 4, 2026
- 3-Ingredient Keto Mug Cake Recipe: Microwave Magic in 2 Minutes - October 4, 2026