
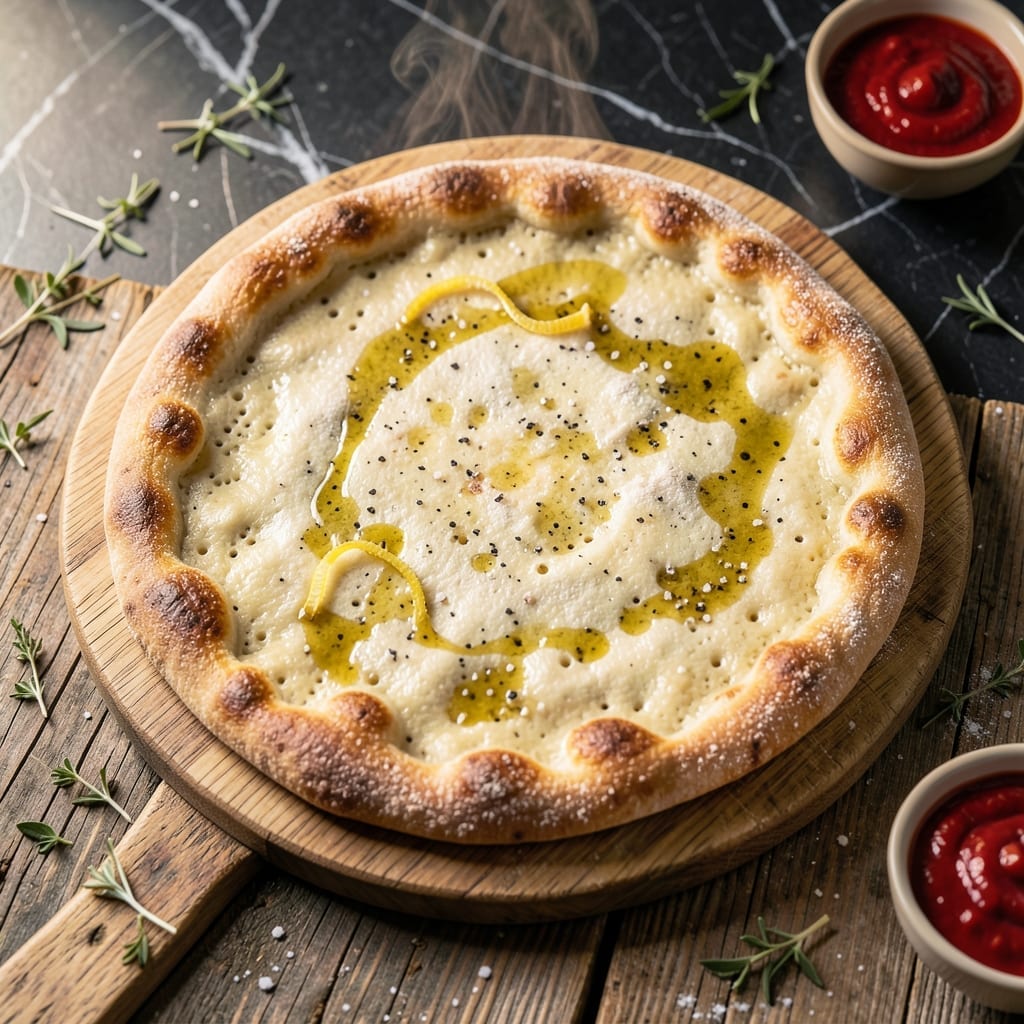
This pizza crust delivers the chewy texture and rustic flavor of artisanal pizzerias right in your kitchen. I developed this method using Bob’s Red Mill flour for consistent, professional results every time.
The secret lies in the slow fermentation process, which builds depth of flavor without requiring special equipment. A simple dough of flour, water, yeast, and salt transforms into a golden, airy base with just the right amount of chew.
Bake at high heat for a crisp exterior while maintaining a tender crumb. The crust holds toppings beautifully without becoming soggy, making it perfect for both thin and thick-style pizzas.
This vegetarian-friendly recipe works for any pizza night, from classic margherita to loaded veggie creations. The foundation for countless delicious meals starts here.
Ingredients for Bob’s Red Mill Pizza Crust
Bob’s Red Mill flour plus a few basics create this artisan-style crust.
| Ingredient | Amount | Notes |
|---|---|---|
| Bob's Red Mill Bread Flour 🌾 | 3 ½ cups | Plus extra for dusting |
| Active Dry Yeast 🍞 | 1 tsp | One packet, about 2.25 tsp |
| Granulated Sugar 🍚 | 1 tsp | Helps activate yeast |
| Fine Sea Salt 🧂 | 1 ½ tsp | Divided for dough and topping |
| Warm Water 💧 | 1 ¼ cups | 110°F to 115°F |
| Extra-Virgin Olive Oil 🫒 | 2 tbsp | For dough and bowl coating |
| Cornmeal 🌽 | ¼ cup | For dusting baking sheet |
| All-Purpose Flour 🌾 | ½ cup | For work surface dusting |
The flour is non-negotiable here—Bob’s Red Mill bread flour gives that chewy, professional texture. Most grocery stores carry it (look in the baking aisle), or order online if you’re stocking up. The yeast should be fresh—check the expiration date, and if it’s been in your pantry for a year, grab a new packet. Warm water temperature matters: too hot kills the yeast, too cold won’t activate it (that 110-115°F sweet spot is key).
Out of bread flour? All-purpose in a pinch, but the crust won’t be as chewy. No cornmeal? Semolina or extra flour works for dusting. Sugar can be swapped with honey (same amount), but stick to granulated for consistency. The olive oil adds richness—use the good stuff (trust me on this). For same-day dough, reduce yeast to 1 tsp and let it rise in a warm spot.
Dough keeps in the fridge for 2-3 days in a lightly oiled bowl (it’ll develop more flavor). Freeze for up to 1 month wrapped tightly. Baked crusts? Cool completely, then store at room temp for 1 day or freeze for 2 weeks.
Why You’ll Love This Recipe
- No-Fuss Dough: I mix the Bob’s Red Mill bread flour with yeast, sugar, and warm water, and it comes together in minutes—no fancy techniques.
- Crispy Yet Chewy: The bread flour gives it that perfect texture: crisp on the outside, soft inside, with just a hint of sweetness from the sugar.
- Endless Toppings: I’ve used this crust for everything from margherita to BBQ chicken, and it holds up beautifully every time.
- Budget Stretcher: A bag of Bob’s Red Mill flour makes multiple crusts, so I’m saving money without sacrificing quality.
Step-by-Step Instructions for Bob’s Red Mill Pizza Crust
This method delivers a chewy, artisan-style crust with minimal effort and maximum flavor.
Step 1: Activate the Yeast and Proof the Mixture
In a large mixing bowl, combine the 1.25 cups Warm Water, 1 tsp Granulated Sugar, and 1 tsp Active Dry Yeast. Stir gently and let sit for 5-7 minutes until the mixture becomes frothy and cloudy. This is your visual confirmation that the yeast is alive and active.
I always check the water temperature first—it should feel warm but not hot to the touch, between 110°F to 115°F. If it’s too hot, you’ll kill the yeast; if it’s too cold, it won’t activate properly. Once the yeast is bubbling, you’re ready to proceed.
Step 2: Combine and Knead the Dough
Add 1 tbsp Extra-Virgin Olive Oil and 1.5 tsp Fine Sea Salt to the yeast mixture, then stir to combine. Gradually incorporate 3.5 cups Bob’s Red Mill Bread Flour until a shaggy dough forms. The dough will be slightly sticky at this stage, but resist the urge to add more flour yet.
Turn the dough out onto a lightly floured surface dusted with 0.5 cup All-Purpose Flour and knead for 8-10 minutes until smooth and elastic. The dough should spring back slowly when poked, and the surface should feel satiny. If it sticks, add a little more all-purpose flour, but sparingly—too much will make the crust tough.
Step 3: First Rise for Maximum Flavor Development
Lightly coat a large bowl with the remaining 1 tbsp Extra-Virgin Olive Oil and place the dough inside, turning to coat all sides. Cover the bowl with a damp towel or plastic wrap and let rise in a warm, draft-free spot for 1.5 to 2 hours, or until doubled in volume.
I like to preheat my oven to 200°F, turn it off, and let the dough rise inside with the light on for gentle warmth. The dough is ready when it looks puffy and an indentation remains when pressed lightly with a finger. This slow rise develops the rustic flavor we’re after.
Step 4: Shape and Second Rise on the Baking Sheet
Punch down the risen dough to release the air, then transfer it to a baking sheet dusted with 0.25 cup Cornmeal. The cornmeal adds texture and prevents sticking, giving that authentic pizzeria-style bottom. Press and stretch the dough into a 12-14 inch round or rectangle, depending on your preference.
Cover loosely and let rest for 20-30 minutes while you preheat the oven to 475°F. This second rise relaxes the gluten, making it easier to shape and ensuring a light, airy crust. If the dough resists stretching, let it rest for another 10 minutes—the gluten will relax further.
Step 5: Pre-Bake for the Perfect Base
Once the oven is fully preheated, bake the crust alone for 8-10 minutes until it’s just beginning to set but not brown. This pre-bake creates a sturdy base that won’t get soggy when you add toppings later. The edges should look dry, and the surface should be firm to the touch.
Remove from the oven and add your sauce, cheese, and toppings. Return to the oven and bake for another 10-12 minutes until the crust is golden brown and the cheese is bubbly. The cornmeal will give the bottom a delightful crunch, while the bread flour ensures a chewy interior.
Pro Tips For Making Bob’S Red Mill Pizza Crust
- Proof the Yeast: I learned this the hard way—always activate your yeast in warm water with sugar for 5-10 minutes until frothy before mixing. If it doesn’t bubble, your dough won’t rise.
- Use High-Protein Flour: Bob’s Red Mill Bread Flour has the protein content (12-14%) needed for chewy, elastic crust—skip all-purpose or the texture will suffer.
- Skip Cold Water: Warm water (105-110°F) wakes up the yeast without killing it. Too hot or too cold, and your dough won’t rise properly.
- Rest the Dough: After kneading, let it rise for at least 1 hour in a warm spot—rushing this step gives you a dense, flat crust.
Flavor Customization for bobs red mill pizza crust
Herb-Infused Crust
Mix 1 tbsp dried Italian herbs into the dough during kneading for aromatic depth. I love adding rosemary and oregano together—they complement the bread flour’s nuttiness perfectly. Brush the pre-baked crust with garlic-infused olive oil before adding toppings. 🌿
Spicy Kick
For heat lovers, incorporate ½ tsp red pepper flakes into the dough or sprinkle cayenne on the crust before baking. The spice pairs especially well with pepperoni or sausage toppings. Start with a smaller amount—you can always add more next time.
Cheesy Edge
Sprinkle ½ cup shredded Parmesan along the crust’s edge before the final bake. The cheese melts into the dough, creating a crispy, flavorful border. I use freshly grated for the best melt and texture.
Sweet & Savory
Drizzle 1 tbsp honey over the pre-baked crust for a subtle sweetness that balances salty toppings. This works wonderfully with prosciutto and arugula. The honey also gives the crust a beautiful golden sheen.
Garlic & Herb
Minced 3 garlic cloves and mix with 1 tbsp chopped parsley and 2 tbsp melted butter. Brush this mixture over the crust before adding sauce. The aroma while baking is incredible, and the flavor is restaurant-quality. 🧄
Everything Bagel
Sprinkle 1 tbsp everything bagel seasoning over the crust before the final bake. The sesame seeds, poppy seeds, and garlic create a crunchy, flavorful topping that’s surprisingly delicious on pizza. It adds texture and visual appeal.
Nutrition Facts
Frequently Asked Questions
Can I use all-purpose flour instead of bread flour?
Yes, but the texture will be less chewy. Bread flour’s higher protein creates that signature artisan feel.
Why does the dough need two rises?
The first develops flavor, while the second relaxes the gluten for easier shaping. Skipping either makes the crust denser.
How do I store leftover dough?
Refrigerate for 2-3 days in an oiled bowl, or freeze for up to 1 month wrapped tightly.
Can I make this without a stand mixer?
Knead by hand for 8-10 minutes until smooth. It’s a great workout.

- 6 Egg Cake Recipe with Oil: Light as Air With Buttery Moisture - October 4, 2026
- 4 Bean Casserole Recipe: One-Pan Heartiness With Smoky Paprika Depth - October 4, 2026
- 3-Ingredient Keto Mug Cake Recipe: Microwave Magic in 2 Minutes - October 4, 2026