
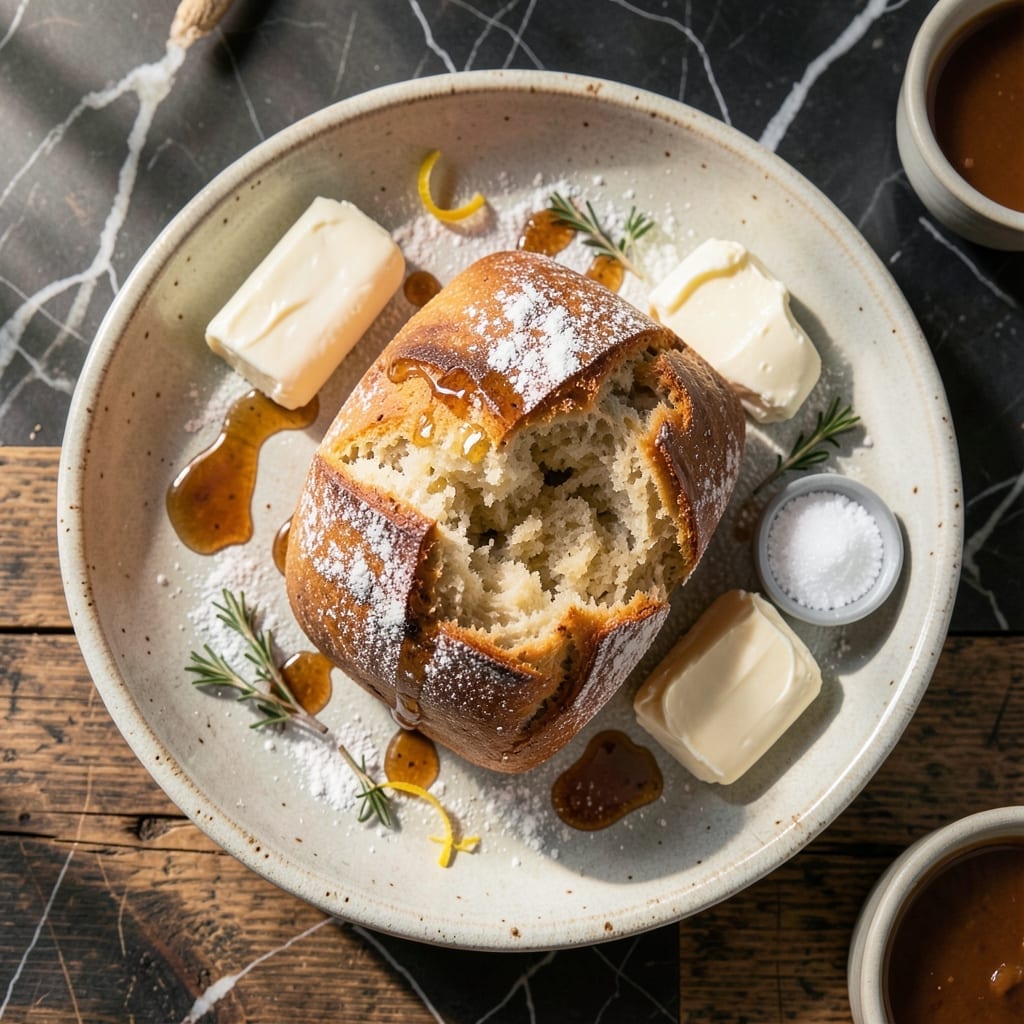
This recipe recreates the warm, buttery bread that made Bonefish Grill famous, bringing that restaurant experience to your kitchen.
The secret lies in a simple dough enriched with butter and honey, baked until golden and brushed with garlic-infused butter while still hot. The result is soft, pillowy bread with a delicate crumb that pulls apart effortlessly.
Each bite delivers the familiar comfort of the original, with a lightly sweet flavor that pairs perfectly with any meal. The aroma alone will have your family gathering around the table before it even cools.
No special equipment required—just basic ingredients and a little patience for rising. This is the closest you’ll get to the real thing without leaving home.
Ingredients for Bonefish Grill Bread
Basic pantry staples and a little patience bring this restaurant favorite to life.
| Ingredient | Amount | Notes |
|---|---|---|
| All-Purpose Flour 🌾 | 4 cups | Plus extra for dusting |
| Warm Water 💧 | 1 ¼ cups | About 110°F for activating yeast |
| Active Dry Yeast 🍞 | 2 ¼ tsp | 1 packet plus 1/4 tsp extra |
| Granulated Sugar 🧂 | 2 tbsp | For feeding the yeast |
| Salt 🧂 | 1 tsp | Fine sea salt preferred |
| Unsalted Butter 🧈 | ½ cup | Melted and cooled slightly |
| Honey 🍯 | 3 tbsp | For subtle sweetness |
| Large Egg 🥚 | 1 whole | Room temperature |
| Garlic Cloves 🧄 | 4 cloves | Minced for garlic butter |
| Fresh Parsley 🌿 | 2 tbsp | Chopped, for garnish |
| Olive Oil 🫒 | 1 tbsp | For greasing bowl |
The butter is key here—Land O’Lakes or Kerrygold give that rich, restaurant-quality flavor. Honey adds just enough sweetness without overpowering (the clover kind works great). Yeast from Fleischmann’s or Red Star works reliably. Grab the unsalted butter so you can control the salt level—it’s worth the extra minute to check the label.
No honey? Maple syrup or agave swap in at the same amount. Out of fresh parsley? Dried parsley at half the quantity works, but fresh adds that pop of color. If you don’t have a thermometer, warm the water until it feels like a comfy bath (not hot). The egg adds richness, but 1/4 cup of Greek yogurt works in a pinch if you’re fresh out.
Dough rises best in a warm, draft-free spot—on top of the fridge works. Leftovers? Wrap tightly and store at room temp for 2-3 days. Reheat wrapped in foil at 350°F for 5-10 minutes to restore that fresh-baked feel.
Why You’ll Love This Recipe
- No-Fuss Dough: I love that it’s just flour, water, yeast, sugar, and salt—no fancy ingredients, no waiting forever for proofing.
- Warm, Buttery Bite: That first pull-apart piece with its soft center? Honestly, it’s the reason I make a double batch every time.
- Crowd Pleaser: Whether it’s a weeknight dinner or a last-minute gathering, this bread disappears faster than I can slice it.
- Penny-Wise Loaf: Five basic pantry staples and it feeds my family for days—leftovers toast up like a dream the next morning.
Step-by-Step Instructions for Warm and Buttery Bread
Here’s how I recreate that signature restaurant bread at home with perfect results.
Step 1: Activate the Yeast and Mix the Dough
In a small bowl, combine the 1.25 cups Warm Water, 2.25 tsp Active Dry Yeast, and 2 tbsp Granulated Sugar. Let it sit for 5-7 minutes until the mixture becomes foamy on top. This confirms the yeast is active and ready to work its magic.
In a large mixing bowl, whisk together the 4 cups All-Purpose Flour and 1 tsp Salt. Make a well in the center and pour in the yeast mixture, 3 tbsp Honey, 1 whole Large Egg, and 0.5 cup Unsalted Butter (melted and cooled). Stir until a shaggy dough forms.
Step 2: Knead Until Smooth and Elastic
Turn the dough out onto a lightly floured surface. I like to use extra flour from the 4 cups All-Purpose Flour to prevent sticking. Knead for 8-10 minutes until the dough becomes smooth and elastic—it should spring back when you poke it.
If the dough feels too sticky, add a little more flour, but don’t overdo it. The dough should be slightly tacky but not wet. This process develops the gluten, which gives the bread its structure and that perfect chewy texture.
Step 3: Let the Dough Rise Until Doubled
Lightly grease a large bowl with the 1 tbsp Olive Oil and place the dough inside, turning once to coat all sides. Cover with a clean kitchen towel and let it rise in a warm, draft-free spot for 1-2 hours or until doubled in size.
I usually place mine near a warm oven (but not too hot) to speed things up. You’ll know it’s ready when the dough has visibly expanded and a finger pressed into it leaves a slight indent. This first rise is crucial for developing flavor.
Step 4: Shape, Rise Again, and Bake
Punch down the dough to release the air, then shape it into your desired form—whether that’s a loaf, rolls, or even pull-apart bread. Place it in a greased pan, cover, and let it rise again for 30-45 minutes until puffy.
Preheat your oven to 375°F. Bake the bread for 20-25 minutes or until the top is golden brown and the internal temperature reaches 190°F. The loaf should sound hollow when tapped on the bottom.
Step 5: Brush with Garlic Butter and Garnish
While the bread is still warm, melt the remaining 0.5 cup Unsalted Butter (if you didn’t use it all in the dough) and mix in the 4 cloves Garlic Cloves (minced). Brush this garlic butter generously over the top of the bread.
Sprinkle with 2 tbsp Fresh Parsley (chopped) for a pop of color and freshness. Serve the bread warm for that true restaurant experience—soft, buttery, and irresistibly aromatic.
Pro Tips For Making Bonefish Grill Bread
- Test Your Yeast: I learned this the hard way—always proof your active dry yeast in the warm water with sugar first. If it doesn’t foam within 5-10 minutes, your bread won’t rise, no matter how long you wait.
- Use Room-Temp Water: After killing my yeast with hot tap water twice, I now use a thermometer: aim for 105-110°F. Too hot and you’ll ruin the yeast; too cold and it won’t activate.
- Don’t Over-Flour: Resist the urge to dump in extra flour when kneading. The dough should be slightly sticky—adding too much flour makes the bread dense instead of light and airy.
- Add a Pinch More Salt: Sounds weird, but it works: a little extra salt (about ½ teaspoon more than the recipe calls for) actually enhances the flavor without making it taste salty. My grandmother swore by this, and she was right.
Pro Cooking Tips for bonefish grill bread
Yeast Activation
Always proof your yeast first—mix 2.25 tsp Active Dry Yeast with 2 tbsp Granulated Sugar in 1.25 cups Warm Water at 110°F. If it doesn’t foam within 5-7 minutes, start over. Old yeast is the #1 reason for dense bread. 💡
Kneading Technique
Knead for the full 8-10 minutes—the dough should be smooth and pass the windowpane test (stretch a small piece thin enough to see light through). Under-kneading means weak gluten and flat bread.
Rising Environment
For consistent results, use your oven’s proofing setting at 80-85°F. No proofing setting? Place a bowl of boiling water on the lower rack and the dough on the upper rack. Doubling time should take 1-2 hours.
Baking Temperatures
Bake at 375°F until the internal temp hits 190°F—this ensures the bread is fully cooked without drying out. A dark baking pan helps achieve that golden crust. I use a USA Pan for even browning.
Garlic Butter Timing
Brush with garlic butter immediately after baking while the bread is still hot. This lets it soak in for maximum flavor. Use 4 minced Garlic Cloves in the remaining ½ cup Unsalted Butter.
Cooling Trick
Let the bread cool for only 5 minutes before serving. Any longer and it loses that warm, melty texture that makes this dish special. The aroma at this stage is irresistible. 🔥
Nutrition Facts
Frequently Asked Questions
Can I make the dough ahead of time?
Yes! Prepare the dough through the first rise, then refrigerate overnight. Let it come to room temperature before shaping and the second rise. This slow fermentation actually enhances flavor.
What if my bread isn’t browning?
Try brushing the top with a little melted butter before baking. Bake at 375°F for the full 20-25 minutes. If your oven runs cool, increase temperature by 25°F and monitor closely.
Can I use a bread machine?
Add all dough ingredients to the pan in the order recommended by your machine. Use the dough setting, then shape and bake as directed. The texture will be slightly different but still delicious.

- 6 Egg Cake Recipe with Oil: Light as Air With Buttery Moisture - October 4, 2026
- 4 Bean Casserole Recipe: One-Pan Heartiness With Smoky Paprika Depth - October 4, 2026
- 3-Ingredient Keto Mug Cake Recipe: Microwave Magic in 2 Minutes - October 4, 2026