
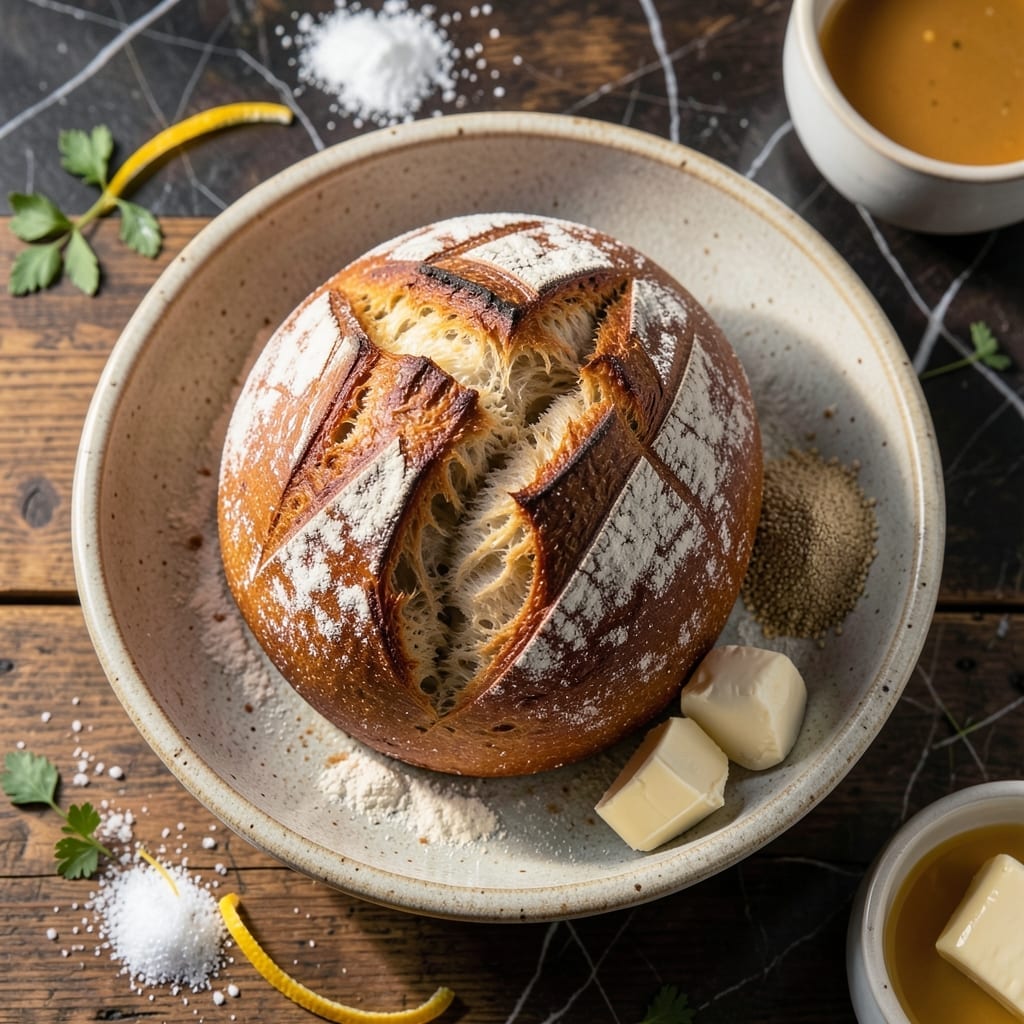
This foolproof bread recipe delivers a homemade loaf with a perfectly golden crust every time. The process is straightforward, with precise steps for mixing, rising, and baking that guarantee professional results.
You’ll work with simple ingredients and a patient approach, allowing the yeast to create that ideal airy texture. The final product is a warm, fragrant loaf ready to elevate any meal.
Ingredients for Bread Recipe Using Yeast
Simple ingredients transform into a golden, fragrant homemade loaf with patience and precision.
| Ingredient | Amount | Notes |
|---|---|---|
| Active Dry Yeast 🍞 | 2 ¼ tsp | One packet, proofed in warm water |
| Warm Water 💧 | 1 ¼ cups | 110-115°F for yeast activation |
| Granulated Sugar 🧂 | 1 tbsp | Feeds the yeast for rising |
| All-Purpose Flour 🌾 | 5 ½ cups | Plus extra for dusting |
| Kosher Salt 🧂 | 2 tsp | Diamond Crystal preferred |
| Unsalted Butter 🧈 | 2 tbsp | Softened, for dough enrichment |
| Whole Milk 🥛 | ½ cup | Warm, enhances texture |
| Large Egg 🥚 | 1 whole | Room temperature, for richness |
| Olive Oil 🫒 | 1 tbsp | For bowl greasing |
| Honey 🍯 | 1 tbsp | Optional, for golden crust |
The flour is the foundation—King Arthur or Gold Medal all-purpose deliver consistent results. Yeast freshness is non-negotiable; check the expiration date and store it in the freezer for longevity. For the milk and butter, organic or high-quality dairy enhances flavor significantly. The sugar isn’t just for sweetness; it activates the yeast, so don’t skip it.
No all-purpose flour? Bread flour at a 1:1 ratio adds chewiness. Out of milk? Whole buttermilk or a 50/50 mix of water and evaporated milk works. For a dairy-free version, swap butter for coconut oil and milk for unsweetened almond milk. The egg can be omitted, but expect a slightly denser crumb.
Store flour in airtight containers to prevent moisture absorption. Yeast keeps for 6-12 months unopened in a cool, dark place. The baked loaf stays fresh for 3-4 days at room temperature or freeze slices for up to 3 months.
Why You’ll Love This Recipe
- No-Fuss Dough: The yeast does most of the work—just mix, knead, and let it rise while I tackle other things.
- Warm, Buttery Scent: Honestly, the smell of this baking is reason enough to try it. That fresh-bread aroma fills the whole house.
- Endless Possibilities: I’ve used it for sandwiches, toast, even as a base for garlic bread. It’s my blank canvas.
- Penny-Wise Loaf: Flour, yeast, and a pinch of sugar cost pennies but taste like a bakery splurge. My wallet thanks me.
Step-by-Step Instructions for Bread Using Yeast
Master the art of homemade bread with this precise, professional method for perfect results.
Step 1: Proof the Yeast for Optimal Activation
In a stand mixer bowl, combine the 2.25 tsp Active Dry Yeast with the 1.25 cups Warm Water and 1 tbsp Granulated Sugar. The water must be between 110-115°F—too hot kills the yeast, too cold slows activation.
Let it sit for 5-10 minutes until the mixture becomes foamy and nearly doubles in volume. This visual confirmation means the yeast is alive and active. If it doesn’t foam, your water may have been too hot or the yeast expired—start over.
Step 2: Develop the Dough with Precision
Add the 5.5 cups All-Purpose Flour, 2 tsp Kosher Salt, softened 2 tbsp Unsalted Butter, warm 0.5 cup Whole Milk, and 1 whole Large Egg to the yeast mixture. Using the dough hook attachment, mix on low for 2 minutes until combined.
Increase speed to medium and knead for 8-10 minutes until the dough becomes smooth, elastic, and pulls away from the bowl. It should pass the windowpane test—stretch a small piece thin enough to see light through without tearing. This gluten development ensures proper structure.
Step 3: First Rise for Maximum Flavor
Lightly grease a large bowl with the 1 tbsp Olive Oil, then transfer the dough, turning once to coat. Cover with a damp towel and let rise in a warm, draft-free area for 1-1.5 hours or until doubled in volume.
Press two fingers gently into the dough—if the indentation remains, it’s ready. For enhanced flavor, refrigerate overnight at this stage; the slow rise develops more complex tastes. Otherwise, proceed immediately to shaping.
Step 4: Shape, Second Rise, and Bake
Punch down the dough to release air, then shape into a tight loaf. Place in a greased 9×5-inch loaf pan, pressing it gently into the corners. For a golden crust, brush the top with the 1 tbsp Honey diluted in a teaspoon of water.
Cover and let rise again for 45-60 minutes until the dough domes about 1 inch above the pan. Preheat oven to 375°F. Bake for 30-35 minutes until the crust is deep golden brown and the internal temperature reaches 190-200°F.
Step 5: Cool for Optimal Texture
Remove from the pan immediately and transfer to a wire rack. Brush with additional melted butter if desired. Let cool completely for at least 1 hour before slicing—this prevents a gummy crumb.
The bread should have a crisp, golden crust and a soft, airy interior. Slicing too soon traps steam, creating a dense texture. Store in an airtight container for up to 3 days, or freeze for longer storage.
Pro Tips For Making Bread Recipe Using Yeast
- Test Your Yeast: Always bloom your active dry yeast in warm water (105-110°F) with a pinch of sugar first—I learned this the hard way after wasting flour on dead yeast more times than I care to admit.
- Weigh Your Flour: Scooping flour with a cup can pack it down, adding up to 25% extra. I use a scale now (1 cup = 120g) and my bread is lighter every time.
- Don’t Rush Proofing: Resist the urge to speed it up with a hot oven—yeast needs steady warmth (75-80°F) and time, or your loaf will taste bitter and dense.
- Salt Last: Mix your salt in after the yeast has foamed for 5 minutes, otherwise it can slow down or kill the yeast before it even gets started.
Dietary Considerations for This Recipe
Keto-Friendly Options
Traditional bread recipes won’t fit a keto diet, but you can adapt this one by replacing all-purpose flour with almond flour or coconut flour. These low-carb alternatives keep the texture soft while reducing net carbs. Add psyllium husk powder for extra structure and a bread-like chew.
Gluten-Free Modifications
For gluten-free bread, swap wheat flour for a 1:1 gluten-free all-purpose flour blend. Ensure your yeast is labeled gluten-free, as some brands may contain trace amounts. Adding xanthan gum (about 1 tsp per cup of flour) helps mimic the elasticity of gluten.
Allergen Information
Common allergens in bread include wheat, dairy (if using milk or butter), and eggs (if added). For a dairy-free version, use water or plant-based milk and replace butter with coconut oil or olive oil. For egg-free bread, omit eggs or use a flaxseed meal substitute.
Vegetarian Adaptations
This recipe is inherently vegetarian if made with water or plant-based milk. To enhance flavor, consider adding olive oil, honey, or seeds like sunflower or flax. For a vegan version, ensure no dairy or eggs are used and opt for agave syrup or maple syrup as sweeteners.
Low-Sodium Options
Reduce sodium by omitting added salt or using a low-sodium salt alternative. If your yeast requires activation, use unsalted butter or oil. Boost flavor with herbs like rosemary or garlic powder instead of relying on salt. Always check yeast packets, as some contain added sodium.
Nutrition Facts

- 6 Egg Cake Recipe with Oil: Light as Air With Buttery Moisture - October 4, 2026
- 4 Bean Casserole Recipe: One-Pan Heartiness With Smoky Paprika Depth - October 4, 2026
- 3-Ingredient Keto Mug Cake Recipe: Microwave Magic in 2 Minutes - October 4, 2026