
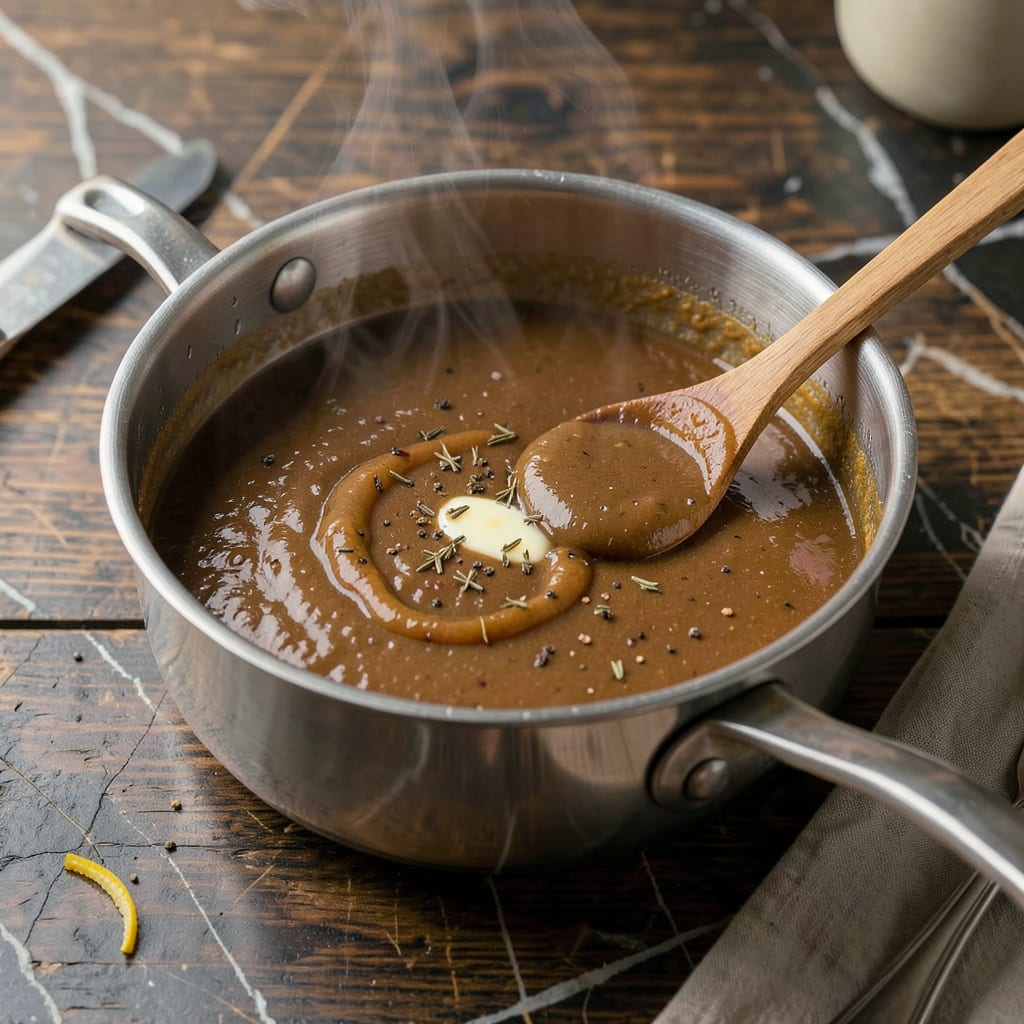
A rich, velvety brown gravy can transform simple dishes into extraordinary meals. This proven recipe delivers deep, savory flavor without complexity—just fundamental techniques and quality ingredients. Perfect for elevating mashed potatoes, roasted meats, or flaky biscuits, it’s the secret to restaurant-quality results at home.
The foundation is simple: pan drippings or broth, butter, and flour form the base, while Worcestershire sauce and herbs add depth. I’ll guide you through achieving the ideal consistency—smooth, glossy, and never lumpy—with foolproof troubleshooting for common issues like greasiness or thin texture. Whether you’re serving a holiday feast or a weeknight dinner, this gravy delivers every time.
Ingredients for Brown Gravy
Ten pantry staples transform into that rich, velvety gravy you’ve been dreaming about.
| Ingredient | Amount | Notes |
|---|---|---|
| Pan Drippings or Beef Broth 🍲 | 2 cups | Low-sodium preferred for control |
| Unsalted Butter 🧈 | 4 tbsp | European-style for richer flavor |
| All-Purpose Flour 🌾 | ¼ cup | For perfect thickening consistency |
| Worcestershire Sauce 💧 | 1 tbsp | Lea & Perrins recommended |
| Freshly Ground Black Pepper 🌶️ | 1 tsp | Coarse grind for texture |
| Dried Thyme 🌿 | ½ tsp | Or 1.5 tsp fresh thyme leaves |
| Dried Rosemary 🌿 | ¼ tsp | Crushed between fingers |
| Garlic Powder 🧄 | ½ tsp | Not garlic salt substitute |
| Onion Powder 🧅 | ½ tsp | Enhances savory depth |
| Kosher Salt 🧂 | 1 tsp | Diamond Crystal preferred |
The broth is your flavor foundation—homemade drippings are ideal, but low-sodium beef broth (like Better Than Bouillon) works perfectly. I always keep a box of Swanson’s in the pantry for emergencies. Butter quality matters here—European-style (like Plugrá) gives that restaurant-quality richness. The flour is just for thickening, so no need for anything fancy—all-purpose is perfect. Just make sure it’s fresh (old flour gets clumpy).
No pan drippings? Mushroom broth or extra Worcestershire adds umami depth. Out of fresh herbs? Dried work at one-third the amount—just crush them between your palms before adding. The garlic and onion powders are non-negotiable for me (they dissolve better than fresh), but in a pinch, 1/4 tsp garlic salt can stand in (skip the extra salt). For gluten-free, cornstarch slurry (1 tbsp cornstarch + 2 tbsp cold water) replaces the flour—add it at the end.
Gravy separates as it cools, so store it in a wide-mouth jar—easier to reheat and whisk smooth. Keeps 4 days in the fridge, or freeze in ice cube trays for up to 3 months. Pro tip: skim off the hardened butter layer before reheating (it’ll re-emulsify as it warms). I always make a double batch—it’s just as easy, and you’ll wish you had leftovers.
Why You’ll Love This Recipe
- Five-Minute Magic: I swear this comes together faster than brewing coffee. Melt butter, whisk in flour, then let those pan drippings (or good beef broth) do the heavy lifting—no fancy techniques, just rich, velvety results.
- Umami Bomb: That splash of Worcestershire? It’s the secret handshake. The sauce goes from “nice gravy” to “wait, did you add steak juice?” deep and savory, with black pepper giving it just enough bite to keep things interesting.
- Sunday Roast and Tuesday Meatloaf: Honestly, this is my cheat code for everything. Drizzle it over mashed potatoes, smother a weeknight chicken fried steak, or—between us—dip crusty bread straight in when no one’s looking.
- Pantry Hero: No last-minute grocery runs. Butter, flour, broth, and two condiments I always have? That’s a gravy emergency solved. And if I double the batch, it freezes like a dream—future me sends thank-you notes.
Step-by-Step Instructions for Brown Gravy
This method delivers rich, velvety gravy with perfect consistency every time.
Step 1: Prepare the Fat Base and Flour Mixture
Start by melting the 4 tbsp unsalted butter in a medium saucepan over medium heat. Watch for the foaming to subside—that’s your cue the butter is ready. Immediately whisk in the 0.25 cup all-purpose flour to form a smooth paste, also known as a roux.
Cook this mixture for 2-3 minutes, stirring constantly, until it turns a light golden color. You’ll notice a nutty aroma developing—that’s the flour toasting and losing its raw taste. This step is crucial for eliminating the floury flavor in your final gravy.
Step 2: Gradually Incorporate the Liquid
Slowly pour in the 2 cups pan drippings or beef broth while whisking vigorously to prevent lumps from forming. I like to add it in ½ cup increments, allowing each addition to fully incorporate before adding more. This gradual approach ensures a silky-smooth texture.
After all the liquid is added, increase the heat to medium-high and bring the mixture to a gentle boil. You’ll see the gravy start to thicken noticeably as it heats. Reduce the heat to medium-low once it reaches a simmer.
Step 3: Add Seasonings and Develop Flavor
Stir in the 1 tbsp Worcestershire sauce, 1 tsp freshly ground black pepper, 0.5 tsp dried thyme, 0.25 tsp dried rosemary, 0.5 tsp garlic powder, 0.5 tsp onion powder, and 1 tsp kosher salt. The Worcestershire sauce adds depth, while the herbs and spices build layers of savory flavor.
Let the gravy simmer for 8-10 minutes, stirring occasionally. You’re looking for it to reach your desired consistency—it should coat the back of a spoon but still pour easily. If it’s too thick, whisk in a splash of water or additional broth. If too thin, let it simmer a bit longer.
Step 4: Strain and Finish for Perfect Texture
For the smoothest possible gravy, pour the mixture through a fine-mesh strainer into a clean saucepan. This removes any remaining lumps or herb particles. Press gently on the solids with a spoon to extract all the flavorful liquid.
Return the strained gravy to low heat and warm through for 2-3 minutes. Taste and adjust seasoning if needed—remember that flavors intensify as the gravy cools slightly. The final texture should be velvety with just enough body to cling to your spoon.
Storing and Reheating Leftovers
Refrigerator Storage
After your gravy cools to room temperature (about 2 hours max), transfer it to an airtight container—I swear by glass mason jars because they don’t absorb odors. Store it in the fridge for up to 4 days. The butter will solidify on top, creating a protective layer that actually helps preserve freshness. 🧊
Freezing for Later
For long-term storage, freeze gravy in ice cube trays first (each cube is about 1 oz). Once solid, transfer to a freezer bag—I use Ziploc Freezer Bags—and label with the date. It keeps perfectly for 3 months. Thaw overnight in the fridge or drop frozen cubes directly into reheating gravy for quick thickening.
Stovetop Reheating
Pour refrigerated gravy into a saucepan and warm over medium-low heat, whisking constantly. Add 2-3 tbsp water or broth to loosen it up—gravy always thickens as it chills. If you see butter separating, just keep whisking; it will re-emulsify. I aim for 165°F to ensure it’s properly heated through without boiling, which can make it thin.
Microwave Method
Transfer gravy to a microwave-safe bowl and cover with a damp paper towel. Heat on 50% power in 30-second bursts, stirring between each. This prevents scorching and maintains that silky texture. For frozen cubes, start with 1 minute at full power, then switch to 50% power for even heating. 🔥
Reviving Thick Gravy
If your refrigerated gravy turns gluey, don’t panic! Whisk in 1 tbsp cold water at a time over low heat until it loosens. For stubborn cases, create a slurry with 1 tsp cornstarch + 2 tsp cold water, stir it in, and simmer for 2 minutes. The cornstarch adds shine while fixing the texture.
Make-Ahead Tip
Gravy actually tastes better the next day as flavors meld. I always make it 1 day ahead for holidays. Store the strained gravy in the fridge, then reheat gently while your turkey or roast rests. Skim off any excess fat that rises to the top before serving—this keeps it rich but not greasy. ✨
Nutrition Facts

- 6 Egg Cake Recipe with Oil: Light as Air With Buttery Moisture - October 4, 2026
- 4 Bean Casserole Recipe: One-Pan Heartiness With Smoky Paprika Depth - October 4, 2026
- 3-Ingredient Keto Mug Cake Recipe: Microwave Magic in 2 Minutes - October 4, 2026