
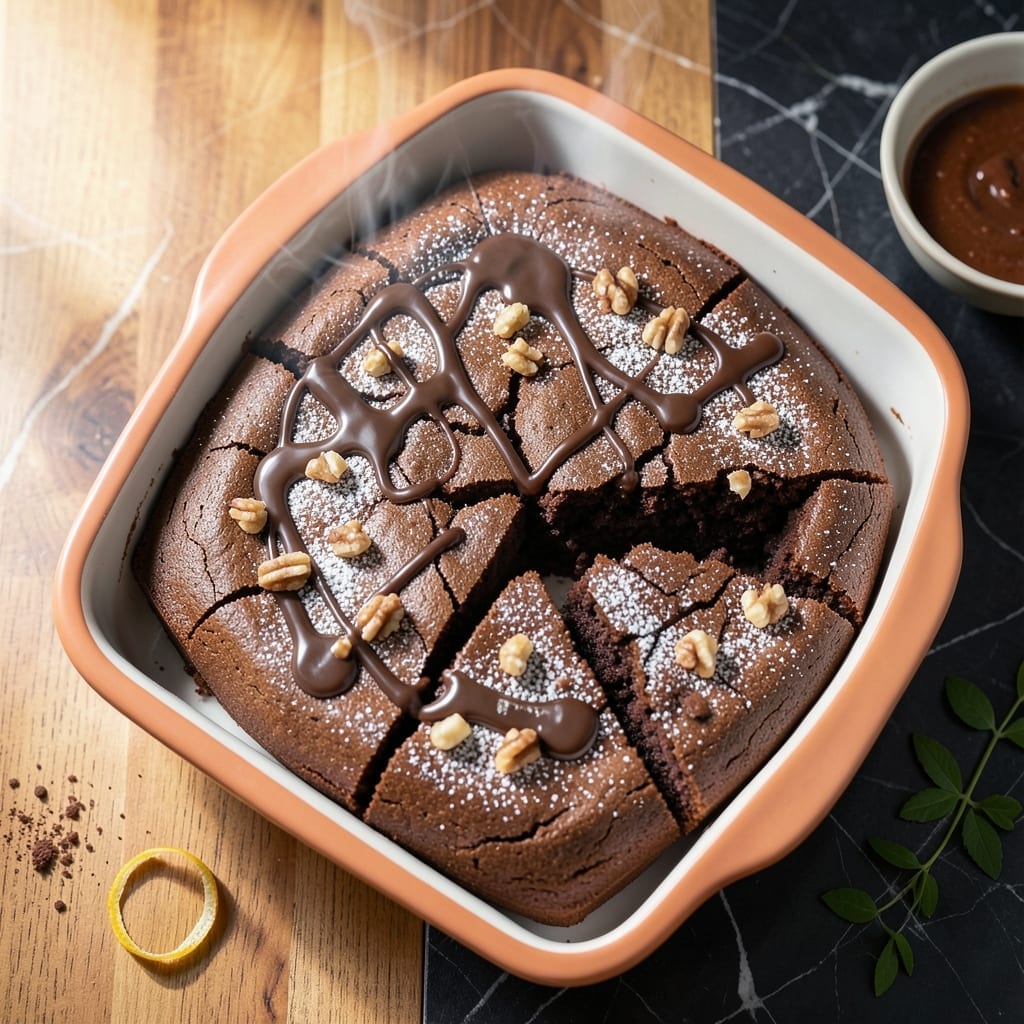
This dessert delivers fudgy layers with almost no effort. Using a boxed mix as the base lets you create a rich, decadent cake that tastes homemade.
The trick is layering prepared brownie batter with a simple cake batter, then baking until set. The result is a moist, dense treat with deep chocolate flavor.
Ingredients for Brownie Cake Recipe Using Brownie Mix
Boxed mix plus a few pantry staples create these decadent fudgy layers.
| Ingredient | Amount | Notes |
|---|---|---|
| Boxed Brownie Mix 🍫 | 1 package | Plus ingredients listed on box |
| Large Eggs 🥚 | 2 whole | For brownie batter |
| Vegetable Oil 🫒 | ½ cup | Or melted butter |
| Water 💧 | ¼ cup | For brownie mix |
| All-Purpose Flour 🌾 | 1 cup | For cake layer |
| Granulated Sugar 🍚 | ¾ cup | Fine white sugar |
| Unsweetened Cocoa Powder 🍫 | ¼ cup | For chocolate cake layer |
| Baking Powder ✨ | 1 ½ tsp | For cake rise |
| Salt 🧂 | ¼ tsp | Fine table salt |
| Vanilla Extract 🌿 | 1 tsp | Pure vanilla preferred |
| Milk 🥛 | ½ cup | For cake batter |
| Chocolate Chips 🍫 | ½ cup | Semi-sweet or dark |
The brownie mix is your shortcut—Betty Crocker or Ghirardelli work great. Check the box for what you need to add (usually eggs, oil, water). I always grab the family-size box for thicker layers. For the cake layer, standard all-purpose flour is fine, but if you’ve got cake flour, use it for a slightly lighter texture (worth the extra minute).
No boxed mix? Make brownie batter from scratch with cocoa, butter, sugar, and eggs. For the cake layer, yellow cake mix works as a swap—just prepare it as directed. Out of cocoa powder? Melted chocolate bars (about 4 oz) give the same depth. Milk can be any kind—dairy, almond, oat—whatever you’ve got.
Store the mix in a cool, dry place until ready to use—lasts months past the date. Leftovers keep 3-4 days covered at room temp, or freeze slices for up to 3 months. Microwave individual pieces for 20 seconds to get that fresh-baked feeling.
Why You’ll Love This Recipe
- One Bowl Wonder: I just dump the brownie mix, eggs, oil, water, and a little flour in one bowl—no fancy steps, no extra dishes.
- Fudgy Heaven: The extra flour turns the mix into a cake that’s still rich and dense, like the best parts of a brownie and cake combined.
- Birthday Ready: I’ve made this for last-minute parties, and honestly, no one believes it started with a box.
- Stays Fresh: Leftovers taste just as good the next day, if they even last that long.
Step-by-Step Instructions for Brownie Cake Using Brownie Mix
This layered dessert comes together faster than you expect with impressive results.
Step 1: Prepare the Brownie Layer
Preheat your oven to 350°F and grease an 8-inch square pan. In a bowl, combine the boxed brownie mix with 2 whole Large Eggs, 0.5 cup Vegetable Oil, and 0.25 cup Water as directed on the package.
Mix until just combined—overmixing can make the brownie layer tough. The batter should be thick and glossy. Spread this evenly into your prepared pan, creating the base layer for your cake.
Step 2: Whisk Together the Cake Layer
In a separate bowl, sift together 1 cup All-Purpose Flour, 0.75 cup Granulated Sugar, 0.25 cup Unsweetened Cocoa Powder, 1.5 tsp Baking Powder, and 0.25 tsp Salt. This ensures no lumps remain in your dry ingredients.
Create a well in the center and pour in 0.5 cup Milk, 1 tsp Vanilla Extract, and any remaining wet ingredients from the brownie mix package. Whisk until smooth and pour this batter over the brownie layer.
Step 3: Add Chocolate Chips and Bake
Sprinkle 0.5 cup Chocolate Chips evenly over the top of the cake batter. These will melt slightly during baking, creating pockets of gooey chocolate throughout the cake layer.
Bake for 35-40 minutes or until a toothpick inserted into the center comes out with a few moist crumbs. The top should look set but still slightly fudgy—this is exactly what you want. Don’t overbake, or the cake layer will lose its tender texture.
Step 4: Cool and Serve
Let the cake cool in the pan for 15 minutes before transferring it to a wire rack. This cooling period allows the layers to set properly without falling apart when sliced.
Once completely cool, cut into squares and serve. The contrast between the dense brownie base and the lighter cake top, studded with melted chocolate chips, makes every bite satisfying. Dust with powdered sugar for an extra touch if desired.
Pro Tips For Making Brownie Cake Recipe Using Brownie Mix
- Check at 25 Minutes: I learned this the hard way—brownie cake can go from fudgy to dry in minutes. Start testing with a toothpick at 25 minutes, even if the box says 30.
- Swap Water for Milk: Sounds weird, but it works: using milk instead of water adds richness that makes the cake taste homemade, not boxed.
- Skip Overmixing: After adding flour, mix just until the streaks disappear—overworking the batter makes the cake tough, not tender.
- Use Melted Butter: Replace the vegetable oil with the same amount of melted butter for a deeper, more buttery flavor that box mixes usually lack.
Essential Equipment for Perfect Results
Must-Have Tools 🍳
To whip up this brownie cake, you’ll need a few kitchen staples. A 9×13-inch baking pan is ideal for even baking and easy slicing. Don’t forget a mixing bowl and a whisk or spatula to combine your ingredients smoothly.
A reliable oven thermometer ensures your cake bakes at the perfect temperature, avoiding under- or over-cooking. Parchment paper or non-stick spray will keep your cake from sticking to the pan.
Nice-to-Have 🎯
For extra convenience, a stand mixer (like the KitchenAid Classic) can save time and effort. A rubber spatula helps scrape every bit of batter from the bowl, and a cooling rack keeps your cake from getting soggy on the bottom.
If you want perfectly even layers, a cake leveler or serrated knife works wonders. A piping bag is great for adding decorative frosting or drizzles.
Budget Alternatives ✨
No stand mixer? A hand mixer or even a sturdy wooden spoon will do the trick. Use a glass or metal pan if you don’t have a dedicated baking dish. Aluminum foil can substitute for parchment paper in a pinch.
For measuring, a basic set of measuring cups and spoons is all you need—no fancy scales required. A butter knife can stand in for a cake leveler if you’re careful.
Nutrition Facts

- 6 Egg Cake Recipe with Oil: Light as Air With Buttery Moisture - October 4, 2026
- 4 Bean Casserole Recipe: One-Pan Heartiness With Smoky Paprika Depth - October 4, 2026
- 3-Ingredient Keto Mug Cake Recipe: Microwave Magic in 2 Minutes - October 4, 2026