
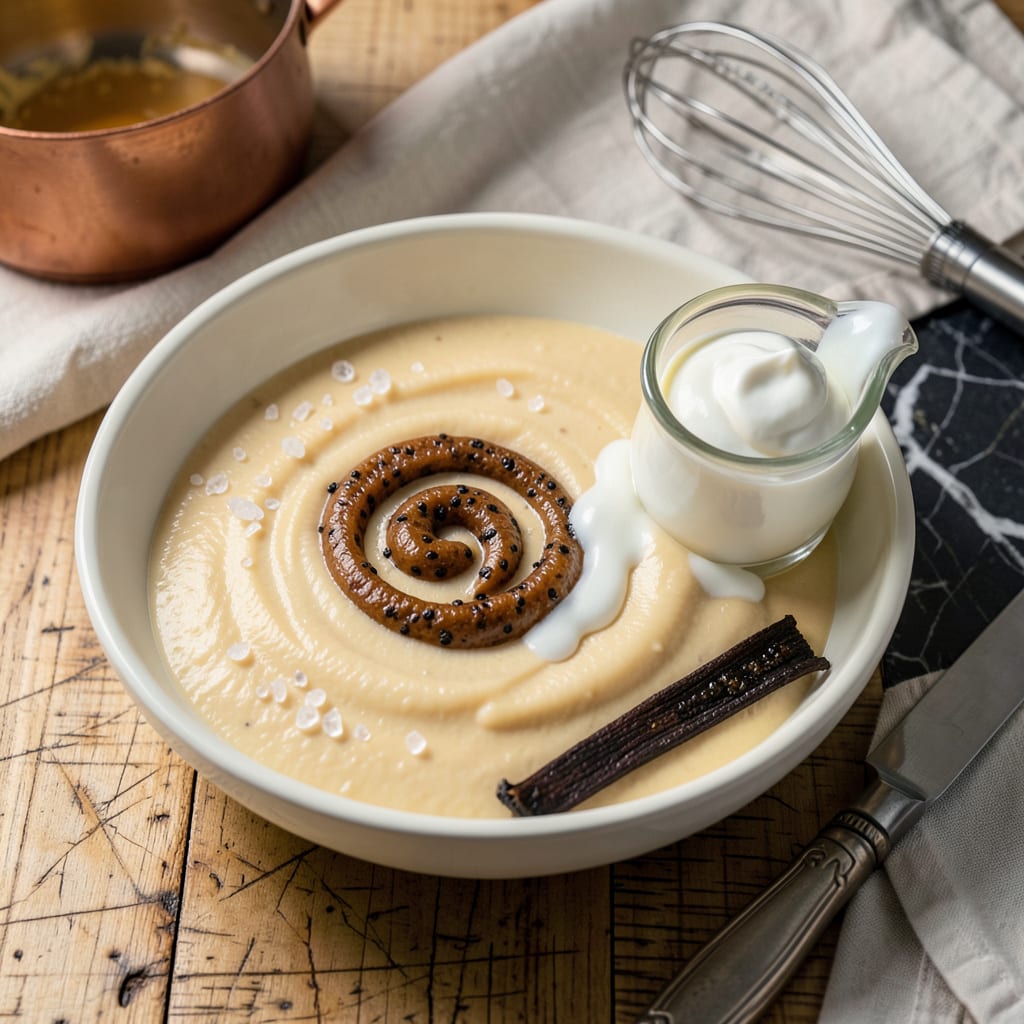
Creating a stable butter vanilla emulsion transforms ordinary desserts into restaurant-quality masterpieces. This versatile sauce combines rich butter with aromatic vanilla in a smooth, velvety base that elevates pastries, cakes, and beverages. The key lies in precise temperature control and proper emulsification techniques to prevent separation.
Perfect for professional bakers and home cooks alike, this emulsion adds depth to fillings, glazes, and sauces without overpowering other flavors. With just a few simple ingredients and careful blending, you’ll achieve a consistently smooth texture that maintains its integrity even when chilled or reheated. The result is a sophisticated finishing touch that brings professional polish to any sweet creation.
Ingredients for Butter Vanilla Emulsion
Eight precision ingredients create this professional-grade butter vanilla emulsion for pastry applications and dessert enhancement.
| Ingredient | Amount | Notes |
|---|---|---|
| Unsalted European-Style Butter 🧈 | 1 cup | 82% fat content minimum |
| Pure Vanilla Bean Paste 🌱 | 1 tbsp | Madagascar bourbon preferred |
| Heavy Whipping Cream 🥛 | ¼ cup | 36-40% milkfat required |
| Granulated Cane Sugar 🍚 | 2 tbsp | Superfine for rapid dissolution |
| Vanilla Extract (Alcohol-Based) 💧 | 1 tsp | Double-strength preferred |
| Kosher Salt (Diamond Crystal) 🧂 | ¼ tsp | Precise measurement critical |
| Cold Water (Filtered) 💧 | 2 tbsp | For temperature regulation |
| Lecithin Granules (Optional) 🧪 | ½ tsp | Emulsifier for stability |
The butter quality is non-negotiable for proper emulsification. European-style butter with minimum 82% fat content (such as Plugrá or Kerrygold) provides the necessary plasticity and mouthfeel. Vanilla bean paste from Nielsen-Massey or Rodelle offers superior aromatic complexity compared to extract alone. The heavy cream must maintain 36-40% milkfat—organic valley or local dairy brands typically meet this specification without additives that could destabilize the emulsion.
For professional applications where absolute stability is required, lecithin granules (available from Modernist Pantry) act as an insurance policy against separation during temperature fluctuations. The vanilla extract should be alcohol-based rather than glycerin-based for proper flavor dispersion—Mexican vanilla provides a spicier profile if desired. Superfine sugar dissolves instantly; create your own by processing granulated sugar for 30 seconds in a clean spice grinder. Never substitute table salt for Diamond Crystal kosher salt—the grain size affects precise measurement.
Store the completed emulsion in a stainless steel container with minimal headspace to prevent oxidation. Maintains optimal viscosity for 7 days refrigerated or 3 months frozen in airtight portions. For professional kitchens, prepare in 1-cup batches to ensure freshness. The emulsion will separate when frozen—thaw overnight in refrigerator then re-emulsify with an immersion blender before use. Always label with preparation date and fat percentage for quality control.
Why You’ll Love This Recipe
- No Whisking Required: Honestly, this comes together faster than my morning coffee. Just melt the butter, whisk in the cream and sugars, then let the vanilla paste and extract do their magic—no fancy techniques, no stress.
- That Bakery-Quality Depth: Here’s what sold me—the European-style butter plus both vanilla paste and extract creates this rich, almost caramelized flavor. It’s the kind of taste that makes people pause mid-bite and ask, “Wait, what’s in this?”
- My Secret Pancake Upgrade: I keep a jar in the fridge for lazy Saturday mornings. Swirl it into pancake batter, drizzle over waffles, or stir into oatmeal—it turns basic breakfasts into something my kids actually get excited about (yes, even on a Tuesday night).
- Stays Fresh for Weeks: Between us, I’ve stored this emulsion for up to three weeks, and it still tastes spot-on. No separation, no weird aftertaste—just a reliable, grab-and-go way to add that “I put effort in” flavor to anything from toast to ice cream.
Step-by-Step Instructions for Butter Vanilla Emulsion
This professional technique ensures a perfectly stable, velvety emulsion with maximum flavor retention.
Step 1: Melt and Clarify the Butter
Begin by melting the 1 cup Unsalted European-Style Butter in a heavy-bottomed saucepan over medium-low heat. The high fat content (minimum 82%) is crucial for achieving the proper emulsion stability. Allow the butter to melt completely until it reaches 180°F—you’ll see the milk solids separate and sink to the bottom.
Carefully skim off any foam that rises to the surface using a fine-mesh skimmer. This clarification process removes water content and impurities that could destabilize your emulsion. The clarified butter should appear golden and translucent. Immediately remove from heat once clarified to prevent browning, which would alter the flavor profile.
Step 2: Create the Vanilla Sugar Base
In a separate heatproof bowl, combine the 2 tbsp Granulated Cane Sugar with the 1 tbsp Pure Vanilla Bean Paste. The superfine sugar will dissolve rapidly, while the Madagascar bourbon vanilla paste provides intense flavor and visual speckles. Whisk vigorously until the mixture becomes a smooth, aromatic paste with no visible sugar granules.
Add the 1 tsp Vanilla Extract (Alcohol-Based) to the sugar-vanilla mixture. The double-strength extract enhances the vanilla complexity without adding excess liquid. Whisk for an additional 30 seconds until fully incorporated. This concentrated base will serve as the flavor foundation for your emulsion.
Step 3: Temper and Emulsify the Components
Slowly drizzle the clarified butter into the vanilla sugar base while whisking constantly. Maintain a thin, steady stream to create a stable emulsion. The mixture should thicken noticeably and develop a glossy sheen. If using the 0.5 tsp Lecithin Granules (Optional), sprinkle them over the mixture at this stage—they’ll act as an emulsifier for enhanced stability.
Once fully incorporated, whisk in the 0.25 cup Heavy Whipping Cream (36-40% milkfat) in three additions, allowing each to fully emulsify before adding more. The cream adds body and richness while helping to stabilize the emulsion. The mixture should now have a smooth, velvety texture with no visible separation.
Step 4: Balance and Finish the Emulsion
Dissolve the 0.25 tsp Kosher Salt (Diamond Crystal) in the 2 tbsp Cold Water (Filtered). The precise measurement of Diamond Crystal salt ensures consistent seasoning without overpowering the delicate vanilla notes. Slowly incorporate this salt solution into your emulsion while whisking continuously.
The cold water serves dual purposes: it helps regulate the final temperature and ensures proper salt distribution. Whisk for an additional 2 minutes until the emulsion is completely homogeneous. The finished product should coat the back of a spoon with a smooth, unbroken layer that holds its shape briefly when you run your finger through it.
Step 5: Test and Store for Optimal Results
To verify stability, place a small amount of the emulsion on a chilled plate. It should maintain its consistency without separating when refrigerated for 30 minutes. If any separation occurs, the emulsion needs further whisking or a slight temperature adjustment.
Transfer the completed emulsion to a clean glass jar and store in the refrigerator for up to 2 weeks. The high butterfat content creates a natural seal that preserves freshness. Before each use, allow the emulsion to come to room temperature and give it a brief whisk to restore its silky texture. This versatile sauce will enhance any pastry or dessert with its rich, complex vanilla character.
Serving Suggestions for This Dish
Drizzling Techniques
For pastries like croissants or Danishes, warm the emulsion slightly to 90°F for optimal drizzling consistency. I use a small squeeze bottle with a #2 tip for precise control—this creates those beautiful, professional-looking zigzags. Hold the bottle 6 inches above your pastry for even coverage without overwhelming the dessert. 🎨
Layering in Cakes
This emulsion makes an incredible filling between cake layers. Spread a thin, even layer (¼ inch thick) using an offset spatula, then chill for 15 minutes before adding the next layer. The cold temperature helps set the emulsion, preventing it from squeezing out when you slice the cake. I love pairing it with vanilla bean cake for double vanilla impact.
Beverage Enhancer
Stir 1 tablespoon of this emulsion into hot coffee or chai for a luxurious vanilla butter latte. The emulsion dissolves completely when whisked into hot liquids, creating a silky texture without oil separation. For iced drinks, blend it first with 2 ounces of warm milk before adding to your cold beverage to prevent clumping.
Ice Cream Topping
Drizzle warm emulsion over vanilla or caramel ice cream—it creates a magical shell-like coating when it hits the cold surface. For extra drama, sprinkle with flaky sea salt immediately after drizzling. The contrast between the rich emulsion and cold ice cream is what makes this combination so special.
Fruit Pairings
Toss fresh berries or sliced stone fruits with 1 teaspoon of emulsion per cup of fruit. The vanilla enhances the natural sweetness while the butter adds a velvety mouthfeel. This works particularly well with peaches, strawberries, and pineapple. Let the fruit sit for 10 minutes before serving to allow flavors to meld.
Plating Presentation
Create elegant plate designs by using the emulsion as a base sauce. Spread a thin layer on the plate, then drag a toothpick through it to create decorative patterns before placing your dessert. The emulsion holds its shape beautifully at room temperature for about 30 minutes, giving you plenty of time to compose your presentation. ✨
Nutrition Facts
Frequently Asked Questions
Why does my emulsion separate after chilling?
Separation usually occurs if the mixture wasn’t fully emulsified or if ingredients weren’t at the right temperatures. Always add cream slowly while whisking constantly, and ensure your clarified butter is at 180°F before combining. A quick re-blend with an immersion blender usually fixes this.
Can I substitute regular butter for European-style?
Regular butter (80% fat) can work, but the emulsion may be less stable and have a thinner texture. European-style butter’s higher fat content (82%+) creates a richer, more velvety result. If substituting, reduce the cream by 1 tablespoon to compensate for extra water content.
How do I fix an emulsion that’s too thick?
Thin it gradually with warm (110°F) heavy cream, 1 teaspoon at a time, while whisking constantly. Avoid adding cold liquids directly—they can cause the butter to seize. For immediate use, place the container in warm water while stirring to gently loosen the texture.
What’s the best way to store leftover emulsion?
Transfer to a clean glass jar, press plastic wrap directly on the surface to prevent skin formation, then seal with the lid. Refrigerate for up to 2 weeks or freeze for 3 months. Thaw overnight in the fridge, then re-emulsify with an immersion blender before using.
Can I make this without lecithin?
The lecithin just adds insurance for stability. Without it, maintain precise temperatures and whisk vigorously when combining ingredients. Your emulsion will still work beautifully for immediate use, though it may separate faster when stored. For best results, use within 3-5 days when omitting lecithin.

- 6 Egg Cake Recipe with Oil: Light as Air With Buttery Moisture - October 4, 2026
- 4 Bean Casserole Recipe: One-Pan Heartiness With Smoky Paprika Depth - October 4, 2026
- 3-Ingredient Keto Mug Cake Recipe: Microwave Magic in 2 Minutes - October 4, 2026