
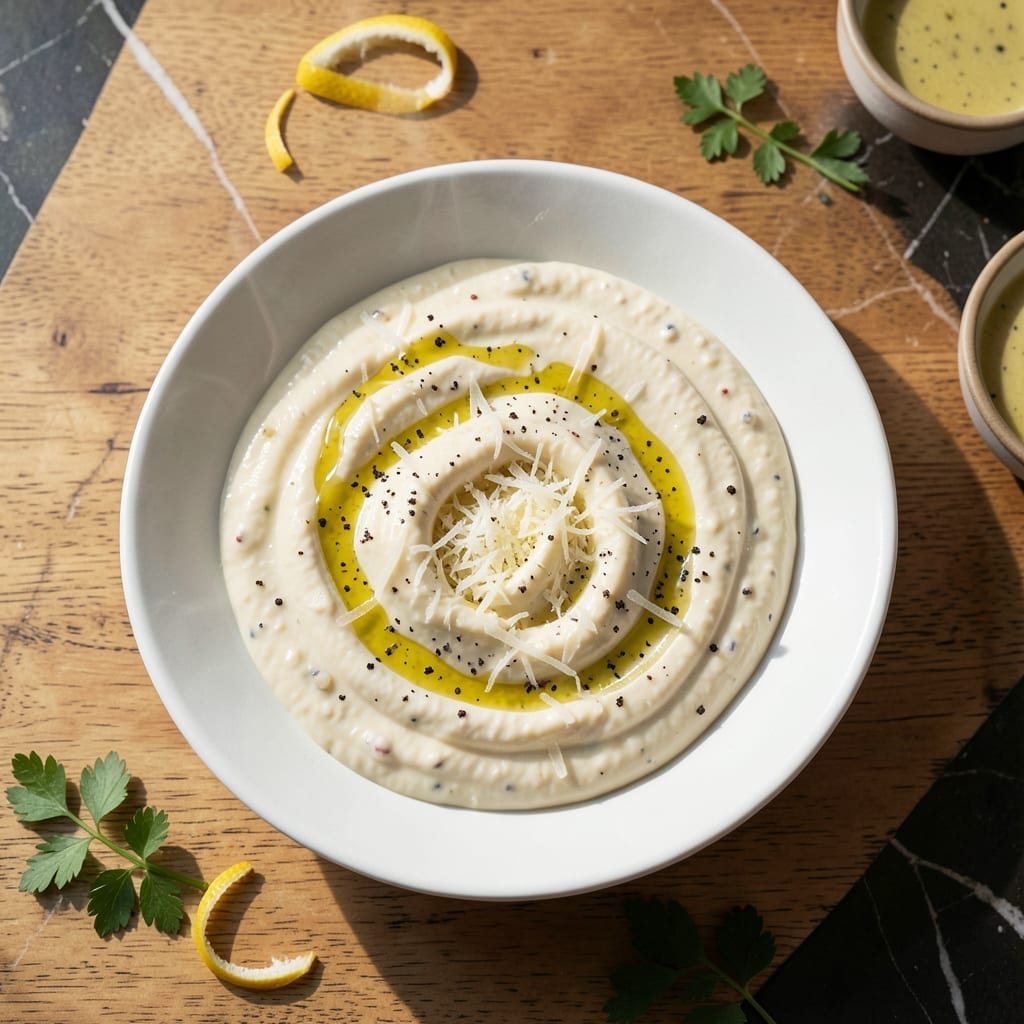
This Caesar dressing proves you don’t need mayo to achieve a creamy, restaurant-quality emulsion. I developed this version after realizing traditional recipes often mask the bold Parmesan flavor I love.
The secret lies in a simple emulsion technique using olive oil and grated Parmesan, creating a smooth, rich texture without eggs or dairy. A touch of lemon juice and Dijon mustard adds the signature tang.
Use it to elevate salads, drizzle over grilled chicken, or turn ordinary vegetables into something extraordinary. This dressing keeps beautifully in the fridge for up to 5 days.
No settling, no separation—just consistent, flavor-packed results every time.
Ingredients for Caesar Dressing Recipe No Mayo
Nine ingredients create this creamy, mayo-free dressing with bold Parmesan punch and smooth emulsion.
| Ingredient | Amount | Notes |
|---|---|---|
| Parmesan Cheese 🧀 | ¾ cup | Freshly grated, high-quality Parmigiano-Reggiano |
| Extra-Virgin Olive Oil 🫒 | 1 cup | High-quality for smooth emulsion |
| Lemon Juice 🍋 | 3 tbsp | Freshly squeezed for brightness |
| Dijon Mustard 🟡 | 1 tbsp | For signature tang and emulsifying power |
| Garlic Cloves 🧄 | 2 cloves | Minced or pressed for bold flavor |
| Worcestershire Sauce 💧 | 1 tsp | Use vegetarian version (Anchovy-free) |
| Red Wine Vinegar 🍷 | 1 tsp | Balances richness with acidity |
| Salt 🧂 | ½ tsp | Fine sea salt for even distribution |
| Black Pepper 🌶️ | ¼ tsp | Freshly cracked for best flavor |
The Parmesan is the soul here—splurge on Parmigiano-Reggiano from Whole Foods or a specialty cheese shop. Pre-grated won’t melt the same (it’s coated in anti-caking agents). Freshly grate it yourself for that silky texture. The olive oil should be extra-virgin, but don’t waste your fancy finishing oil—any good mid-range bottle works for emulsifying.
No Dijon? Whole-grain mustard at half the amount adds texture but works. Skip the Worcestershire if you can’t find vegetarian—a dash of soy sauce brings similar umami. Lemon juice is non-negotiable for that bright pop, but bottled works in a pinch (fresh is just better). The garlic can be adjusted—add more if you love that sharp bite.
This keeps 5 days in the fridge, no settling or separation. Store in a glass jar (easier to shake before using). If it thickens too much, whisk in a tbsp of warm water to loosen. Doubles easily—just scale all ingredients equally.
Why You’ll Love This Recipe
- I’ll be real: it keeps for a week, so I always have a creamy, mayo-free dressing ready to go.
- No Fuss Blending: I just toss everything in a jar and shake—no whisking, no mayo, no mess.
- Zesty Parmesan Punch: The sharp Parmesan and bright lemon juice give it that classic Caesar tang I crave.
- Salad’s Best Friend: Honestly, it’s not just for Caesar salad—drizzle it over roasted veggies or grilled chicken too.
Step-by-Step Instructions for Caesar Dressing No Mayo
This emulsion comes together quickly with the right technique and patience.
Step 1: Build the Flavor Base
Mince the 2 cloves Garlic Cloves finely—I prefer pressing for maximum flavor release. In a medium bowl, combine the garlic with 1 tbsp Dijon Mustard, 1 tsp Worcestershire Sauce, 1 tsp Red Wine Vinegar, 3 tbsp Lemon Juice, 0.5 tsp Salt, and 0.25 tsp Black Pepper.
Whisk these ingredients vigorously for 30 seconds until fully combined and slightly frothy. This acidic base is crucial for both flavor and the emulsion. The mustard acts as your primary emulsifier, replacing the traditional egg yolk.
Step 2: Incorporate the Parmesan
Add the 0.75 cup Parmesan Cheese to your flavor base. I always use freshly grated Parmigiano-Reggiano for its superior melting properties and depth of flavor. The fine texture helps it incorporate smoothly into the dressing.
Whisk again for 1-2 minutes until the mixture is completely smooth and the Parmesan has fully dissolved. You’ll notice the mixture thicken slightly as the cheese melts and the mustard begins its emulsifying work. This step creates the foundation for your creamy, egg-free dressing.
Step 3: Create the Emulsion
Here’s where the magic happens. Begin adding the 1 cup Extra-Virgin Olive Oil in a very slow, thin stream while whisking constantly. I recommend using your dominant hand for whisking and your non-dominant hand for pouring to maintain control.
Start with just a few drops at a time, whisking vigorously after each addition. As the emulsion begins to form and thicken (after about ¼ cup of oil), you can increase to a thin stream. The dressing should transform from a thin liquid to a creamy, mayonnaise-like consistency.
If the mixture starts to separate, don’t panic. Simply stop adding oil and whisk vigorously for 30 seconds until it comes back together. This usually happens if you add the oil too quickly.
Step 4: Finish and Adjust
Once all the oil is incorporated, taste and adjust seasoning if needed. The dressing should be thick enough to coat the back of a spoon but still pourable. If it’s too thick, whisk in 1 tsp of water at a time until it reaches your desired consistency.
Transfer to a jar or airtight container. The dressing will keep in the refrigerator for up to 5 days. Before each use, give it a good shake or whisk to re-emulsify any separated components. The flavor actually improves after 24 hours as the ingredients meld together.
Pro Tips For Making Caesar Dressing Recipe No Mayo
- Grate Fresh Parmesan: Use a microplane to freshly grate the Parmesan—pre-shredded cheese has anti-caking agents that make the dressing grainy. I learned this the hard way after wondering why my dressing wasn’t smooth.
- Bloom the Garlic: Mince the garlic and let it sit in the lemon juice for 5-10 minutes before mixing. Sounds weird, but it mellows the sharpness and actually changes the outcome.
- Slowly Drizzle Oil: Add the olive oil in a thin, steady stream while whisking to emulsify properly. After burning three batches of broken dressing, I finally figured out this is non-negotiable.
- Balance with Mustard: Start with 1 teaspoon of Dijon and adjust—it’s the thing that matters most for binding the dressing without mayo. My grandmother swore by this, and she was right.
Storing and Reheating This Dish
Refrigerator Storage
Transfer your dressing to a clean glass jar or airtight container—I use 16-ounce mason jars for easy shaking. Store in the fridge at 40°F or below for up to 5 days. The emulsion stays stable, but the oil may solidify slightly in cold temps. ❄️
Reviving Thickened Dressing
If your dressing thickens too much after chilling, whisk in 1 tsp warm water at a time until it reaches your desired consistency. I often need to add about 1 tbsp total for a full batch. Avoid microwaving the entire jar, as this can cause separation.
No Freezing Needed
This dressing doesn’t freeze well—the Parmesan can become grainy and the emulsion may break permanently. Since it lasts 5 days in the fridge, I recommend making smaller batches. The flavors actually deepen after 24 hours as the ingredients meld together.
Shaking Before Use
Always give your dressing a good shake or whisk before each use. Even though it’s stable, some natural separation may occur. I find a tight-sealing jar works best—just 10-15 seconds of vigorous shaking brings it back to perfect consistency.
Make-Ahead Tip
This dressing tastes even better the next day. I often prepare it 12-24 hours ahead for maximum flavor development. Store it in the back of the fridge where temperatures are most consistent, not in the door where temps fluctuate. 💡
Nutrition Facts
Frequently Asked Questions
What replaces mayo in this dressing?
Dijon mustard acts as the emulsifier, while grated Parmesan adds creaminess. The slow oil stream creates a stable, rich texture without eggs or dairy.
Can I use pre-grated Parmesan?
Freshly grated works best for smooth melting. Pre-grated contains anti-caking agents that prevent proper emulsification, resulting in a grainy texture.
Why did my dressing separate?
Oil was likely added too quickly. Stop pouring, whisk vigorously for 30 seconds to re-emulsify, then resume with a slower drizzle.
How do I thin it if it’s too thick?
Whisk in 1 tsp warm water at a time until pourable. Avoid over-thinning—it should still coat the back of a spoon.

- 6 Egg Cake Recipe with Oil: Light as Air With Buttery Moisture - October 4, 2026
- 4 Bean Casserole Recipe: One-Pan Heartiness With Smoky Paprika Depth - October 4, 2026
- 3-Ingredient Keto Mug Cake Recipe: Microwave Magic in 2 Minutes - October 4, 2026