
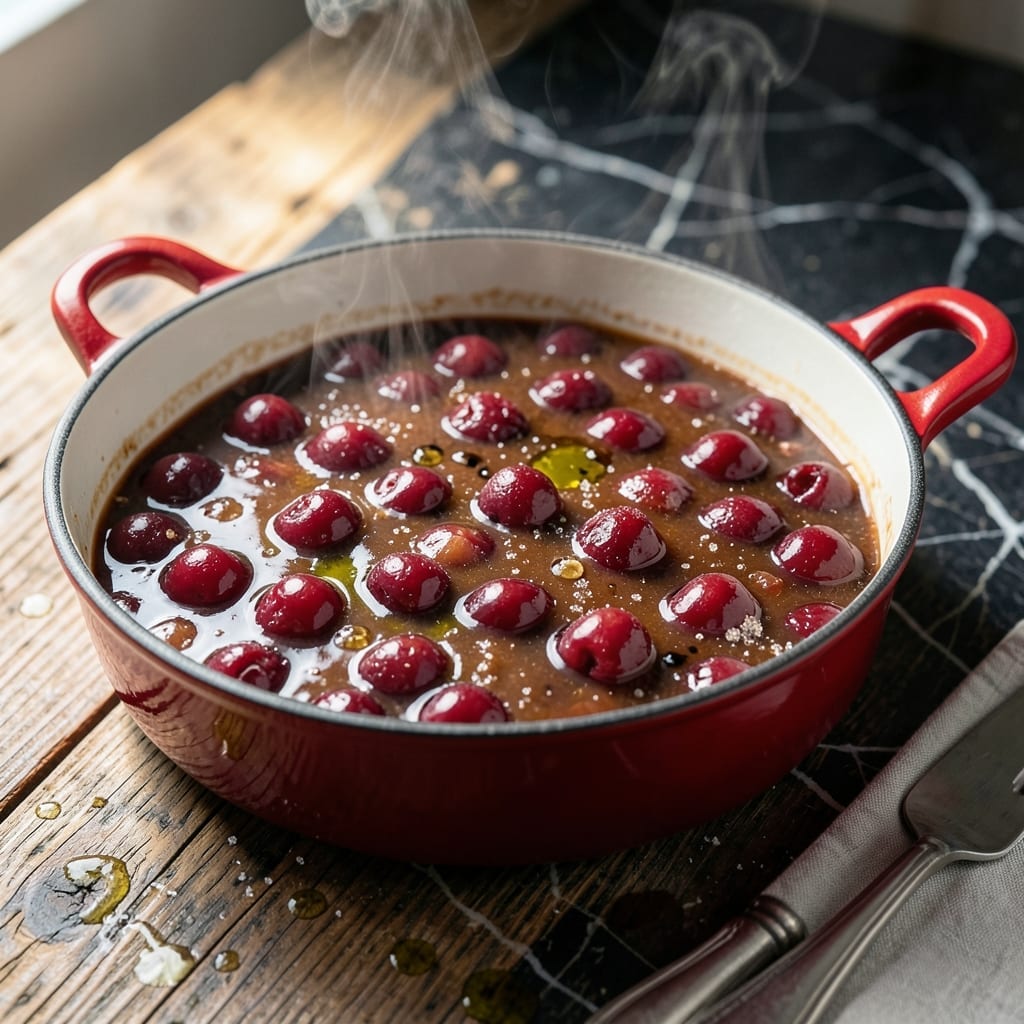
This foolproof method turns frozen cherries into a thick, glossy pie filling that rivals fresh fruit versions. I developed this technique after too many soggy pies, and it works every time.
The secret lies in proper thickening and reducing. Cornstarch creates the perfect consistency while lemon juice brightens the natural cherry flavor. A touch of almond extract adds depth without overpowering.
You’ll end up with vibrant filling packed with bursting fruit that holds its shape when sliced. The cherries stay intact while the sauce clings beautifully to each piece, ensuring every bite delivers that classic pie experience.
Perfect for lattice-top pies, hand pies, or even ice cream toppings. Here’s how to make it right.
Ingredients for Cherry Pie Filling Recipe Frozen Cherries
Frozen cherries and pantry staples create this vibrant, foolproof pie filling with minimal effort.
| Ingredient | Amount | Notes |
|---|---|---|
| Frozen Tart Cherries 🍒 | 5 cups | Pitted, unsweetened preferred |
| Granulated Sugar 🍚 | 1 cup | Adjust to taste preference |
| Cornstarch 🌾 | ¼ cup | For thickening sauce |
| Lemon Juice 🍋 | 2 tbsp | Freshly squeezed preferred |
| Almond Extract 🌰 | ½ tsp | Pure extract for best flavor |
| Vanilla Extract 🌿 | 1 tsp | Pure extract recommended |
| Salt 🧂 | ¼ tsp | Fine grain kosher salt |
| Butter 🧈 | 2 tbsp | Unsalted, for richness |
| Water 💧 | ¼ cup | For thinning if needed |
| Lemon Zest 🍋 | 1 tsp | Optional, for bright flavor |
The cherries are everything here. Look for unsweetened, pitted tart cherries—most grocery stores carry them in the frozen fruit aisle. Whole Foods and Trader Joe’s often have organic options. If you can only find sweetened, reduce the sugar by half. The cornstarch must be fresh; old starch loses its thickening power. I always buy mine from King Arthur for consistent quality.
No tart cherries? Sweet cherries work at a 1:1 ratio—just add an extra tablespoon of lemon juice to balance. Out of cornstarch? Arrowroot powder at the same amount is a perfect substitute. The almond extract is optional but adds that classic bakery flavor. If you’re avoiding nuts, swap it for an extra teaspoon of vanilla. The butter can be salted, but reduce the added salt by a pinch.
The filling keeps beautifully. Store in an airtight container in the fridge for up to 5 days, or freeze for 3 months. Thaw overnight before using. If it thickens too much, a splash of water and gentle heat brings it right back. Perfect for pies, turnovers, or spooning over vanilla ice cream (the good stuff, not the pre-shredded kind).
Why You’ll Love This Recipe
- No Thaw Needed: I just dump the frozen cherries straight into the pot—no waiting, no mess.
- Almond Kiss: That hint of almond extract with the tart cherries? Ridiculously good.
- Pie or Parfait: I’ve used this filling for pies, of course, but also over ice cream and in yogurt parfaits.
- Pantry Staples: Sugar, cornstarch, lemon juice—things I always have, so I can make this on a whim.
Step-by-Step Instructions for Cherry Pie Filling
This method ensures a glossy, thick filling with perfectly balanced sweet-tart flavor.
Step 1: Combine Cherries with Sugar and Thickener
In a large saucepan, combine the 5 cups Frozen Tart Cherries, 1 cup Granulated Sugar, 0.25 cup Cornstarch, 2 tbsp Lemon Juice, and 0.25 tsp Salt. Stir gently but thoroughly to distribute the cornstarch evenly—this prevents lumps in your final filling.
The frozen cherries will begin to release their juices as they thaw. This initial mixing ensures the cornstarch is fully incorporated before heat activates its thickening properties. You should see a uniform, slightly cloudy mixture.
Step 2: Cook Until Thickened and Bubbly
Place the saucepan over medium heat and bring to a gentle boil, stirring constantly. The mixture will begin to thicken noticeably after 3-4 minutes as the cornstarch activates. Continue cooking for an additional 2-3 minutes until the filling reaches a full, rolling boil.
You’ll know it’s ready when the mixture becomes thick and glossy, with large, slow bubbles breaking the surface. The filling should coat the back of a spoon and hold its shape briefly when the spoon is inverted. This stage is critical for proper setting.
Step 3: Add Flavor Enhancers Off Heat
Remove the saucepan from heat and immediately stir in the 0.5 tsp Almond Extract, 1 tsp Vanilla Extract, 2 tbsp Butter, and 1 tsp Lemon Zest. The residual heat will melt the butter and fully incorporate the extracts without cooking off their delicate flavors.
The almond extract adds depth, while the vanilla rounds out the sweetness. The butter enriches the filling, giving it a luxurious sheen. The lemon zest brightens the overall flavor profile with its citrusy aroma.
Step 4: Adjust Consistency if Needed
If the filling appears too thick, whisk in the 0.25 cup Water, 1 tablespoon at a time, until it reaches your desired consistency. Remember that the filling will thicken slightly as it cools, so err on the side of slightly thinner during this adjustment.
Let the filling cool for 10-15 minutes before using. As it cools, it will thicken further and develop its characteristic gel-like consistency. The cherries should remain intact but be fully enrobed in the glossy, thick sauce.
This cooling period also allows the flavors to meld together perfectly. The final product should be thick enough to hold its shape when spooned but still spreadable.
Pro Tips For Making Cherry Pie Filling Recipe Frozen Cherries
- Thaw and Drain: Always thaw your frozen tart cherries completely and drain them well—about 10 minutes in a colander—otherwise the filling will be watery and take forever to thicken.
- Bloom the Cornstarch: Mix the cornstarch with a little cold water first (about 2 tablespoons) before stirring it into the filling, or you’ll end up with clumpy, uneven thickening.
- Simmer Low and Slow: After adding the cornstarch, keep the heat at medium-low and stir constantly for 5-7 minutes—rushing it with high heat turns the filling gummy instead of glossy.
- Add Extract Last: Stir in the almond extract only after removing the filling from heat, so the flavor stays bright and doesn’t cook off during simmering.
Wine and Beer Pairings for These Flavors
Sweet Dessert Wines
For a classic pairing, I love Moscato d’Asti—its light effervescence and honeyed stone fruit notes complement the tart cherries beautifully. Another excellent choice is Late Harvest Riesling, offering a perfect balance of sweetness and acidity that mirrors the filling’s flavor profile. 🍷
Rich Red Options
Surprisingly, some red wines work wonderfully. A chilled Lambrusco from Emilia-Romagna has enough fruitiness and slight effervescence to cut through the richness. For something bolder, try a Ruby Port—its berry notes echo the cherries while the sweetness matches perfectly.
Craft Beer Pairings
Beer lovers should try a Fruit Lambic like Lindemans Framboise. The raspberry notes create a delightful harmony with the cherry filling. A Brown Ale with its caramel and nutty undertones also works surprisingly well, especially if you’ve added almond extract. 🍺
Sparkling Choices
Prosecco is my go-to sparkling option—its crisp apple and pear flavors cleanse the palate between bites of sweet pie. For a non-alcoholic alternative, a sparkling cherry cider from Angry Orchard offers a fun, flavorful pairing that kids can enjoy too.
Nutrition Facts
Frequently Asked Questions
Do I need to thaw the cherries first?
No, use them straight from the freezer. Thawing can make the cherries mushy and release too much liquid.
Why does my filling turn out runny?
Likely the cornstarch didn’t fully activate. Ensure it boils for the full 2-3 minutes and use fresh cornstarch for best thickening power.
Can I use sweet cherries instead?
Yes, but add an extra 1 tbsp of lemon juice to balance the sweetness. Tart cherries are ideal for that classic pie flavor.
How long will the filling keep in the fridge?
Store in an airtight container for up to 5 days. For longer storage, freeze for up to 3 months.

- 6 Egg Cake Recipe with Oil: Light as Air With Buttery Moisture - October 4, 2026
- 4 Bean Casserole Recipe: One-Pan Heartiness With Smoky Paprika Depth - October 4, 2026
- 3-Ingredient Keto Mug Cake Recipe: Microwave Magic in 2 Minutes - October 4, 2026