
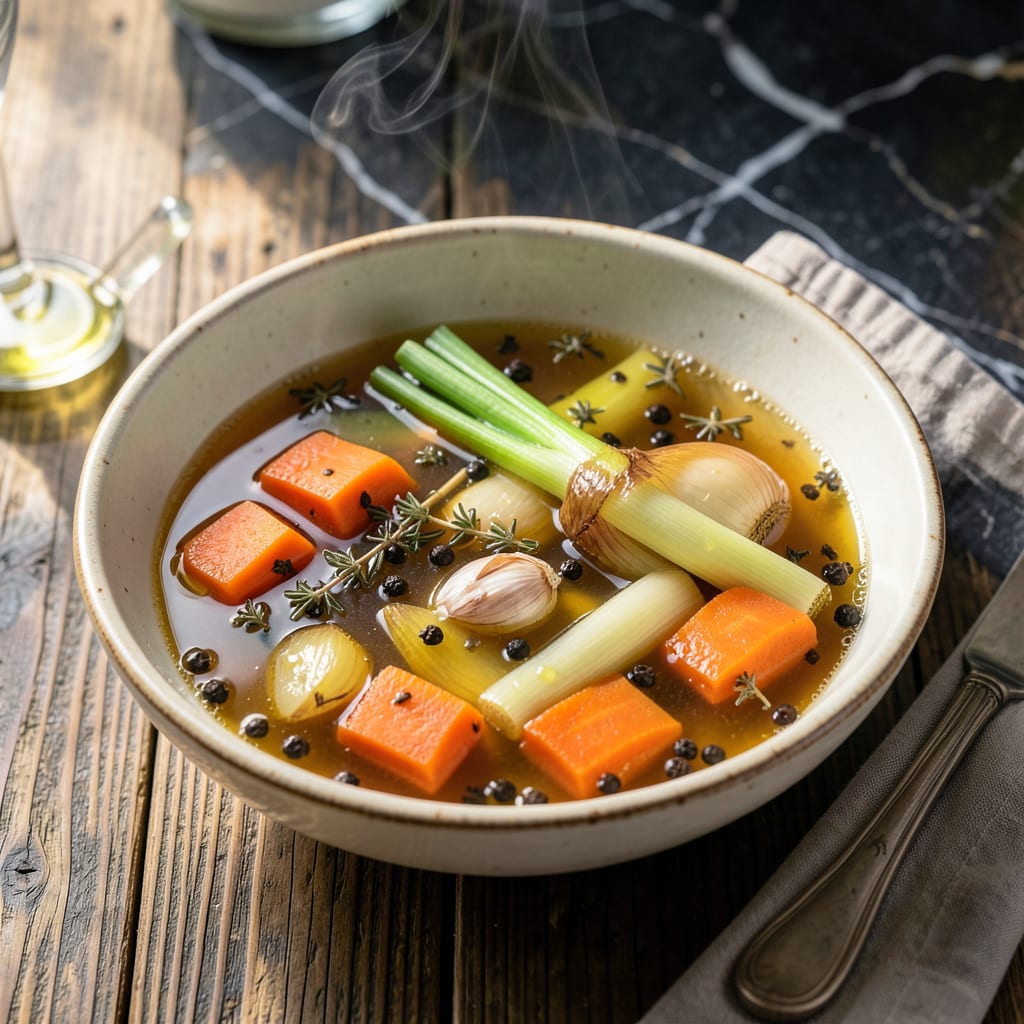
I used to think homemade broth meant hours of simmering bones, then I discovered this trick with bouillon. It gives you that rich, homemade flavor in a fraction of the time.
This method delivers deep, savory broth without the long wait. Just a few ingredients and 10 minutes is all you need for a stock that tastes like it cooked all day.
Ingredients for Chicken Bouillon to Make Broth
A handful of pantry staples and fresh veggies create this rich broth quickly.
| Ingredient | Amount | Notes |
|---|---|---|
| Chicken Bouillon Cubes 🍲 | 4 pieces | Low-sodium preferred for control |
| Water 💧 | 8 cups | Filtered for best flavor |
| Carrots 🥕 | 2 whole | Medium, roughly chopped |
| Celery Stalks 🌿 | 2 whole | Roughly chopped with leaves |
| Yellow Onion 🧅 | 1 whole | Quartered, skin left on |
| Garlic Cloves 🧄 | 4 cloves | Smashed, skin removed |
| Bay Leaves 🍃 | 2 whole | Dried, whole leaves |
| Black Peppercorns 🌶️ | 1 tsp | Whole, lightly crushed |
| Fresh Parsley Stems 🌿 | ½ cup | Stems only, no leaves |
| Dried Thyme 🍃 | 1 tsp | Crushed between fingers |
| Kosher Salt 🧂 | 1 tsp | Adjust to taste after simmering |
The bouillon is the base here. Knorr or Maggi are solid picks—look for the low-sodium version so you can control the salt. I grab mine from Walmart (cheap and reliable), but any grocery store carries it. The onion skin adds a beautiful golden color (trust me on this), so don’t peel it. Fresh parsley stems—yes, stems—add depth without bitterness. Save the leaves for garnish.
No bouillon cubes? Powdered bouillon at 1 tbsp per cube works fine. Out of celery? Celery salt at half the amount adds similar flavor. Bay leaves are non-negotiable for that classic stock taste, but if you’re in a pinch, a pinch of ground bay leaf does the trick. The carrots can be swapped with parsnips for a slightly sweeter note.
Broth keeps 5 days refrigerated or 6 months frozen. I freeze in ice cube trays for easy portions (worth the extra minute). Strain and cool before storing—hot liquid warps containers.
Why You’ll Love This Recipe
- 5-Minute Start: I just drop a cube in hot water with the veggies—no long simmering required.
- Rich Depth: The carrots and celery soak up the bouillon’s savory punch, making every sip feel homemade.
- Meal Prep Hero: I use this broth for soups, rice, or sipping straight from a mug on chilly afternoons.
- Pantry Savior: A few cubes and scraps turn into quarts of broth, saving me a trip to the store.
Step-by-Step Instructions for Chicken Bouillon Broth
This simple method transforms basic ingredients into a rich, flavorful base in no time.
Step 1: Prepare and Combine the Vegetables
Roughly chop the 2 whole Carrots and 2 whole Celery Stalks into large chunks. You don’t need precision here—just break them into manageable pieces. Quarter the 1 whole Yellow Onion, leaving the skin on for deeper color and flavor.
Slightly crush the 4 cloves Garlic Cloves with the side of your knife to release their oils. Add all the vegetables to a large stockpot along with the 0.5 cup Fresh Parsley Stems. The skin-on onion and fresh herbs will infuse the broth with a robust, aromatic base.
Step 2: Toast the Spices and Bouillon
Lightly crush the 1 tsp Black Peppercorns and 1 tsp Dried Thyme between your fingers to release their essential oils. Add them to the pot along with the 2 whole Bay Leaves and 1 tsp Kosher Salt.
Drop in the 4 pieces Chicken Bouillon Cubes, then pour in the 8 cups Water. The bouillon will dissolve as the water heats, creating a concentrated foundation for your broth. Stir briefly to help the cubes break down.
Step 3: Simmer for Maximum Flavor Extraction
Bring the mixture to a boil over high heat, then reduce to a gentle simmer. You’ll see small bubbles breaking the surface—this is the ideal simmer. Let it cook uncovered for 30-40 minutes, allowing the flavors to meld together.
As it simmers, the liquid will turn a rich golden color, and your kitchen will fill with a savory aroma. Skim off any foam that rises to the top with a spoon—this keeps your broth clear and clean. Resist the urge to stir; just let the ingredients work their magic.
Step 4: Strain and Finish the Broth
After simmering, remove the pot from the heat and let it sit for 5 minutes to allow the solids to settle. Place a fine-mesh strainer over a large bowl or another pot, then carefully pour the broth through, discarding all the solids.
The strained broth should be smooth, aromatic, and deeply flavorful. Taste and adjust the seasoning with additional Kosher Salt if needed. For the clearest broth, avoid pressing the vegetables as you strain—this can make it cloudy.
Step 5: Store or Use Immediately
Let the broth cool to room temperature before storing. It will keep in the refrigerator for up to 5 days or in the freezer for 3 months. For best results, divide it into smaller portions for easy use in future recipes.
This homemade broth is ready to elevate soups, sauces, or grains. The slow simmering process ensures every sip is packed with rich, balanced flavor. Use it as a base for your next dish, and you’ll taste the difference immediately.
Pro Tips For Making Chicken Bouillon To Make Broth
- Dissolve Cubes First: Crumble the bouillon cubes into 2 cups of hot water first to fully dissolve them before adding the rest of the liquid—I learned this the hard way after finding undissolved chunks at the bottom of my pot.
- Char the Veggies: Toss the onion, carrots, and celery into a dry pot over medium-high heat for 5 minutes to develop deeper flavor before adding water.
- Skip the Boil: Keep it at a gentle simmer, never a rolling boil, or your broth will turn cloudy and the veggies will fall apart.
- Strain Twice: After the first strain through a colander, pour the broth through a coffee filter or cheesecloth for a crystal-clear finish—sounds fussy, but it actually changes the outcome.
Essential Equipment for chicken bouillon to make broth
Stockpot Selection
I use my 8-quart Cuisinart MultiClad Pro for this—its heavy bottom prevents hot spots that can scorch bouillon. A 5-6 quart pot works too, but leave room for expansion. Avoid thin aluminum; it heats unevenly and can give your broth a metallic taste. 💡
Fine-Mesh Strainer
Don’t skip the fine-mesh strainer—it catches all the tiny bits that cloud your broth. I love the OXO Good Grips model with a handle; it fits perfectly over my stockpot. For ultra-clear broth, line it with cheesecloth and strain twice.
Wooden Spoon
A long wooden spoon is perfect for skimming foam. It won’t scratch your pot, and the length keeps your hands safe from steam. I keep mine right in the pot while simmering—it’s always within reach when I need to skim.
Measuring Tools
Accurate measurements matter here. I use Pyrex liquid measuring cups for the water and OXO stainless steel spoons for spices. A kitchen scale isn’t essential but helps if you’re scaling the recipe up or down.
Storage Containers
For fridge storage, I swear by Glasslock containers—they’re airtight and won’t absorb odors. For freezing, silicone ice cube trays portion perfectly for small batches. Always cool broth completely before sealing to prevent condensation. ❄️
Optional Extras
A fat separator helps if your bouillon has visible fat. For serious broth makers, a chinois sieve gives restaurant-quality clarity. These aren’t essential but make a noticeable difference in the final product.
Nutrition Facts
Frequently Asked Questions
Can I use bouillon powder instead of cubes?
Yes! Use 1 tablespoon of powdered bouillon for each cube. It dissolves just as easily and gives the same rich flavor.
How long does this broth last in the fridge?
Properly stored in an airtight container, your broth stays fresh for up to 5 days. For longer storage, freeze it for 3 months.
Why leave the onion skin on?
The skin adds a beautiful golden color and extra depth of flavor. It’s safe to use and enhances the broth’s richness without bitterness.
Can I skip the straining step?
Skipping it leaves bits in your broth. For the clearest result, always strain through a fine-mesh sieve to remove solids.

- 6 Egg Cake Recipe with Oil: Light as Air With Buttery Moisture - October 4, 2026
- 4 Bean Casserole Recipe: One-Pan Heartiness With Smoky Paprika Depth - October 4, 2026
- 3-Ingredient Keto Mug Cake Recipe: Microwave Magic in 2 Minutes - October 4, 2026