
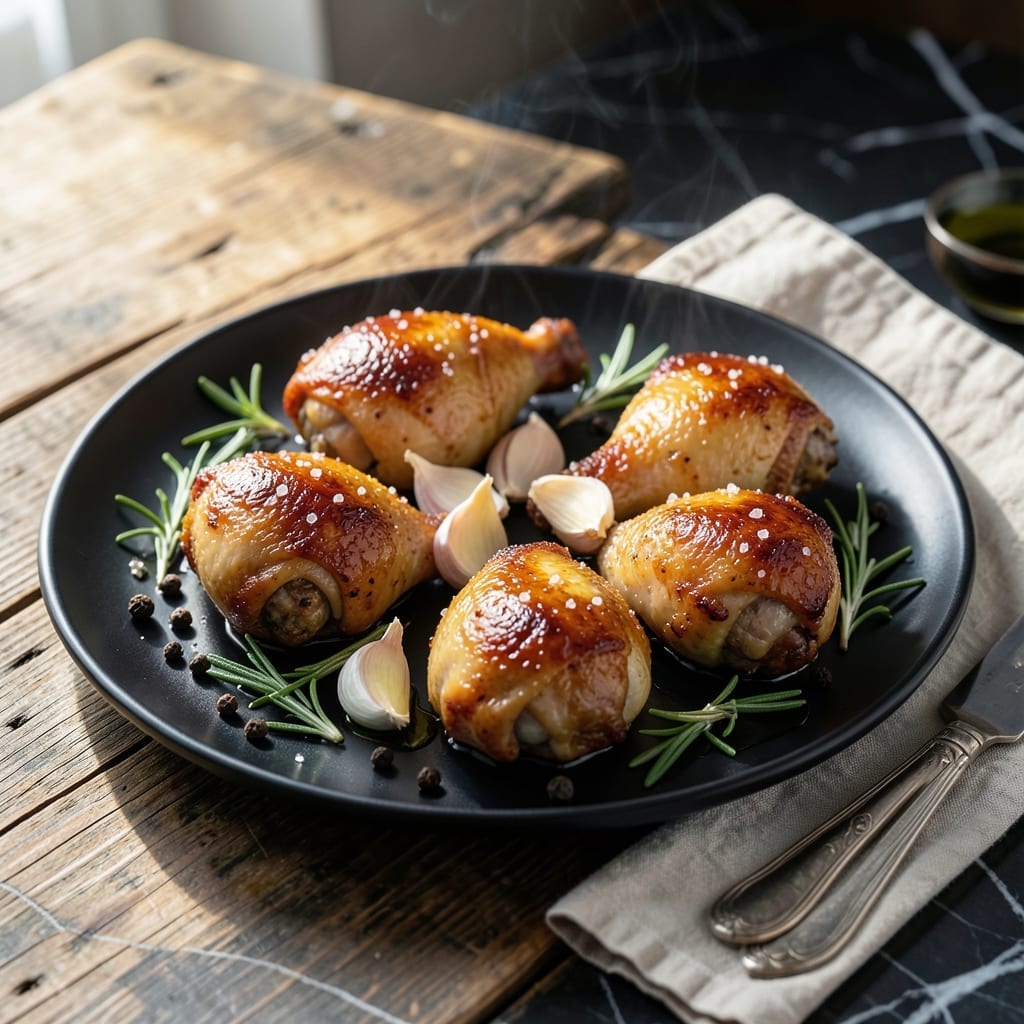
I’ve tested countless brining methods, and this one consistently delivers moist, flavorful chicken drumsticks every time. The key lies in a simple salt-sugar solution that penetrates the meat, locking in juices before it hits the grill.
This isn’t just about moisture—it’s about transforming tougher cuts into tender, succulent bites. A 12-hour soak in the brine ensures the seasoning reaches deep into the meat, while the sugar helps create a perfect caramelized crust.
The result is drumsticks that stay juicy through high-heat grilling, with a subtle sweetness that balances smoky char. No more dry, stringy chicken—just restaurant-quality results with minimal effort.
Use this method for grilled, baked, or smoked drumsticks. The difference is undeniable.
Ingredients for Chicken Drumstick Brine
Simple brine ingredients transform tough chicken drumsticks into juicy, flavorful masterpieces every time.
| Ingredient | Amount | Notes |
|---|---|---|
| Chicken Drumsticks 🍗 | 3 lb | Skin-on, bone-in preferred |
| Water 💧 | 4 cups | Cold, for brine base |
| Kosher Salt 🧂 | ½ cup | Diamond Crystal preferred |
| Brown Sugar 🍚 | ¼ cup | Light or dark variety |
| Garlic Cloves 🧄 | 6 cloves | Smashed for infusion |
| Black Peppercorns 🌶️ | 2 tbsps | Whole, lightly crushed |
| Bay Leaves 🍃 | 4 whole | Dried, for aroma |
| Fresh Rosemary Sprigs 🌿 | 3 whole | Optional for additional flavor |
| Lemon Slices 🍋 | 2 slices | For brightness in brine |
| Ice Cubes ❄️ | 2 cups | To chill brine quickly |
The salt is critical here—Diamond Crystal kosher salt dissolves perfectly and gives consistent results. Avoid iodized table salt, which can make the brine taste metallic. Use filtered or cold tap water to prevent any off flavors. For the best infusion, smash the garlic cloves with the flat side of your knife (no need to peel). Most grocery stores carry everything you need for this.
No brown sugar? White sugar or honey works in a pinch, though brown adds depth. Out of fresh rosemary? Dried rosemary at half the amount or fresh thyme are great substitutes. The peppercorns can be pre-ground in a pinch, but whole gives better flavor. If you don’t have bay leaves, skip them—they’re nice but not essential.
The brine keeps in the fridge for 2 days before use. Brined drumsticks can stay in the fridge (in brine) for up to 12 hours. Always discard the brine after use—never reuse it. Leftovers cook beautifully within 3 days or freeze for 3 months.
Why You’ll Love This Recipe
- 5-Minute Prep: I just stir water, salt, sugar, and smashed garlic in a bowl—no fancy steps, no stress.
- Juicy Every Time: The brown sugar and garlic work magic, giving the drumsticks a sweet-savory depth that’s ridiculously good.
- Meal Prep MVP: I brine a big batch on Sunday, and the chicken stays tender and flavorful for days.
Step-by-Step Instructions for Chicken Drumstick Brine
This method ensures maximum moisture retention and flavor penetration for perfect results.
Step 1: Create the Brine Base
In a large pot, combine the 4 cups Water with the 0.5 cup Kosher Salt and 0.25 cup Brown Sugar. Heat over medium-high heat just until the salt and sugar dissolve completely—about 3-5 minutes.
You’ll see the liquid become clear as the crystals disappear. Don’t allow it to boil; we’re simply dissolving, not reducing. Remove from heat as soon as the mixture is homogeneous to preserve the integrity of the aromatics you’ll add next.
Step 2: Infuse with Aromatics
Add the 6 cloves Garlic Cloves, 2 tbsps Black Peppercorns, 4 whole Bay Leaves, 3 whole Fresh Rosemary Sprigs, and 2 slices Lemon Slices to the warm brine. Stir gently to distribute the ingredients evenly.
Let this steep for 10 minutes off the heat. The residual warmth will extract the essential oils and flavors from the garlic, rosemary, and lemon, creating a deeply aromatic base. You’ll notice the brine taking on a golden hue and a fragrant, savory scent.
Step 3: Chill the Brine Rapidly
Add the 2 cups Ice Cubes to the pot and stir until the brine is completely cooled to room temperature—about 5-7 minutes. This step is critical: submerging the 3 lb Chicken Drumsticks in hot or warm brine would begin cooking them prematurely, leading to a tough, dry texture.
Test the temperature with your finger—it should feel cool to the touch. If it’s still warm, add more ice or let it sit for a few additional minutes. The brine must be fully chilled before the next step to ensure food safety and optimal texture.
Step 4: Submerge and Brine the Drumsticks
Place the 3 lb Chicken Drumsticks in a large, food-safe container or resealable bag. Pour the cooled brine over the drumsticks, ensuring they are fully submerged. If necessary, use a smaller plate or weight to keep them under the liquid surface.
Refrigerate and brine for 12-24 hours. This extended time allows the salt and sugar to penetrate the meat deeply, breaking down proteins and ensuring the drumsticks stay moist and flavorful during cooking. The longer you brine, the more pronounced the results will be.
After brining, remove the drumsticks from the liquid and pat them dry before cooking. Discard the brine—it’s done its job and shouldn’t be reused.
Pro Tips For Making Chicken Drumstick Brine
- Brine Overnight: I learned this the hard way—give the drumsticks at least 8 hours in the brine, preferably 12, so the salt and sugar fully penetrate the meat.
- Smash the Garlic: Crush the garlic cloves with the side of your knife before adding them to the brine—it releases way more flavor than leaving them whole.
- Skip the Boiling: Resist the urge to boil the brine; just heat it enough to dissolve the salt and sugar, otherwise the chicken can turn tough.
- Pat Dry Before Cooking: After brining, pat the drumsticks very dry with paper towels—this guarantees crispy skin when you roast or grill them.
Pro Cooking Tips for chicken drumstick brine
Temperature Control
Never add chicken to warm brine—this starts cooking the meat prematurely. I always test with my finger: if it feels cool, it’s ready. Aim for 40°F or below before submerging your 3 lb Chicken Drumsticks. 🌡️
Full Submersion
Use a weighted plate or zip-top bag with all air pressed out to keep the drumsticks completely covered. I’ve found that gallon-sized bags work perfectly for this quantity. Any exposed meat won’t absorb the brine evenly.
Brining Time
Stick to the 12-24 hour window for optimal results. Shorter than 12 hours and the flavor won’t penetrate deeply. Longer than 24 hours risks making the meat mushy, especially with smaller cuts.
Post-Brine Prep
Always pat the drumsticks thoroughly dry with paper towels after brining. This ensures a good sear when grilling or baking. I let them air-dry on a rack in the fridge for 30 minutes for extra-crispy skin. 💡
Brine Disposal
Never reuse brine—it’s a food safety hazard after raw chicken has soaked in it. I pour used brine down the sink and rinse with hot water. For easy cleanup, line your brining container with a heavy-duty trash bag.
Salt Precision
Use Diamond Crystal kosher salt for consistent results. Table salt is denser and can make the brine too salty. If substituting, reduce the volume by 25% to account for the finer grains.
Nutrition Facts
Frequently Asked Questions
Why does brining make chicken juicier?
The salt in the brine breaks down muscle proteins, allowing the meat to retain more moisture during cooking. The sugar also helps create a better crust.
Can I brine for less than 12 hours?
You can, but 12 hours is the minimum for full flavor penetration. Shorter times will still help with moisture but won’t be as effective.
What if my brine isn’t fully chilled?
Never add chicken to warm brine—it starts cooking the meat. Always cool to 40°F first to prevent food safety risks.
Can I reuse the brine?
No, discard the brine after use. Reusing it can spread bacteria from raw chicken. Always make fresh brine.

- 6 Egg Cake Recipe with Oil: Light as Air With Buttery Moisture - October 4, 2026
- 4 Bean Casserole Recipe: One-Pan Heartiness With Smoky Paprika Depth - October 4, 2026
- 3-Ingredient Keto Mug Cake Recipe: Microwave Magic in 2 Minutes - October 4, 2026