
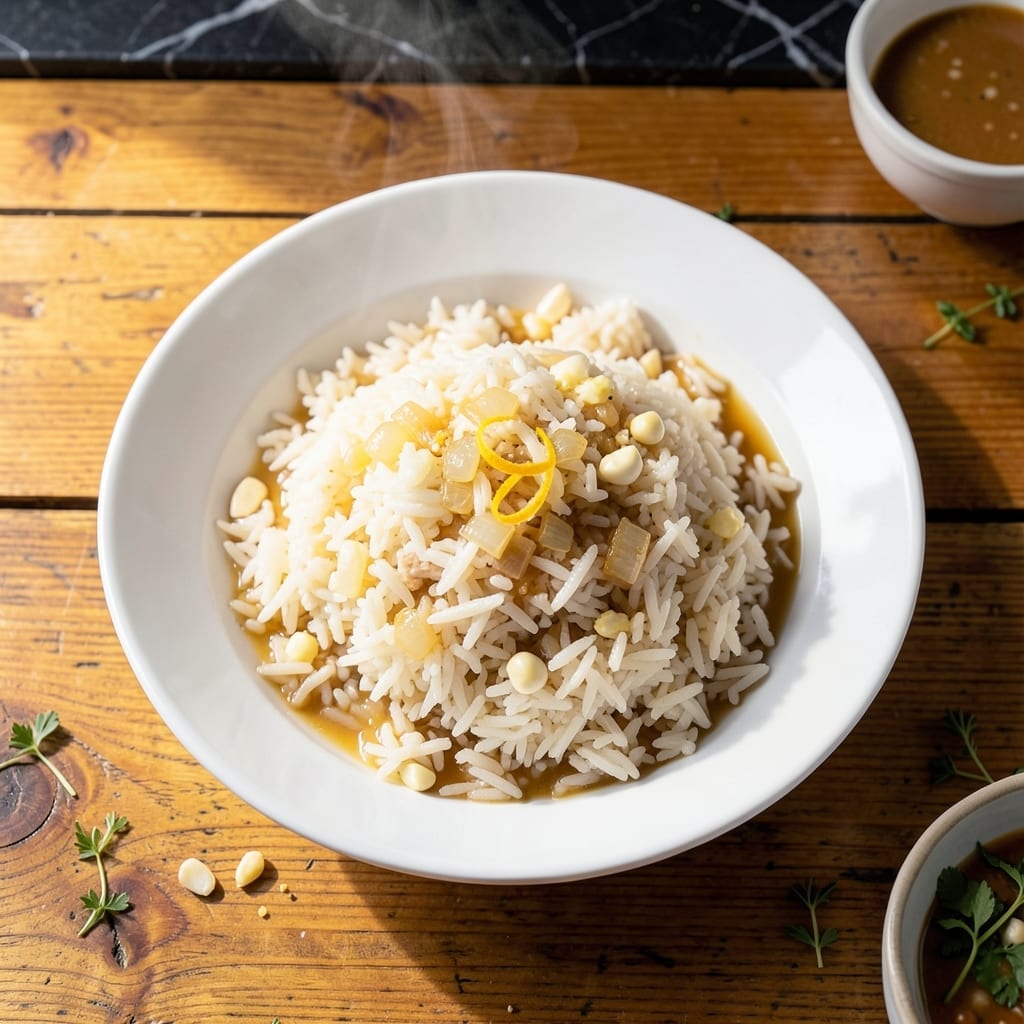
I recreated Chili’s famous rice at home after too many takeout containers piled up. This version nails that buttery, slightly seasoned flavor you crave.
The secret is cooking the rice in chicken broth instead of water, then finishing with a touch of butter and garlic. It’s simple but transforms plain rice into something special.
You’ll get fluffy grains with just enough richness, ready in 20 minutes. It pairs perfectly with any main dish or stands alone as a comforting side.
No special equipment needed—just a pot and basic ingredients. This copycat recipe delivers every time.
Ingredients for Chili’s Rice
Simple pantry staples transform into that restaurant-style rice you love so much.
| Ingredient | Amount | Notes |
|---|---|---|
| Long-Grain White Rice 🍚 | 1 ½ cups | Uncooked, rinsed before use |
| Chicken Broth 🍲 | 3 cups | Low-sodium preferred for control |
| Unsalted Butter 🧈 | 2 tbsp | Divided for cooking and finishing |
| Garlic Cloves 🧄 | 3 cloves | Minced for maximum flavor |
| Onion 🧅 | ½ whole | Finely diced, yellow preferred |
| Kosher Salt 🧂 | 1 tsp | Adjust to taste at end |
| Black Pepper 🌶️ | ½ tsp | Freshly ground preferred |
| Dried Parsley 🍃 | 1 tsp | For subtle herbal note |
| Garlic Powder 🧄 | ½ tsp | Boosts depth of flavor |
| Onion Powder 🧅 | ½ tsp | Enhances savory base |
The chicken broth is non-negotiable here. Swanson or College Inn are my go-tos, but any good-quality brand will work—just avoid anything with added MSG if that’s a concern. Low-sodium lets you control the salt, which is key since the butter and seasonings add their own. I always keep a carton in my fridge for soups and rice just like this.
No chicken broth? Vegetable broth works in a pinch (though the flavor won’t be quite as rich). Out of fresh garlic? Garlic powder at half the amount will do—just add it with the rice instead of at the end. The onion can be skipped if you’re in a hurry, but it adds a nice depth. And if you only have salted butter, reduce the added salt by half.
Leftover rice keeps 4-5 days in the fridge—reheat with a splash of water to keep it fluffy. Freezes beautifully for up to 3 months (portion it first for easy meals). I make a double batch and freeze half for lazy dinners.
Why You’ll Love This Recipe
- One Pot Wonder: I love that everything cooks together—rice, broth, and aromatics—in a single pot with barely any cleanup.
- Buttery Garlic Magic: The butter and garlic transform plain rice into something rich and savory, with every bite packed with flavor.
- Weeknight Rescue: Between us, this is my go-to when I need a side dish that pairs with literally anything, from grilled chicken to roasted veggies.
- Budget Friendly: Long-grain rice and broth stretch far, and honestly, it tastes like it cost way more effort than it actually did.
Step-by-Step Instructions for Chili’s Rice
This copycat method delivers that familiar restaurant flavor with perfect, fluffy texture every time.
Step 1: Sauté Aromatics in Butter
Melt 1 tbsp Unsalted Butter in a medium saucepan over medium heat. Add the 0.5 whole Onion, finely diced, and cook for 3-4 minutes until translucent and just beginning to soften. The onion should release its sweet aroma without browning.
Add the 3 cloves Garlic Cloves, minced, and cook for 30-45 seconds until fragrant. Watch carefully—garlic burns quickly. This aromatic base builds the deep, savory foundation that makes this rice so addictive.
Stir in 0.5 tsp Garlic Powder and 0.5 tsp Onion Powder for an extra layer of flavor. Cook for 10 seconds to bloom the spices, then immediately add the rice.
Step 2: Toast the Rice for Nutty Depth
Add the 1.5 cups Long-Grain White Rice to the pan and stir to coat each grain in the buttery aromatic mixture. Toast the rice for 2-3 minutes over medium heat, stirring constantly, until it becomes slightly opaque and emits a nutty aroma.
This toasting step is crucial—it prevents the rice from becoming mushy and enhances its natural flavor. You’ll notice the grains start to make a subtle clicking sound against the pan, which is your cue that they’re ready for liquid. Be careful not to let them brown.
Step 3: Add Broth and Seasonings
Pour in the 3 cups Chicken Broth, 1 tsp Kosher Salt, and 0.5 tsp Black Pepper. Stir in the 1 tsp Dried Parsley for a hint of herbal brightness. Increase heat to high and bring to a rolling boil.
Once boiling, reduce heat to low, cover the saucepan with a tight-fitting lid, and let it simmer undisturbed. The broth should be at a gentle simmer, not a vigorous boil—you’ll see small bubbles breaking the surface steadily.
Step 4: Cook Until Tender and Fluffy
Cook the rice for 18-20 minutes with the lid on. Resist the urge to stir or peek—steam is your friend here, and lifting the lid releases it. The rice is done when all liquid has been absorbed and the grains are tender with no chalky center.
Turn off the heat and let the rice sit covered for 5 minutes. This final rest allows the grains to steam in their own residual heat, ensuring even tenderness. After resting, fluff the rice gently with a fork to separate the grains.
Step 5: Finish with Butter and Serve
Stir in the remaining 1 tbsp Unsalted Butter until melted and fully incorporated. This final touch adds a subtle richness that ties all the flavors together, just like the restaurant version.
Taste and adjust seasoning with additional Kosher Salt if needed. The rice should be light, fluffy, and lightly seasoned with a savory depth that makes it irresistible. Serve warm as a side or base for your favorite dishes.
Pro Tips For Making Chili’S Rice
- Toast the Rice: Cook the rice in the butter for 2-3 minutes before adding liquid—this brings out a nutty depth that plain steamed rice lacks.
- Use Warm Broth: I learned this the hard way: cold chicken broth can shock the rice and make it gummy, so heat it first to just below a simmer.
- Skip the Rinse: Long-grain white rice needs its starch for that slightly sticky texture Chili’s is known for, so resist the urge to rinse it.
- Sauté the Aromatics: Let the onion and garlic go translucent in the butter before adding rice—about 4 minutes on medium-low, no shortcuts.
Dietary Considerations for These Flavors
Gluten-Free Friendly
This dish is naturally gluten-free as written, making it safe for anyone with celiac disease or gluten sensitivity. Just double-check your chicken broth label—I trust Swanson or College Inn for guaranteed gluten-free options. Always avoid brands with hidden wheat additives. 💪
Vegetarian Adaptation
For a vegetarian version, simply swap the chicken broth for vegetable broth. The flavor will be slightly different but still delicious. I’ve used Imagine Foods brand with great results. The butter and seasonings remain the same.
Dairy-Free Option
To make this dairy-free, replace the butter with olive oil or vegan butter. Use the same 2 tbsp measurement. Earth Balance is my go-to for a buttery flavor without dairy. The texture stays just as fluffy.
Low-Sodium Adjustments
Using low-sodium chicken broth lets you control the salt content. If you’re watching sodium, reduce the added kosher salt to ½ tsp or omit it entirely. Taste at the end and adjust—you can always add more but can’t take it out. 💡
Allergy Considerations
This recipe contains no nuts, eggs, or soy, making it safe for many common allergies. However, always verify your broth and butter labels for cross-contamination warnings if allergies are severe.
Vegan Modification
For a fully vegan version, combine the dairy-free and vegetarian adaptations: use vegetable broth and vegan butter. The result is still rich and flavorful, just plant-based. I’ve served this to vegan friends with rave reviews.
Nutrition Facts
Frequently Asked Questions
Can I use brown rice instead of white?
Yes, but adjust the cooking time. Brown rice needs 40-45 minutes and 4 cups broth for 1.5 cups rice. The texture will be chewier but still flavorful.
Why toast the rice before adding liquid?
Toasting enhances the nutty flavor and prevents mushiness. It creates a barrier so grains stay separate, giving that perfect fluffy texture Chili’s is known for.
Can I make this in a rice cooker?
Sauté aromatics first, then add to your rice cooker with the rice and broth. Use the standard white rice setting and let it rest 5 minutes after cooking.
What if my rice turns out mushy?
This usually means too much liquid or stirring during cooking. Next time, use exact measurements and resist peeking. For salvage, spread on a tray to dry out slightly.

- 6 Egg Cake Recipe with Oil: Light as Air With Buttery Moisture - October 4, 2026
- 4 Bean Casserole Recipe: One-Pan Heartiness With Smoky Paprika Depth - October 4, 2026
- 3-Ingredient Keto Mug Cake Recipe: Microwave Magic in 2 Minutes - October 4, 2026