
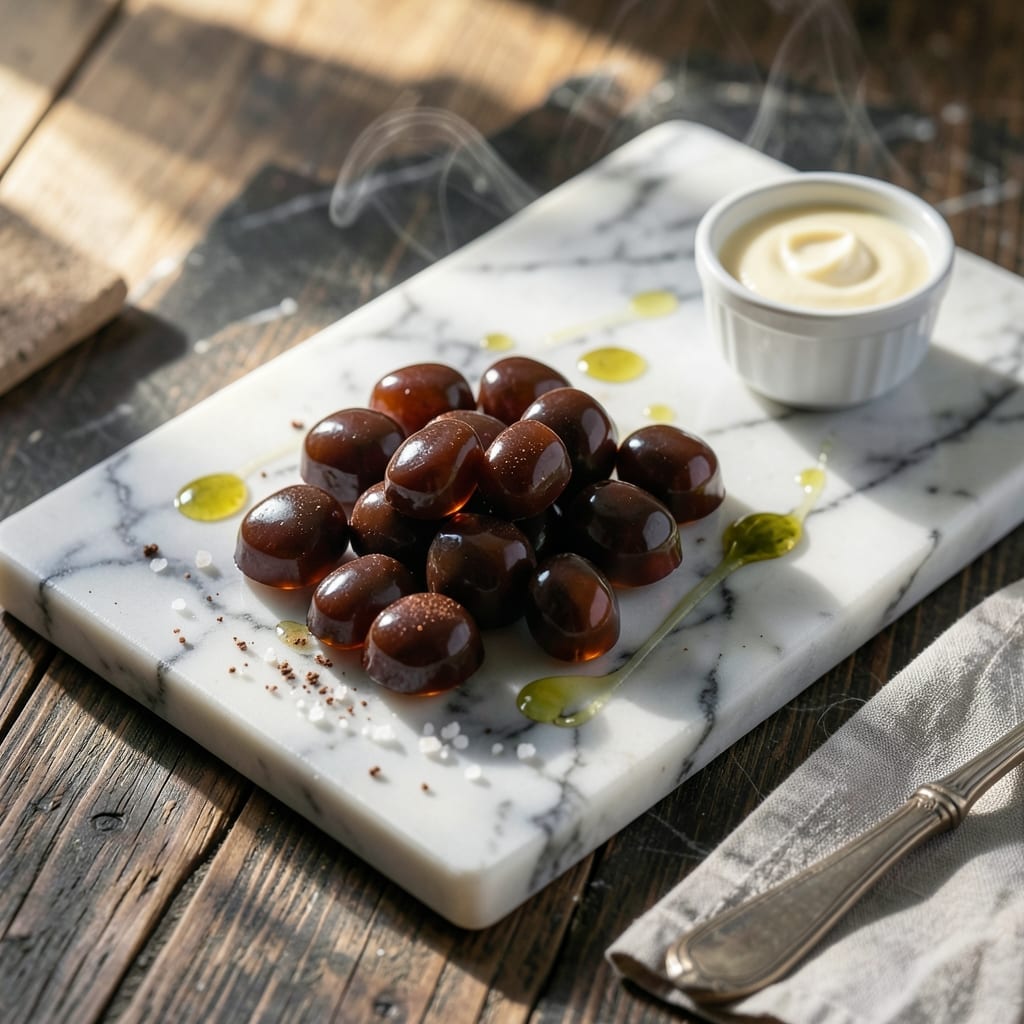
Making chocolate hard candy at home delivers a glossy, professional-quality treat with that satisfying shatter. This recipe uses precise temperatures and simple techniques to achieve candy shop results in your own kitchen.
The key is controlling the heat and timing carefully. With just a few ingredients and a candy thermometer, you can create perfectly smooth chocolate candy that breaks cleanly with every bite. The process requires attention but rewards with impressive results.
What emerges is a shiny, snap-able candy with deep chocolate flavor and a texture that rivals store-bought versions. The candy sets firm enough to hold its shape while still being easy to break apart. Each piece offers that signature hard candy crunch.
Perfect for gifting or enjoying as a special treat. Here’s how to make it right.
Ingredients for Chocolate Hard Candy
A few precise ingredients transform into glossy, professional-grade chocolate candy with that signature shatter.
| Ingredient | Amount | Notes |
|---|---|---|
| Granulated Sugar 🍚 | 2 cups | Fine white sugar for clarity |
| Light Corn Syrup 💧 | ¾ cup | Prevents crystallization |
| Unsweetened Cocoa Powder 🍫 | ½ cup | Dutch-process for smoothness |
| Salt 🧂 | ¼ tsp | Enhances chocolate flavor |
| Unsalted Butter 🧈 | 2 tbsp | For glossy finish |
| Vanilla Extract 🌿 | 1 tsp | Pure extract preferred |
| Water 💧 | ¼ cup | To dissolve sugar |
| Baking Soda 🧂 | ½ tsp | Optional for lighter texture |
Precision matters here. Domino or C&H granulated sugar dissolves cleanly for the smoothest candy. The cocoa powder should be Dutch-process—Hershey’s Special Dark works perfectly. Light corn syrup is non-negotiable; dark alters the flavor. Ghirardelli cocoa delivers deeper chocolate notes if you want to splurge. Unsalted butter gives you control over the salt content.
No corn syrup? Golden syrup or agave can work in a pinch, but the texture won’t be identical. Skipping the butter? Use coconut oil at a 1:1 ratio, though the flavor will shift slightly. For a darker chocolate, increase cocoa to 3/4 cup and reduce sugar by 2 tablespoons. Baking soda is optional but creates a lighter, airier candy.
Store in an airtight container at room temperature for up to 2 weeks. Humidity is the enemy—keep a silica packet in the container if you have one. The candy will soften if exposed to moisture, so avoid refrigeration. Perfect for gifting in cellophane bags tied with ribbon.
Why You’ll Love This Recipe
- Five Ingredients: I love that this only needs sugar, corn syrup, cocoa, salt, and butter—no fancy shopping required.
- Rich Chocolate Bite: The cocoa powder gives it that deep, intense chocolate flavor without being too sweet.
- Gift in Minutes: Honestly, I can make a batch for teacher gifts or holidays in the time it takes to bake cookies.
- Stores for Weeks: One batch lasts forever in an airtight container—if my family doesn’t finish it first.
Step-by-Step Instructions for Chocolate Hard Candy
Master the technique for this confection with precision timing and temperature control.
Step 1: Combine and Dissolve the Base Ingredients
In a heavy-bottomed saucepan, combine the 2 cups Granulated Sugar, 0.75 cup Light Corn Syrup, 0.25 cup Water, and 0.5 cup Unsweetened Cocoa Powder. The corn syrup prevents crystallization, ensuring a smooth texture.
Stir over medium-low heat until the sugar dissolves completely. Use a silicone spatula to scrape the sides of the pan, preventing sugar crystals from forming. This step should take 3-5 minutes—do not rush it or the candy may grain.
Step 2: Cook to Hard Crack Stage
Once the mixture comes to a boil, clip a candy thermometer to the side of the pan. Increase the heat to medium-high and cook without stirring until the temperature reaches 300°F (hard crack stage). Stirring at this point can cause crystallization.
Watch for visual cues: the bubbling mixture will thicken and turn a deep, glossy brown. The aroma will shift from sweet to rich and toasty. This process typically takes 10-15 minutes, but rely on the thermometer, not time alone.
Step 3: Add Finishing Touches Off Heat
Remove the pan from heat when the thermometer reads 300°F. Immediately stir in the 2 tbsp Unsalted Butter, 1 tsp Vanilla Extract, 0.25 tsp Salt, and 0.5 tsp Baking Soda. The baking soda creates a lighter texture, while the butter adds a glossy finish.
The mixture will foam vigorously—this is normal. Stir just until the ingredients are fully incorporated, then stop. Over-mixing can introduce air bubbles, which will mar the candy’s smooth surface.
Step 4: Shape and Cool
Pour the hot mixture onto a parchment-lined baking sheet. Use the back of a greased spoon to spread it into an even layer, roughly ¼-inch thick. Work quickly—the candy begins to set within 2-3 minutes.
Let it cool at room temperature for 20-25 minutes until completely firm. Resist the urge to touch or move it during this time. The surface should be hard and glossy, with a deep mahogany color.
Once set, break into pieces by tapping the sheet gently with a hammer or the bottom of a heavy pan. Store in an airtight container at room temperature for up to 2 weeks.
Pro Tips For Making Chocolate Hard Candy
- Use a Candy Thermometer: I learned this the hard way—guessing temperatures leads to burnt or soft candy. Aim for 300°F (hard crack stage) and don’t walk away from the pot.
- Sift the Cocoa: Unsweetened cocoa powder clumps easily. Sifting it first ensures smooth, lump-free candy that melts perfectly in your mouth.
- Skip the Stirring: After the sugar dissolves, resist the urge to stir—it can cause crystallization. Just swirl the pan gently if needed.
- Butter the Mold: Lightly grease your candy mold or baking sheet with unsalted butter to prevent sticking. Sounds simple, but it saves a lot of frustration later.
Serving Suggestions for Leftovers
Gift Presentation
Package pieces in cellophane bags tied with satin ribbon for a professional touch. I use 4×6-inch bags for individual servings. Add a small silica gel packet to prevent moisture buildup that could soften the candy.
Holiday Display
Arrange broken pieces on a clear glass platter with gold or silver holiday wrappers peeking through. The glossy finish catches light beautifully, making it a stunning centerpiece. I love how it looks next to peppermint bark for contrast. ✨
Dessert Pairings
Serve alongside vanilla ice cream for a hot-cold contrast that’s irresistible. The hard candy’s snap pairs perfectly with the creamy texture. Drizzle with chocolate sauce for an extra-indulgent experience.
For coffee lovers, offer pieces with espresso or cappuccino. The bitterness balances the candy’s sweetness beautifully.
Party Favors
Create personalized favors by filling mini mason jars with candy pieces. Tie a custom tag with the guest’s name and date. These last for 2 weeks at room temperature, making them perfect for event souvenirs.
Plated Dessert
Crush a few pieces over whipped cream or chocolate mousse for texture. The shards add visual drama and a satisfying crunch. I use about 2 tbsp of crushed candy per serving for the right balance. 💫
Nutrition Facts
Frequently Asked Questions
Do I need a candy thermometer?
Yes, a candy thermometer is essential for accuracy. The mixture must reach exactly 300°F for hard crack stage. Guessing temperatures risks undercooked or burnt candy.
Why does my candy turn grainy?
Graininess usually means sugar crystals formed. Prevent this by using light corn syrup and avoiding stirring once boiling begins. A heavy-bottomed pan also helps.
Can I use milk chocolate instead?
No, milk chocolate contains milk solids that can cause scorching. Stick to unsweetened cocoa powder and butter for best results. The flavor will be richer and more consistent.
How do I store leftover candy?
Keep pieces in an airtight container at room temperature for up to 2 weeks. Add a silica packet to absorb moisture. Avoid refrigeration as it can cause softening.

- 6 Egg Cake Recipe with Oil: Light as Air With Buttery Moisture - October 4, 2026
- 4 Bean Casserole Recipe: One-Pan Heartiness With Smoky Paprika Depth - October 4, 2026
- 3-Ingredient Keto Mug Cake Recipe: Microwave Magic in 2 Minutes - October 4, 2026