
This professional-grade icing delivers a glossy finish that sets perfectly hard for clean, precise cookie decorating.
With just a few simple ingredients and proper consistency, you’ll achieve perfect results every time—ideal for detailed designs that hold their shape.
Ingredients for Cookie Icing Recipe That Hardens
Eight ingredients transform into a glossy, hard-setting icing perfect for intricate cookie designs.
| Ingredient | Amount | Notes |
|---|---|---|
| Powdered Sugar 🍚 | 4 cups | Sifted for smooth texture |
| Egg Whites 🥚 | 3 whole | Room temperature preferred |
| Vanilla Extract 🌿 | 1 tsp | Pure extract for best flavor |
| Lemon Juice 🍋 | 1 tbsp | Freshly squeezed for brightness |
| Almond Extract 🌰 | ¼ tsp | Optional for depth |
| Corn Syrup 💧 | 2 tbsp | Light for shine, dark for color |
| Salt 🧂 | 0.125 tsp | Fine grain for even distribution |
| Water 💧 | 1 tbsp | As needed for consistency |
Powdered sugar is non-negotiable for the smoothest finish. Domino or C&H brands are reliable for consistency, but any fine-grain confectioners’ sugar works. Room temperature egg whites whip up better—take them out 30 minutes before starting. For professional bakers, pasteurized egg whites (like Wilton’s) eliminate any raw egg concerns while maintaining the same setting properties.
No egg whites? Meringue powder at the same ratio (follow package instructions) works perfectly. Corn syrup can be swapped with agave or glucose syrup—just match the volume. Vanilla is classic, but almond extract at one-quarter the amount adds a sophisticated note. Skip the extracts entirely for pure white icing. The lemon juice balances sweetness but can be omitted if you prefer a neutral flavor.
This icing dries rock hard within 4-6 hours at room temperature. Store undecorated cookies in an airtight container for up to 1 week. For longer storage, freeze decorated cookies between layers of parchment for 1 month.
Why You’ll Love This Recipe
- Five Minute Mix: Honestly, just powdered sugar, egg whites and a splash of vanilla—whisk and you’re done.
- Bright, Clean Flavor: The lemon juice cuts the sweetness and the almond extract adds this subtle warmth that lingers.
- Party Ready: I pipe it onto sugar cookies for birthdays, holidays, or just because the kids begged me.
- No Waste: Leftovers keep in the fridge for a week, so I can ice a second batch without starting from scratch.
Step-by-Step Instructions for Cookie Icing That Hardens
Master this technique for a glossy, professional-quality finish that sets firm and holds its shape.
Step 1: Whip the Egg Whites to Soft Peaks
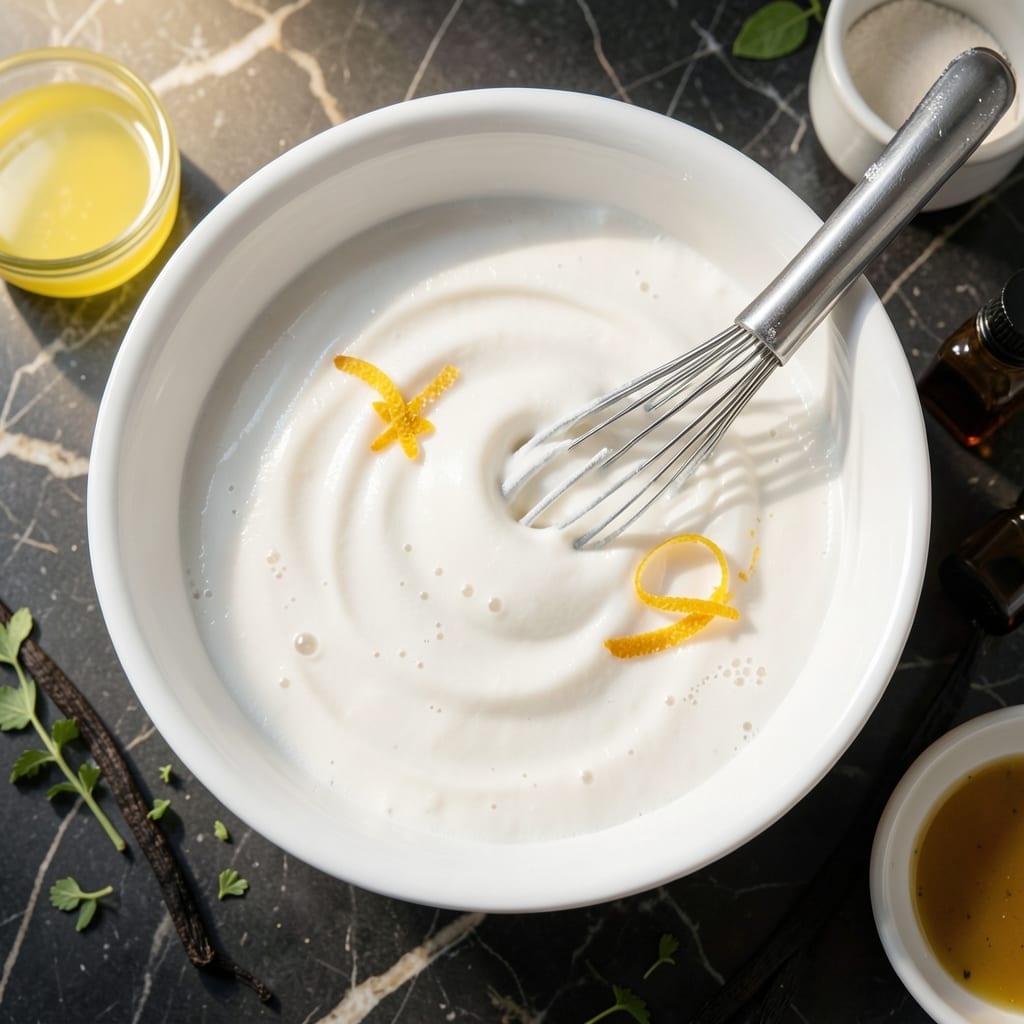
In a clean, grease-free bowl, begin whipping the 3 whole Egg Whites on medium speed. I always use room temperature egg whites as they whip up faster and hold more volume. After about 1-2 minutes, you’ll notice the mixture turn frothy and white.
Increase the speed to high and continue whipping for another 2-3 minutes until soft peaks form. You’ll know you’ve reached the right stage when you lift the beaters and the peaks hold their shape but the tips fold over slightly. This creates the perfect base for a stable icing.
Step 2: Gradually Incorporate the Powdered Sugar
With the mixer running on low speed, gradually add the 4 cups Powdered Sugar—about ½ cup at a time. This slow addition prevents a sugar cloud and ensures even incorporation. After each addition, pause for 10-15 seconds to let the sugar fully blend.
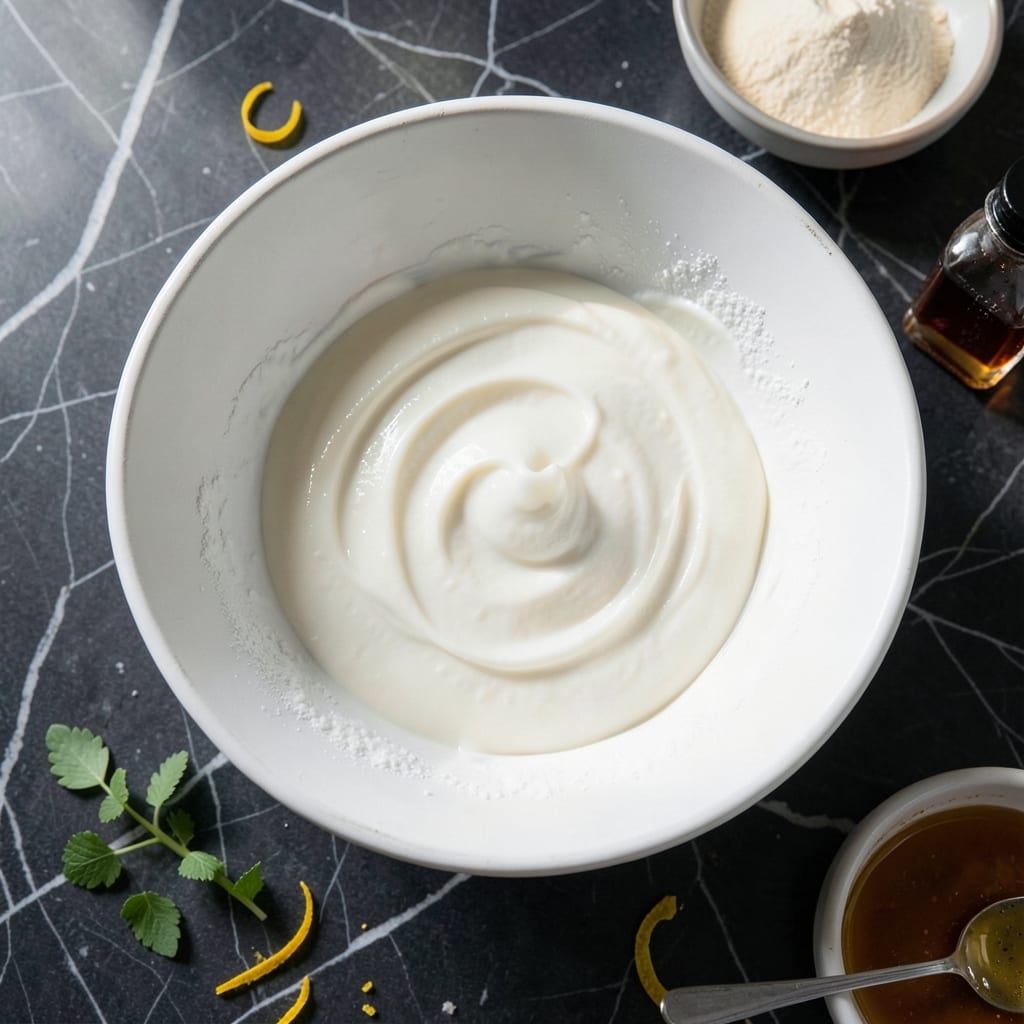
Once all the powdered sugar is added, increase the speed to medium and beat for 1-2 minutes until the mixture is smooth and glossy. The texture should resemble thick, white glue at this stage. The sifted powdered sugar guarantees a lump-free finish.
Step 3: Add Flavorings and Stabilizers
Reduce the mixer speed to low and add the 1 tsp Vanilla Extract, 1 tbsp Lemon Juice, 0.25 tsp Almond Extract, 2 tbsp Corn Syrup, and 0.125 tsp Salt. The corn syrup adds shine and flexibility, while the salt balances the sweetness.
Mix for another 30-45 seconds until all the liquid ingredients are fully incorporated. Taste and adjust flavorings if needed, but remember the icing will become more concentrated as it dries. The almond extract adds depth, but you can omit it for a purer vanilla flavor.
Step 4: Adjust Consistency with Water
The icing should be thick but still pourable. If it’s too stiff, add the 1 tbsp Water, one teaspoon at a time, mixing well after each addition. You want it to flow smoothly from a spoon but hold a line when drizzled.
Test the consistency by lifting a spoonful and letting it drip back into the bowl. The ribbon of icing should hold its shape for 2-3 seconds before dissolving back into the mixture. This is the ideal texture for outlining and flooding cookies.
Step 5: Rest and Pipe for a Flawless Finish
Transfer the icing to a piping bag fitted with a small round tip. Let it rest for 5-10 minutes to allow any air bubbles to rise to the surface. Gently tap the bag on the counter to release any remaining bubbles.
Pipe the icing onto your cookies in the desired design. For a smooth, self-leveling finish, thin a portion of the icing with a few drops of water until it reaches a “flood” consistency—it should spread easily to fill outlined areas. The icing will begin to set within 1-2 hours and fully harden after 6-8 hours, creating a glossy, professional finish that holds its shape perfectly.
Pro Tips For Making Cookie Icing Recipe That Hardens
- Whisk Egg Whites First: Beat the egg whites until frothy before adding powdered sugar—I learned this the hard way after ending up with lumpy icing that refused to smooth out.
- Sift the Sugar: Always sift the powdered sugar first, even if it looks fine. My grandmother swore by this, and it prevents those annoying little lumps that ruin the texture.
- Skip the Overmixing: Once the icing starts to thicken, stop mixing. I used to keep going and wondered why my icing turned gummy instead of hardening properly.
- Add Lemon Last: Stir in the lemon juice after everything else is combined—it thins the icing just enough to make it spreadable without compromising the hard set.
Troubleshooting This Dish
🍪 Icing Too Runny?
If your icing doesn’t hold its shape, it may need more powdered sugar. Humidity or under-mixing can also cause a thin consistency.
Quick Fix: Gradually add more powdered sugar, 1 tbsp at a time, until it thickens. Mix well after each addition.
🔥 Icing Won’t Harden?
This often happens if the ratio of liquid to sugar is off or the icing wasn’t left to dry long enough. Low humidity can also slow hardening.
Quick Fix: Add a bit more powdered sugar or a tsp of corn syrup, then let it dry for 4-6 hours in a cool, dry place.
Cracking or Peeling?
If the icing cracks or peels, it may have dried too quickly or been applied too thickly. Uneven surfaces can also cause this issue.
Quick Fix: Thin the icing slightly with a drop of water or milk, then reapply in a thinner, even layer.
Dull or Streaky Finish?
A dull finish can result from over-mixing or using low-quality powdered sugar. Streaks may appear if the icing wasn’t smoothed properly.
Quick Fix: Use a high-quality powdered sugar and gently smooth the surface with a spatula before it sets.
Nutrition Facts

- 6 Egg Cake Recipe with Oil: Light as Air With Buttery Moisture - October 4, 2026
- 4 Bean Casserole Recipe: One-Pan Heartiness With Smoky Paprika Depth - October 4, 2026
- 3-Ingredient Keto Mug Cake Recipe: Microwave Magic in 2 Minutes - October 4, 2026