
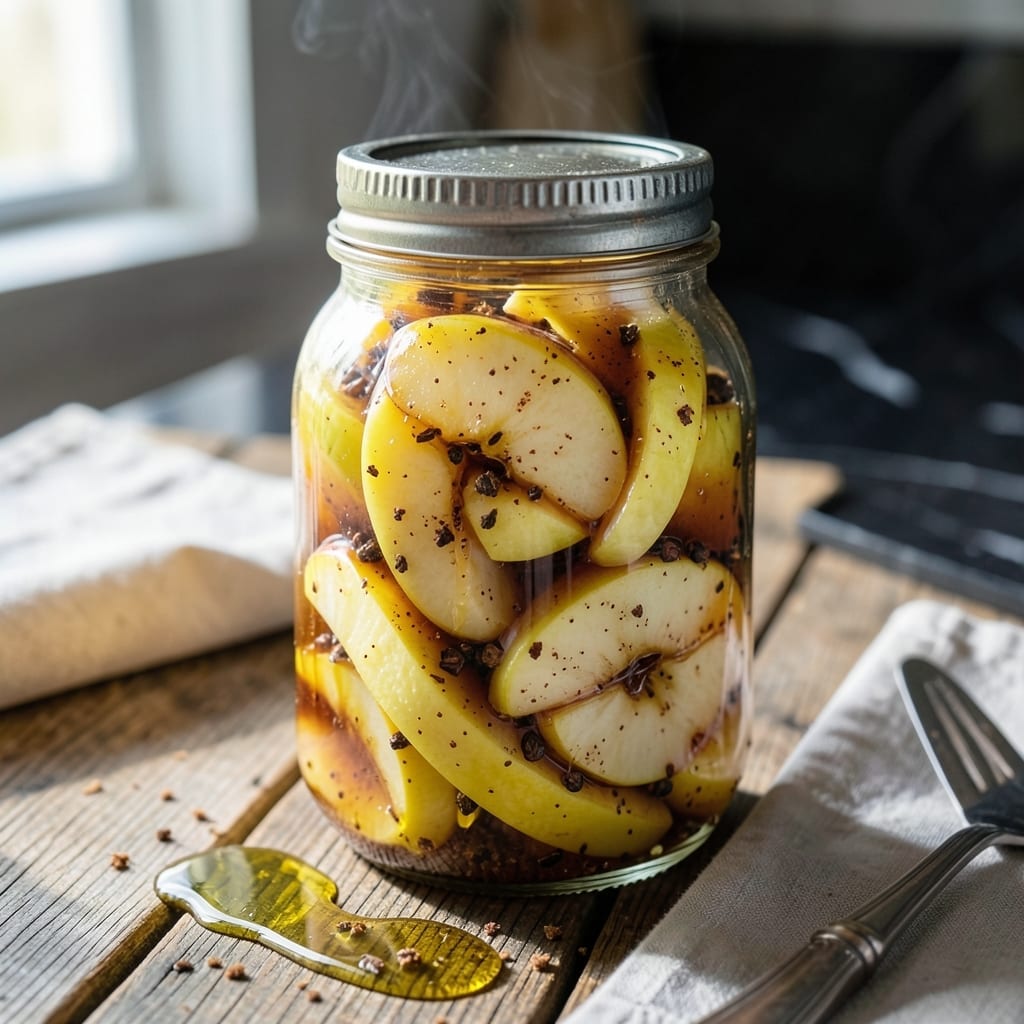
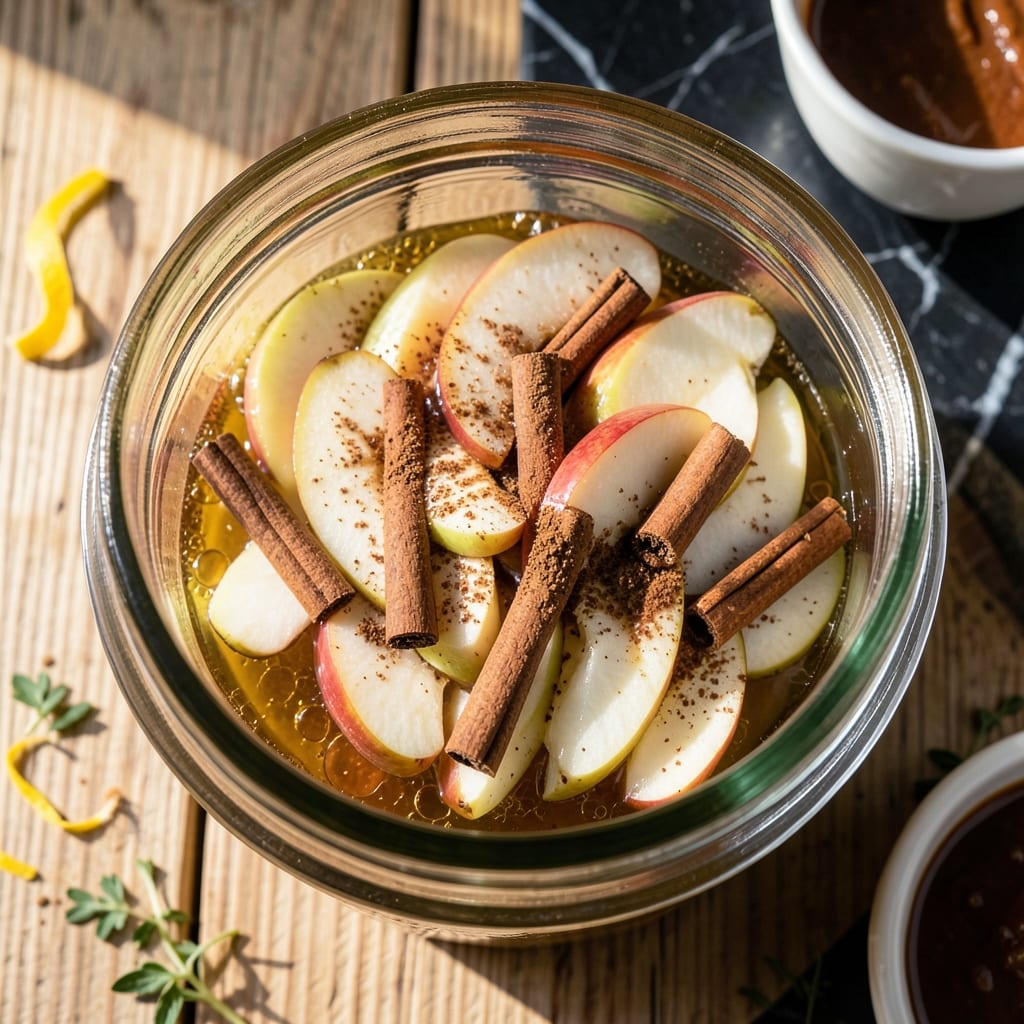
Preserving apples at home creates a pantry staple that captures peak fruit flavor and extends shelf life beautifully. This method transforms fresh apples into tender, spiced slices ready for pies, desserts, or straight from the jar.
With simple ingredients and proper canning techniques, you’ll achieve safely preserved apples with consistent texture and sweetness. The process ensures your harvest stays delicious for months to come.
Ingredients for Recipe for Canned Apples
Crisp apples, warm spices, and a simple syrup make this pantry staple shine for months.
| Ingredient | Amount | Notes |
|---|---|---|
| Granny Smith Apples 🍏 | 8 whole | Peeled, cored, and sliced |
| Granulated Sugar 🍚 | 2 cups | Adjust to taste preference |
| Water 💧 | 4 cups | For syrup preparation |
| Apple Cider Vinegar 🍷 | ½ cup | Preserves color and flavor |
| Cinnamon Sticks 🌿 | 4 pieces | Whole for infusing syrup |
| Ground Cinnamon 🌶️ | 1 tsp | For added spice depth |
| Cloves 🌰 | 8 whole | Optional for extra warmth |
| Lemon Juice 🍋 | 2 tbsp | Freshly squeezed preferred |
| Salt 🧂 | ¼ tsp | Kosher or sea salt |
| Vanilla Extract 🌿 | 1 tsp | Pure for best flavor |
The apples are everything here. Granny Smith hold their shape best, but Honeycrisp or Fuji work too if you prefer a sweeter slice. Pick firm, unbruised fruit—farmers markets often have the freshest options. I grab mine from Whole Foods when they’re in season (and the smell alone tells you they’re good). Avoid mealy varieties like Red Delicious—they turn to mush.
No apple cider vinegar? White vinegar in a pinch, but the cider adds a nice depth. Skip the cloves if you’re not a fan, but the cinnamon sticks are non-negotiable (they infuse the syrup beautifully). Want it sweeter? Brown sugar instead of granulated gives a molasses note. The lemon juice isn’t just for flavor—it keeps the apples from browning before canning.
These keep for 12-18 months in a cool, dark place. Once opened, refrigerate and use within 1 week. The syrup thickens slightly over time—perfect for drizzling over ice cream or oatmeal (or just eating with a spoon, no shame).
Why You’ll Love This Recipe
- One Pot Wonder: I just dump the sliced Granny Smiths, sugar, water, vinegar, and cinnamon sticks in a pot—no fancy steps, no fuss.
- Tangy Sweetness: The apple cider vinegar cuts through the sugar, and the cinnamon sticks infuse every bite with that cozy fall flavor I crave.
- Pantry Staple: Honestly, I can these in summer and they’re ready for pies, oatmeal, or straight from the jar all winter long.
- Budget Friendly: A bag of Granny Smiths and a few pantry basics make a dozen jars—way cheaper than store-bought and twice as good.
Step-by-Step Instructions for Canned Apples
Here’s my tested method for preserving apples with warm spices and a perfect syrup balance.
Step 1: Prepare the Apples and Brine
Peel, core, and slice all 8 whole Granny Smith Apples into uniform wedges. As you work, place the slices in a large bowl of cold water with the 2 tbsp Lemon Juice to prevent browning. This step keeps your apples crisp and bright until they hit the jars.
In a separate large pot, combine the 4 cups Water, 2 cups Granulated Sugar, 0.5 cup Apple Cider Vinegar, 0.25 tsp Salt, 1 tsp Ground Cinnamon, and 1 tsp Vanilla Extract. The vinegar might seem unusual, but it preserves the color and adds a subtle tang that balances the sweetness.
Step 2: Infuse the Syrup with Spices
Add the 4 pieces Cinnamon Sticks and 8 whole Cloves to the pot with the water and sugar mixture. Bring this to a gentle boil over medium-high heat, stirring until the sugar completely dissolves. You’ll start to smell the spices blooming—that’s your signal the syrup is ready for the next step.
Reduce the heat to low and let the syrup simmer for 5 minutes to allow the whole spices to infuse their flavors. Don’t skip this simmer; it’s what gives your canned apples that deep, aromatic warmth. The syrup should take on a light golden hue from the cinnamon sticks.
Step 3: Pack the Jars and Add Syrup
Drain the apple slices and pack them tightly into sterilized pint jars, leaving ½ inch headspace at the top. I like to alternate the slices vertically for a pretty presentation in the jar. The tight packing ensures the apples stay submerged in the syrup during processing.
Ladle the hot spiced syrup over the apples, making sure to cover them completely and distribute the cinnamon sticks and cloves evenly among the jars. Use a bubble remover or clean chopstick to release any air pockets trapped between the apple slices.
Step 4: Process for Safe Preservation
Wipe the rims of the jars with a clean, damp cloth to ensure a good seal. Apply the lids and rings, then process the jars in a water bath canner for 20 minutes. The water should cover the jars by at least 1 inch throughout the entire processing time.
After processing, carefully remove the jars and place them on a towel-lined countertop. Let them cool undisturbed for 12-24 hours. You’ll hear the satisfying “pop” of the lids sealing as they cool—a sure sign your canned apples are safely preserved. Any jars that don’t seal should be refrigerated and used within a week.
Pro Tips For Making Recipe For Canned Apples
- Peel Thinly: Use a sharp peeler and remove only the outer skin—Granny Smiths lose texture if you dig too deep. I learned this the hard way after ending up with mushy apples my first few tries.
- Simmer, Don’t Boil: Keep the heat at a gentle simmer to soften the apples without turning them to applesauce. After burning a batch, I finally figured out that a rolling boil ruins the slices.
- Add Vinegar Last: Stir in the apple cider vinegar during the last 5 minutes of cooking to preserve its bright tang. Sounds weird, but it works—early addition can make the apples taste harsh.
- Use Fresh Cinnamon: Swap old cinnamon sticks for new ones—fresh sticks release more flavor into the syrup. My grandmother swore by this, and she was right: stale spices taste like nothing.
Serving Suggestions for This recipe for canned apples
Plating Styles 🍽️
For a casual presentation, serve your canned apples in rustic bowls or mason jars to highlight their homemade charm. For a more formal setting, arrange them elegantly on a white platter with a drizzle of caramel or honey. If you’re hosting a buffet, place the apples in a large, shallow dish with a slotted spoon for easy serving.
Garnishing Techniques ✨
Enhance the visual appeal with fresh garnishes. Sprinkle chopped mint leaves or a dusting of cinnamon for a pop of color and aroma. For a richer touch, top with a dollop of whipped cream or a scoop of vanilla ice cream. Drizzling with a warm spiced syrup or a light dusting of powdered sugar adds a delightful finish.
Portion Sizes
For individual servings, portion the canned apples into small ramekins or dessert cups, ideal for a single-serving treat. For family-style dining, serve them in a large, communal dish, allowing everyone to help themselves. This approach works well for gatherings or cozy family meals.
Serving Temperature ⏰
Canned apples can be served warm or at room temperature. If serving warm, gently reheat them in a saucepan or microwave, then let them rest for 5-10 minutes before plating. For a chilled option, refrigerate the apples for at least 2 hours to allow the flavors to meld. Slice or leave them whole, depending on your preference.
Nutrition Facts

- 6 Egg Cake Recipe with Oil: Light as Air With Buttery Moisture - October 4, 2026
- 4 Bean Casserole Recipe: One-Pan Heartiness With Smoky Paprika Depth - October 4, 2026
- 3-Ingredient Keto Mug Cake Recipe: Microwave Magic in 2 Minutes - October 4, 2026