
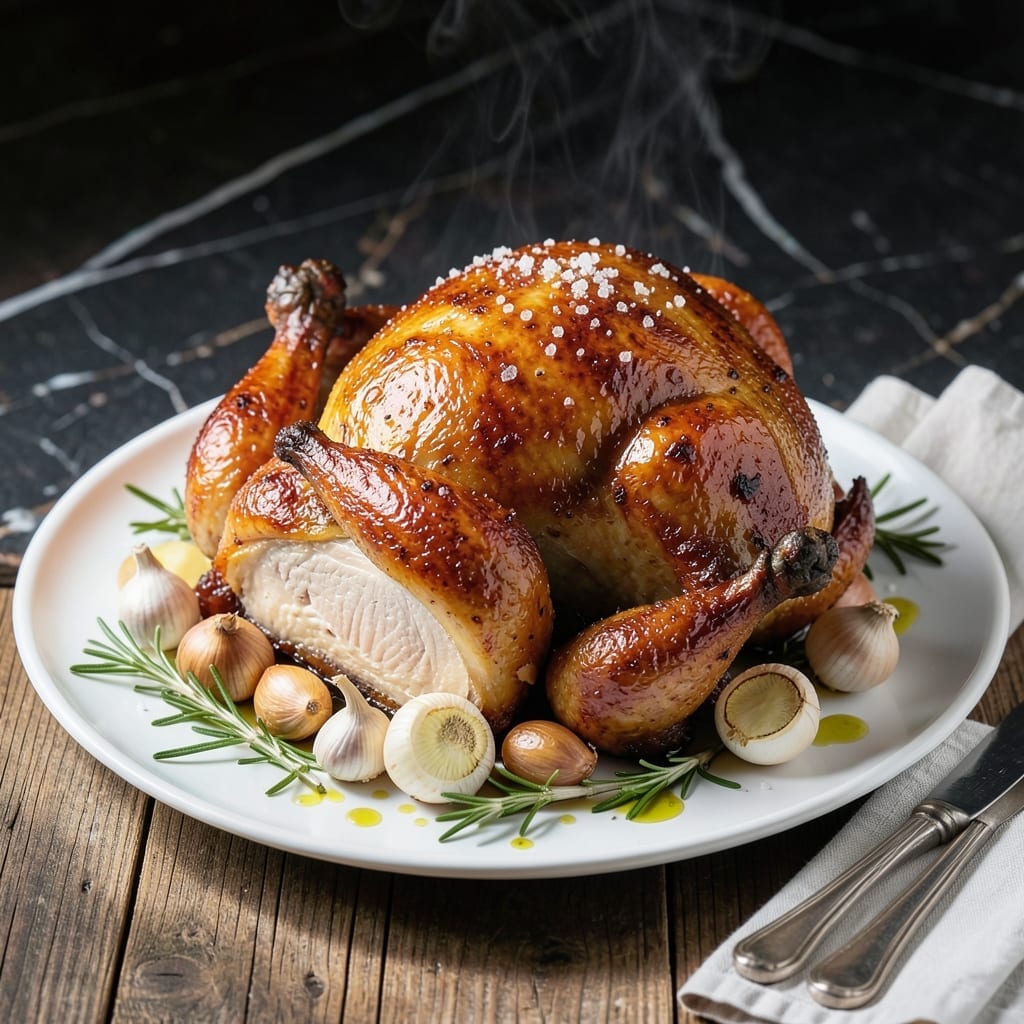
I’ve spent years perfecting this brining method to replicate Costco’s signature rotisserie chicken flavor at home. The secret lies in a precise balance of salt, sugar, and aromatic seasonings that penetrate deep into the meat, ensuring every bite is juicy and flavorful.
This recipe transforms a basic whole chicken into a tender, savory masterpiece with minimal effort. The brine works its magic in just 12 hours, infusing the meat with moisture and seasoning that a simple dry rub can’t achieve.
After brining, the chicken roasts to golden perfection with crispy skin and succulent meat. The process is straightforward, but the results taste like they came from a professional kitchen.
Serve it as the centerpiece of a family dinner or use the leftovers for sandwiches and salads throughout the week.
Ingredients for Costco Rotisserie Chicken Brine
Transform a basic bird into restaurant-quality chicken with this aromatic brine blend.
| Ingredient | Amount | Notes |
|---|---|---|
| Whole Chicken 🍗 | 4 lb | Fresh or thawed, giblets removed |
| Water 💧 | 8 cups | Cold, for brine base |
| Kosher Salt 🧂 | ¾ cup | Diamond Crystal preferred for precise brining |
| Granulated Sugar 🍚 | ½ cup | Balances salt and enhances browning |
| Garlic Cloves 🧄 | 8 cloves | Smashed to release aromatics |
| Fresh Rosemary Sprigs 🌿 | 4 sprigs | Woody stems removed |
| Fresh Thyme Sprigs 🍃 | 4 sprigs | Woody stems removed |
| Bay Leaves 🌿 | 2 whole | Dried, for depth of flavor |
| Black Peppercorns 🌶️ | 1 tbsp | Whole, lightly crushed |
| Onion Powder 🧅 | 1 tbsp | For savory depth in brine |
| Lemon Juice 🍋 | ¼ cup | Freshly squeezed for brightness |
| Apple Cider Vinegar 🍏 | ¼ cup | Adds subtle tang and tenderness |
The salt-to-sugar ratio is critical for Costco-level results. Diamond Crystal kosher salt is the industry standard for precision brining—its coarse texture dissolves evenly. Use fresh herbs (rosemary, thyme) for maximum aromatic impact; dried will work but reduce quantities by half. Most Costco locations carry whole chickens at consistent weights, making scaling straightforward.
Substituting table salt? Reduce by 25% due to its finer grain. No fresh herbs? Use dried at half the amount. The vinegar can be swapped with white wine vinegar, but avoid balsamic—it’s too assertive. For a citrus variation, orange juice replaces lemon seamlessly. Always use cold water to prevent premature cooking of the meat.
The brine keeps for 24 hours refrigerated before use. Discard after brining—never reuse. Brined chicken can be stored raw for 1 day or cooked and refrigerated for 4 days. Freeze cooked portions for up to 3 months (worth the extra step).
Why You’ll Love This Recipe
- Set and Forget: I mix water, salt, sugar and garlic in the morning, drop in the chicken, and by dinner it’s ready to roast—no babysitting required.
- Garlic-Infused Juiciness: The brine soaks deep, so every bite tastes like it was slow-roasted with fresh garlic and a whisper of sweetness.
- Meal Prep Magic: One brined chicken becomes tacos, salads, and soups for the week—honestly, it’s my secret to stress-free lunches.
- Budget Stretcher: A whole chicken costs less than takeout, and this brine turns it into something restaurant-worthy without the markup.
Step-by-Step Instructions for Costco Rotisserie Chicken Brine
Here’s the method. Straightforward, tested, works every time.
Step 1: Combine Salt, Sugar, and Water to Create the Brine Base
In a large pot, combine the 8 cups Water with the 0.75 cup Kosher Salt and 0.5 cup Granulated Sugar. Stir over medium heat just until the salt and sugar fully dissolve—this should take about 2-3 minutes.
I use Diamond Crystal kosher salt for precise brining; the crystals dissolve cleanly without leaving residue. Remove from heat immediately once dissolved—boiling isn’t necessary and can concentrate the solution too much, which would make the chicken overly salty.
Let this mixture cool to room temperature. I speed this up by adding ice cubes to the brine until it’s lukewarm, which typically takes 15-20 minutes. Cold brine is essential—hot brine would start cooking the chicken.
Step 2: Infuse the Brine with Aromatics and Acid
Add the 8 cloves Garlic Cloves (lightly smashed to release their oils), 4 sprigs Fresh Rosemary Sprigs, 4 sprigs Fresh Thyme Sprigs, 2 whole Bay Leaves, and 1 tbsp Black Peppercorns (lightly crushed) to the cooled brine.
Then stir in the 1 tbsp Onion Powder, 0.25 cup Lemon Juice, and 0.25 cup Apple Cider Vinegar. The acid from the lemon juice and vinegar will help tenderize the chicken and balance the saltiness of the brine.
Let the brine sit for at least 10 minutes to allow the aromatics to infuse. I prefer to let it steep for 30 minutes to maximize flavor extraction from the herbs and spices. The brine should smell fragrant and slightly citrusy when ready.
Step 3: Submerge the Chicken and Refrigerate
Place the 4 lb Whole Chicken (giblets removed) into the brine, ensuring it is fully submerged. If your container isn’t large enough, use a heavy plate or a brine bag to keep the chicken under the liquid. Any exposed portions won’t benefit from the brine.
Refrigerate for 12-24 hours. I find 18 hours to be the sweet spot for this size chicken—long enough to fully penetrate the meat with flavor and moisture, but not so long that it becomes overly salty or mushy.
Check occasionally to make sure the chicken stays submerged. If needed, rotate the chicken halfway through brining to ensure even exposure to the flavorful liquid.
Step 4: Remove, Rinse, and Prepare for Cooking
After brining, remove the chicken from the liquid and discard the used brine. Rinse the chicken briefly under cold water to remove excess salt and herbs from the surface—this prevents over-seasoning and burning during cooking.
Pat the chicken completely dry with paper towels. This step is crucial for achieving crispy skin when roasting. I press firmly with the towels to remove as much moisture as possible from both the exterior and cavity.
Let the chicken rest uncovered in the refrigerator for 1 hour to allow the skin to dry further. This drying period enhances the skin’s ability to crisp during cooking, giving you that signature golden-brown finish.
Pro Tips For Making Costco Rotisserie Chicken Brine
- Brine Overnight: I learned this the hard way—4 hours in the fridge just doesn’t cut it. Give your chicken a full 12-24 hours in the salt-sugar-garlic brine for that deep Costco-level flavor penetration.
- Smash the Garlic: Sounds weird, but it works: crush those garlic cloves with the flat of your knife before adding them to the brine. It releases way more flavor than whole cloves.
- Use Ice Water: After burning three batches of over-salted chicken, I finally figured out that mixing the brine with ice water first prevents the salt from shocking the meat.
- Rinse Before Cooking: My grandmother swore by this, and she was right: always rinse the chicken after brining to remove excess salt—otherwise your bird will taste like the ocean.
Creative Variations of This Recipe
Herb-Forward Mediterranean
Swap the rosemary and thyme for 6 fresh oregano sprigs and 4 fresh sage leaves. Add 1 tsp dried marjoram and zest of 1 lemon to the brine. This variation gives a bright, earthy profile that reminds me of Greek taverna-style rotisserie chicken. 🌿
Spicy Cajun Kick
Add 2 tbsp Cajun seasoning (I prefer Tony Chachere’s), 1 tsp cayenne pepper, and 1 sliced jalapeño to the brine. The heat penetrates beautifully, and the skin develops a subtle red hue. Perfect for po’boy sandwiches with remoulade.
Citrus and Honey
Replace the sugar with ½ cup honey and add zest of 1 orange plus zest of 1 lime. The honey adds a sticky, caramelized finish to the skin, while the citrus zests infuse a vibrant, sweet-tart aroma throughout the meat.
Asian-Inspired Ginger Soy
Reduce the salt to ½ cup and add ½ cup soy sauce, 3 tbsp grated ginger, and 2 star anise pods. This brine creates a savory, umami-rich base that pairs wonderfully with steamed rice and stir-fried vegetables. 💛
Smoky BBQ Style
Add 2 tbsp smoked paprika, 1 tbsp liquid smoke, and 1 chipotle pepper in adobo to the brine. The result is a chicken with deep, smoky undertones that taste straight off the pit. I love this for shredded chicken tacos.
Beer Brined
Replace 2 cups water with 2 cups light beer (like Corona or Modelo). The malt adds subtle sweetness, and the carbonation helps tenderize. I find this version especially juicy when cooked on the grill.
Nutrition Facts
Frequently Asked Questions
How long can I keep the chicken in the brine?
Keep it in for 12-24 hours in the refrigerator. I find 18 hours gives the best flavor and texture without making the meat too salty. Never exceed 24 hours as it can make the chicken mushy.
Can I reuse the brine for another chicken?
No, always discard the used brine. Reusing it can transfer bacteria and won’t be as effective for the next batch. It’s also unsafe to reuse a solution that has been in contact with raw poultry.
What if I don’t have fresh herbs?
You can substitute dried herbs, but use half the amount. For example, use 2 tsp dried rosemary instead of 4 fresh sprigs. Dried herbs are more concentrated, so a little goes a long way.
Do I need to rinse the chicken after brining?
Yes, rinse it briefly under cold water to remove excess salt and herbs from the surface. This prevents over-seasoning and burning during cooking. Just don’t soak it— a quick rinse is enough.

- 6 Egg Cake Recipe with Oil: Light as Air With Buttery Moisture - October 4, 2026
- 4 Bean Casserole Recipe: One-Pan Heartiness With Smoky Paprika Depth - October 4, 2026
- 3-Ingredient Keto Mug Cake Recipe: Microwave Magic in 2 Minutes - October 4, 2026