
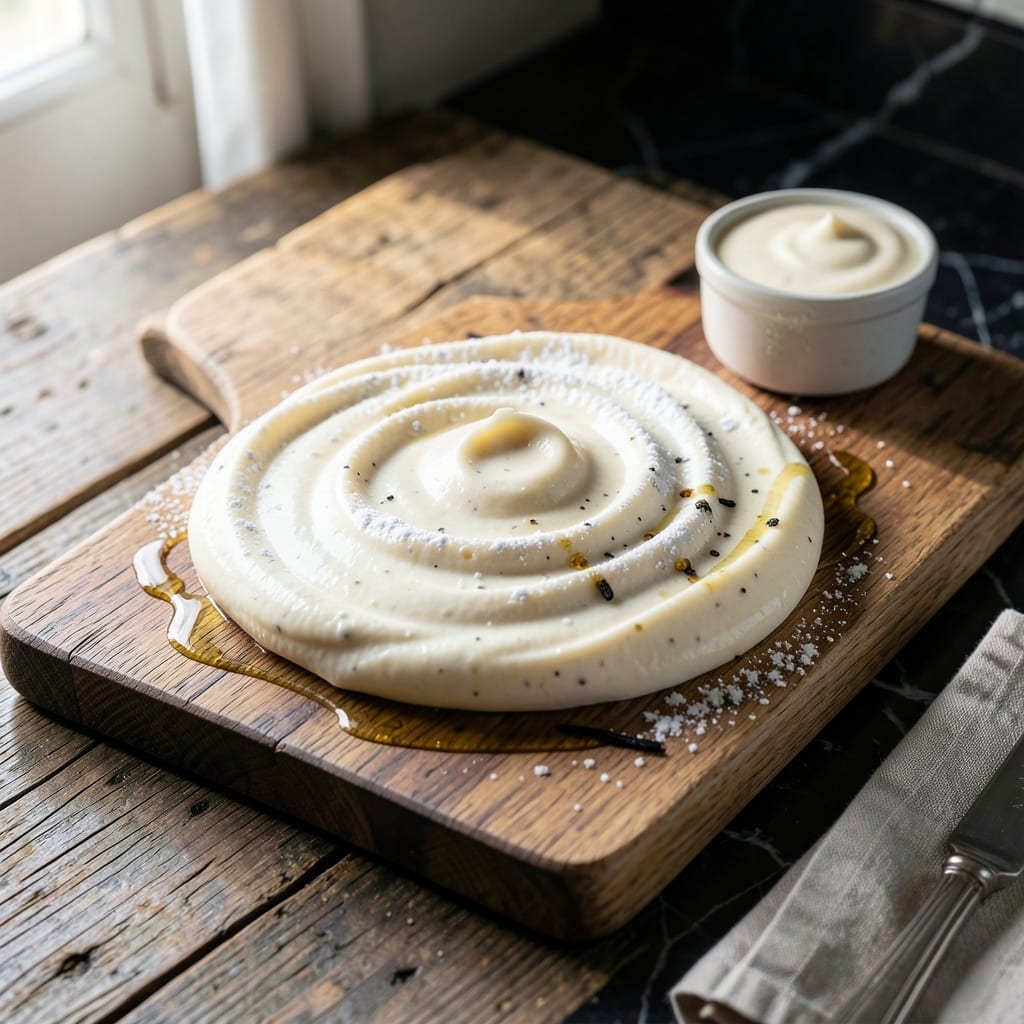
This cream cheese icing delivers ultra-smooth results without relying on butter, creating a lighter yet rich frosting perfect for cakes and cupcakes.
The secret lies in using full-fat cream cheese and a precise powdered sugar ratio, ensuring a stable texture that pipes beautifully and holds its shape.
What you get is a frosting that’s tangy, sweet, and velvety—ideal for red velvet, carrot cake, or any dessert needing a creamy finish.
It whips up in minutes and stays spreadable at room temperature, making it a reliable choice for any baker’s toolkit.
Ingredients for Cream Cheese Icing Recipe No Butter
Six ingredients whip up silky, tangy perfection for any cake or cupcake.
| Ingredient | Amount | Notes |
|---|---|---|
| Full-Fat Cream Cheese 🧀 | 8 oz | Softened to room temperature |
| Powdered Sugar 🍚 | 4 cups | Sifted for smooth texture |
| Vanilla Extract 🌿 | 2 tsp | Pure extract recommended |
| Lemon Juice 🍋 | 1 tbsp | Freshly squeezed for brightness |
| Heavy Cream 🥛 | 2 tbsp | Adjust for desired consistency |
| Salt 🧂 | ¼ tsp | Fine grain for even distribution |
The cream cheese is non-negotiable—Philadelphia full-fat is what I always grab from Kroger or Walmart. It’s the fat content that gives you that stable, pipeable texture. Skip the low-fat versions (they make the frosting runny). And make sure it’s truly room temp—cold cream cheese means lumpy icing. A quick microwave burst helps, but don’t melt it (that’s a disaster).
No lemon juice? Lime or orange zest works in a pinch. Swap vanilla for almond extract at half the amount (it’s strong stuff). Need it thicker? Add more powdered sugar a quarter-cup at a time. Thinner? A splash of milk or cream. And if you’re out of heavy cream, whole milk works—just add it slowly.
This keeps 5 days in the fridge, sealed tight. Freezes for 3 months too. Bring it back to room temp and re-whip before using—it’ll be good as new. Perfect for making ahead (trust me, it saves stress).
Why You’ll Love This Recipe
- Five Minute Whip: I just dump everything in a bowl and beat it—no melting butter, no waiting for it to soften.
- Tangy Sweetness: The cream cheese and lemon juice give it that bright, slightly tangy kick that cuts through sugar overload.
- Spreads Like a Dream: I’ve piped it on cupcakes, swirled it into brownies, and even spread it on cinnamon rolls with zero issues.
- Fridge Friendly: Honestly, it keeps for days, so I make a double batch and have icing ready for spontaneous baking.
Step-by-Step Instructions for Cream Cheese Icing No Butter
Here’s the method. Straightforward, tested, works every time.
Step 1: Beat the Cream Cheese Until Smooth
Start with the 8 oz Full-Fat Cream Cheese that’s been softened to room temperature. I always take mine out of the fridge 1-2 hours before starting—cold cream cheese will leave lumps no matter how long you beat it.
In a large mixing bowl, beat the cream cheese on medium speed for 2-3 minutes until completely smooth and creamy. You’ll notice it lightens in color slightly and becomes almost fluffy. This step is crucial for that ultra-smooth texture we’re after.
Step 2: Gradually Incorporate the Powdered Sugar
With the mixer running on low speed, gradually add the 4 cups Powdered Sugar. I sift mine first for that perfectly smooth finish, but if you’re short on time, just break up any lumps with your fingers as you add it.
Add the sugar about 1 cup at a time, waiting until each addition is fully incorporated before adding more. This prevents a powdered sugar cloud from forming and ensures even mixing. After all the sugar is added, increase speed to medium and beat for another 1-2 minutes.
Step 3: Add Flavorings and Adjust Consistency
Now add the 2 tsp Vanilla Extract, 1 tbsp Lemon Juice, and 0.25 tsp Salt. The lemon juice might seem unusual, but it adds a subtle brightness that balances the sweetness beautifully. Beat on medium speed for 30 seconds until fully combined.
With the mixer still running, slowly pour in the 2 tbsp Heavy Cream. This is where you can adjust the consistency—if you want stiffer icing for piping, use less cream; for a softer spread, add a touch more. Beat for another 1-2 minutes until light and fluffy.
Step 4: Test and Use Immediately
The icing should hold its shape when you lift the beaters and have a smooth, satiny appearance. If it seems too thick, add another 1-2 teaspoons of heavy cream and beat briefly. If it’s too thin, add a bit more powdered sugar.
This icing is best used right away while it’s fresh and fluffy. It pipes beautifully for cupcakes or can be spread smoothly on cakes. The flavor develops even more after a few hours, but the texture is perfect straight from the mixer.
Pro Tips For Making Cream Cheese Icing Recipe No Butter
- Soften the Cheese: Take the cream cheese out of the fridge at least 2 hours before mixing—I learned this the hard way after ending up with lumpy icing from cold blocks.
- Sift the Sugar: Always sift the powdered sugar first, even if it looks fine. My first few batches had a weird grainy texture until I started doing this.
- Take It Slow: Add the powdered sugar gradually, about 1/2 cup at a time, mixing well between each addition. Otherwise, you’ll end up with a sugar cloud in your kitchen.
- Add Cream Last: Wait until the end to add the heavy cream, 1 tablespoon at a time, until you hit the right consistency. It’s easier to fix too thick than too runny.
Essential Equipment for Great cream cheese icing recipe no butter
Stand Mixer
A stand mixer is your best friend for this icing. I use my KitchenAid 5-Quart with the paddle attachment—it whips the cream cheese and sugar together effortlessly. The hands-free operation lets you add ingredients gradually without overmixing. 💪
Hand Mixer
If you don’t have a stand mixer, a hand mixer works just as well. Look for one with at least 200 watts of power—I recommend the Cuisinart Power Advantage. Just be sure to use a deep bowl to minimize splashing.
Whisk and Bowl
For a low-tech approach, a sturdy whisk and large mixing bowl can get the job done. It’ll take more elbow grease, but the results are just as smooth. I like a stainless steel whisk with a comfortable grip.
Sifter
A fine-mesh sifter ensures your powdered sugar is lump-free. I use the OXO Good Grips model—it’s durable and easy to clean. Sifting also aerates the sugar, making your icing lighter.
Rubber Spatula
A high-heat rubber spatula is essential for scraping down the bowl and folding in the final additions. I prefer silicone spatulas because they’re flexible and won’t scratch your bowls. 🔥
Piping Bags
For decorating, disposable piping bags are a must. The Wilton 12-inch bags are perfect for this icing. They’re sturdy, reusable, and make piping cupcakes or cakes a breeze.
Nutrition Facts
Frequently Asked Questions
Can I use low-fat cream cheese instead?
No, full-fat is essential for stability. Low-fat versions add too much moisture, making the icing runny and difficult to pipe.
How long can I store leftover icing?
Store in an airtight container in the fridge for up to 5 days. For longer storage, freeze for 3 months and rewhip before using.
Why does my icing taste too sweet?
The tanginess of cream cheese balances sweetness, but if it’s overpowering, reduce powdered sugar by ½ cup or add 1 tsp lemon juice.
Can I color this icing for decorating?
Yes! Add gel food coloring gradually while mixing. Avoid liquid coloring, as it can thin the texture.

- 6 Egg Cake Recipe with Oil: Light as Air With Buttery Moisture - October 4, 2026
- 4 Bean Casserole Recipe: One-Pan Heartiness With Smoky Paprika Depth - October 4, 2026
- 3-Ingredient Keto Mug Cake Recipe: Microwave Magic in 2 Minutes - October 4, 2026