
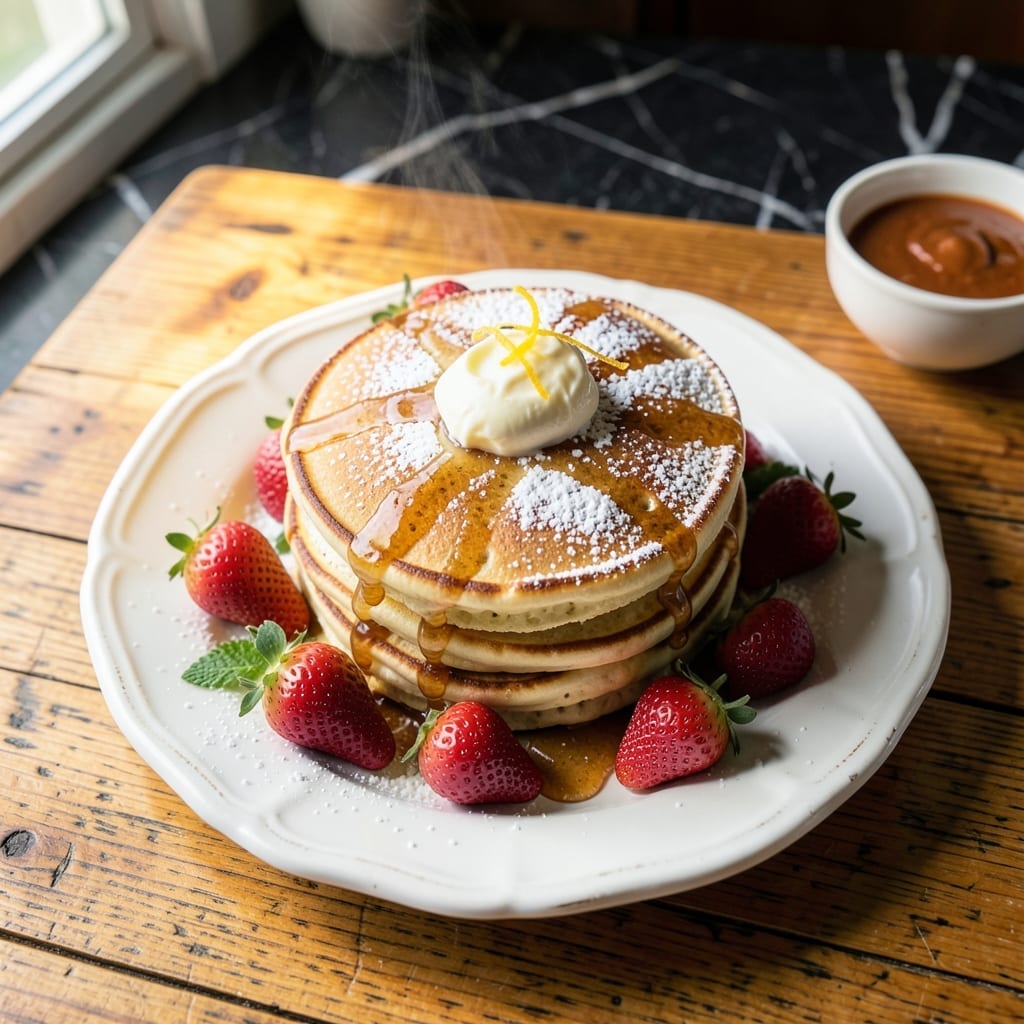
There’s a reason Du-par’s pancakes have achieved legendary status in Los Angeles. This recipe captures their signature fluffiness and golden-brown perfection through a simple buttermilk technique.
The secret lies in the perfect ratio of buttermilk to baking soda, creating that signature rise and tender crumb. I’ve tested this method repeatedly to achieve restaurant-quality results at home with basic pantry staples.
You’ll end up with stacks that are light as air inside with just the right amount of crisp at the edges. The buttermilk adds a subtle tang that balances the sweetness perfectly.
Serve with butter and maple syrup for the full diner experience. Here’s how to make them.
Ingredients for Dupars Pancake
Basic pantry staples plus buttermilk for that signature diner-style fluffiness and tang.
| Ingredient | Amount | Notes |
|---|---|---|
| All-Purpose Flour 🌾 | 2 cups | Sifted for lighter texture |
| Granulated Sugar 🍚 | 3 tbsp | Fine white sugar preferred |
| Baking Soda 🧂 | 1 ½ tsp | Fresh for maximum lift |
| Baking Powder 🧂 | 1 tsp | Double-acting for consistent rise |
| Salt 🧂 | ¾ tsp | Fine sea salt preferred |
| Buttermilk 🥛 | 2 cups | Full-fat for richness |
| Large Eggs 🥚 | 2 whole | Room temperature for even mixing |
| Unsalted Butter 🧈 | 4 tbsp | Melted and slightly cooled |
| Vanilla Extract 🌿 | 1 tsp | Pure extract for best flavor |
The buttermilk is non-negotiable here—it’s the heart of Du-par’s signature texture and flavor. Full-fat buttermilk from a reputable dairy (like Organic Valley or Cultured brands) delivers the authentic tang and acidity needed to activate the baking soda properly. Fresh baking soda is equally critical; test it by dropping a spoonful in vinegar—if it doesn’t bubble vigorously, replace it. Flour should be all-purpose, unbleached if possible, for the best crumb structure.
No buttermilk on hand? Whole milk plus 2 tbsp lemon juice or vinegar per cup works as a substitute (let it sit for 5 minutes to curdle). For a richer flavor, replace 1 tbsp of the butter with an equal amount of sour cream in the batter. If avoiding dairy entirely, use almond milk with vinegar and coconut oil, though the flavor profile will differ slightly. The vanilla should be pure extract—imitation lacks depth.
Batter can rest in the fridge for up to 12 hours (the flavor deepens overnight). Cooked pancakes keep in the fridge for 3 days or freeze for 1 month. Reheat in a toaster or skillet to revive the crisp edges. For restaurant-quality stacks, use a cast-iron skillet and don’t overcrowd the pan.
Why You’ll Love This Recipe
- 5-Minute Mix: I dump everything in one bowl—flour, sugar, the leavening duo—and stir. No fancy steps, just pancakes.
- Sweet Simplicity: That touch of sugar caramelizes on the edges, giving every bite a warm, buttery sweetness without being cloying.
- Weekend or Tuesday: Honestly, I’ve made these for lazy Sundays and rushed school mornings. They’re unfussy enough for both.
- Pantry Staples: All-purpose flour and basics I always have mean I’m never more than 20 minutes away from pancakes.
Step-by-Step Instructions for Fluffy Buttermilk Pancakes
Master the technique for consistently light, airy pancakes with a golden exterior and tender interior.
Step 1: Combine Dry Ingredients for Consistent Rise
In a large mixing bowl, whisk together the 2 cups All-Purpose Flour, 3 tbsp Granulated Sugar, 1.5 tsp Baking Soda, 1 tsp Baking Powder, and 0.75 tsp Salt until fully incorporated. I always sift the flour first to eliminate lumps and ensure an even distribution of leavening agents throughout the batter.
This step is critical for achieving uniform lift—properly combined dry ingredients prevent pockets of concentrated baking soda or powder that could create bitter spots or uneven texture in your finished pancakes.
Step 2: Whisk Wet Ingredients for Maximum Tenderness
In a separate bowl, thoroughly whisk the 2 cups Buttermilk, 2 whole Large Eggs, 4 tbsp Unsalted Butter (melted and slightly cooled), and 1 tsp Vanilla Extract until the mixture is smooth and emulsified. The buttermilk’s acidity reacts with the baking soda, creating the signature fluffiness.
Ensure the melted butter is only slightly warm to the touch—adding hot butter to the eggs could begin cooking them prematurely, resulting in small curdled bits in your batter. Room temperature eggs incorporate more evenly for a smoother texture.
Step 3: Create the Batter with Minimal Mixing
Pour the wet ingredients into the dry ingredients and fold together gently with a silicone spatula just until the flour is moistened. The batter should appear slightly lumpy with visible streaks of flour—this is normal and essential.
Overmixing develops gluten in the flour, which creates tough, dense pancakes. I stop folding as soon as I no longer see dry pockets, even if the batter looks uneven. These lumps will dissolve during cooking, while overworking the batter will not.
Step 4: Cook on a Properly Heated Surface
Heat a nonstick griddle or heavy skillet over medium heat until a drop of water dances across the surface. Lightly grease with additional butter if needed, then pour ¼ cup portions of batter onto the griddle. Cook until bubbles form across the surface and the edges appear set, about 2-3 minutes.
Flip each pancake once and cook for another 1-2 minutes until golden brown on the bottom and cooked through. The first pancake is always a test—adjust the heat if it’s browning too quickly or slowly. A properly heated surface ensures even cooking without burning the exterior before the interior sets.
Step 5: Serve Immediately for Optimal Texture
Transfer the cooked pancakes to a wire rack set over a baking sheet in a 200°F oven to keep warm while you finish the batch. This prevents condensation from forming on the bottom, which would make them soggy. Never stack them directly on a plate—the steam will make them gummy.
Serve the pancakes immediately with your favorite toppings while they’re still hot. The contrast between the crisp edges and fluffy interior is most pronounced right out of the pan. This recipe yields about twelve 4-inch pancakes, perfect for feeding four hungry people.
Pro Tips For Making Dupars Pancake
- Let Batter Rest: After mixing, give the batter 10-15 minutes to sit—I learned this the hard way when my first few pancakes came out dense and flat.
- Medium Heat Only: Cranking the heat too high burns the outside before the inside cooks through; keep it at medium for even, golden pancakes.
- Sift Dry Ingredients: Sounds tedious, but sifting the flour, baking soda, and baking powder together prevents lumps and guarantees a fluffier texture.
- Use Fresh Leavening: Baking soda and powder lose potency over time; if your pancakes aren’t rising, check the expiration date—old ones just won’t cut it.
Perfect Pairings for dupars pancake
Classic Diner Toppings
There’s nothing better than warm maple syrup and cold butter melting over these fluffy stacks. I use Grade A amber syrup for its balanced sweetness. For extra indulgence, add whipped cream and fresh berries. 🥞
Savory Pairings
Balance the sweetness with savory sides like crispy bacon or sausage links. The saltiness cuts through the richness beautifully. I prefer thick-cut bacon from a local butcher for the best texture contrast.
Beverage Partners
A cold glass of whole milk or freshly squeezed orange juice is traditional. For coffee lovers, a light roast with 1 tbsp sugar and 2 tbsp cream complements perfectly. I love the way the acidity in OJ brightens each bite.
Fruit Variations
Top with sliced bananas and chopped pecans for a Southern twist. Or try sautéed apples with 1 tsp cinnamon—cook them in 2 tbsp butter until tender. These pairings add freshness and texture.
Specialty Toppings
For a gourmet touch, drizzle with honey and sprinkle sea salt. Or add lemon curd and blueberries for a bright, tangy contrast. I discovered this combo at a brunch spot in Portland. ✨
Nutrition Facts
Frequently Asked Questions
Why does buttermilk make these pancakes fluffier?
The acidity in buttermilk reacts with baking soda, creating extra lift. This chemical reaction produces more air bubbles in the batter.
It also tenderizes the gluten for a softer texture.
Can I make the batter ahead of time?
Yes, you can prepare and refrigerate the batter for up to 12 hours. The flavor actually improves overnight.
Just give it a quick stir before cooking.
What if I don’t have buttermilk?
Mix 2 tbsp lemon juice or vinegar with 2 cups milk and let sit for 5 minutes.
This creates a similar acidity and texture.
How do I know when to flip them?
Flip when bubbles form across the surface and edges look set, after about 2-3 minutes.
The bottom should be golden brown.

- 6 Egg Cake Recipe with Oil: Light as Air With Buttery Moisture - October 4, 2026
- 4 Bean Casserole Recipe: One-Pan Heartiness With Smoky Paprika Depth - October 4, 2026
- 3-Ingredient Keto Mug Cake Recipe: Microwave Magic in 2 Minutes - October 4, 2026