
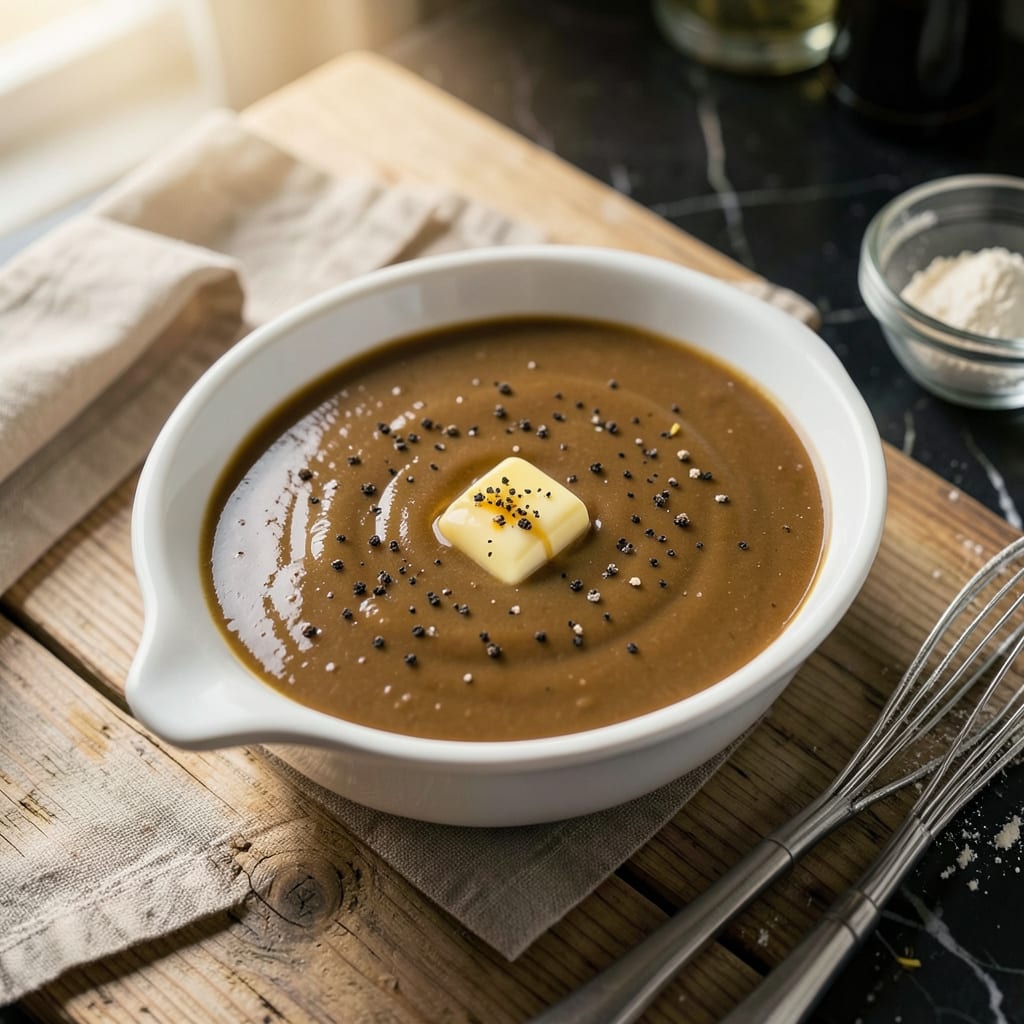
Creating rich, savory beef gravy without drippings is simpler than you think. This foolproof method relies on a classic roux base and quality beef broth to deliver deep, meaty flavor in just 10 minutes. No roast required—just pantry staples and precise technique.
The secret lies in cooking the roux to the perfect golden shade before gradually whisking in warm broth. This creates a velvety, lump-free gravy with body and richness. Whether you need a quick sauce for mashed potatoes or a base for pot pies, this recipe delivers restaurant-quality results every time.
Ingredients for Easy Beef Gravy Recipe Without Drippings
Nine pantry staples transform into velvety beef gravy with restaurant-quality depth in minutes.
| Ingredient | Amount | Notes |
|---|---|---|
| Unsalted Butter 🧈 | ½ cup | For roux base, cold |
| All-Purpose Flour 🌾 | ½ cup | Unbleached preferred for smoothness |
| Beef Broth 🥩 | 4 cups | Low-sodium, warmed before adding |
| Worcestershire Sauce 💧 | 1 tbsp | For umami depth (ensure vegetarian if needed) |
| Soy Sauce 🫒 | 1 tsp | Low-sodium for balanced saltiness |
| Black Pepper 🌶️ | ½ tsp | Freshly ground for optimal flavor |
| Garlic Powder 🧄 | ½ tsp | Or substitute 1 fresh clove, minced |
| Onion Powder 🧅 | ½ tsp | Enhances savory base notes |
| Dried Thyme 🌿 | ¼ tsp | Or 1 tsp fresh thyme leaves |
The roux foundation requires precise ingredients. Unsalted butter ensures controlled salt levels, while unbleached all-purpose flour creates the ideal smooth texture. For the beef broth, low-sodium varieties like Swanson or Pacific Foods allow better flavor adjustment. Warm the broth before incorporating—this prevents lump formation and accelerates thickening. The Worcestershire sauce is non-negotiable for authentic meaty depth; Annie’s offers a quality vegetarian option if needed.
No Worcestershire? 1 tsp balsamic vinegar plus ½ tsp soy sauce approximates the complexity. Fresh garlic (1 clove) can replace the powder at a 1:1 ratio, though powder distributes more evenly. For gluten-free adaptation, substitute the flour with cornstarch at half the quantity (¼ cup). The dried thyme can be omitted in a pinch, but fresh thyme (1 tsp) elevates the aroma significantly. Better Than Bouillon beef base (1 tsp dissolved in 4 cups water) works as a broth substitute when quality matters.
Store dry ingredients (flour, spices) in airtight containers for 6-12 months—keep away from heat and light. Prepared gravy holds 3-4 days refrigerated or 3 months frozen; reheat gently with additional broth to restore consistency. For make-ahead convenience, prepare the roux in advance and store refrigerated up to 2 days—complete with warm broth when ready to serve.
Why You’ll Love This Recipe
- I’ll be real: the soy sauce is the secret here. It doesn’t taste “soy-saucy,” but it adds this rich, umami punch that makes store-bought gravy taste flat in comparison.
- No Drippings Needed: Here’s what sold me—this gravy skips the whole “roast a beef joint first” step. Just butter, flour, and broth (plus that sneaky splash of Worcestershire for depth) and you’re golden.
- 5-Ingredient Magic: I’ll be real: the soy sauce is the secret here. It doesn’t taste “soy-saucy,” but it adds this rich, umami punch that makes store-bought gravy taste flat in comparison.
- Weeknight Rescue: Between us, I’ve poured this over everything—mashed potatoes, meatloaf, even leftover roast beef sandwiches. It’s my go-to when dinner needs saving (yes, even on a Tuesday night).
Step-by-Step Instructions for Easy Beef Gravy Without Drippings
This straightforward method delivers rich, velvety gravy using pantry staples and simple techniques.
Step 1: Create the Roux Base
In a medium saucepan over medium heat, melt the 0.5 cup unsalted butter until it begins to foam but doesn’t brown. Immediately add the 0.5 cup all-purpose flour all at once, whisking constantly to prevent lumps from forming.
Continue whisking for 2-3 minutes until the mixture turns a light golden color and develops a slightly nutty aroma. This cooking process removes the raw flour taste while building the foundation for your gravy’s body. The roux should resemble wet sand when properly cooked.
Step 2: Gradually Incorporate Warm Broth
Slowly pour in the 4 cups beef broth while whisking vigorously to prevent clumping. I recommend warming the broth first (either in the microwave or on the stove) as cold liquid can cause the roux to seize up. Add the liquid in three stages, ensuring each addition is fully incorporated before adding more.
After all the broth is added, continue whisking until the mixture becomes smooth and begins to thicken. You’ll notice the gravy transforming from a thin liquid to a velvety consistency that coats the back of a spoon. This process typically takes 3-4 minutes of constant whisking over medium heat.
Step 3: Develop Flavor with Seasonings
Add the 1 tbsp Worcestershire sauce, 1 tsp soy sauce, 0.5 tsp black pepper, 0.5 tsp garlic powder, 0.5 tsp onion powder, and 0.25 tsp dried thyme to the thickening gravy. Each of these ingredients plays a specific role: the Worcestershire and soy sauces contribute umami depth, while the spices build the savory foundation.
Reduce the heat to low and let the gravy simmer gently for 5-7 minutes, stirring occasionally. This allows the flavors to meld together while the gravy reaches its final consistency. You’ll know it’s ready when it’s thick enough to lightly coat the back of a spoon but still pourable.
Step 4: Adjust and Perfect the Texture
Taste the gravy and adjust the seasoning if needed. If it’s too thick, thin it with additional warmed beef broth 1 tablespoon at a time until reaching your desired consistency. For a smoother texture, you can strain the gravy through a fine-mesh sieve, though this step is optional.
Let the gravy rest off heat for 2-3 minutes before serving. This brief resting period allows the flavors to fully develop and the texture to stabilize. The finished gravy should be rich brown in color, with a glossy sheen and a consistency that clings to food without being overly heavy.
Essential Equipment for This Dish
Saucepan Selection
For perfect gravy, I recommend a medium 2-3 quart saucepan with a heavy bottom—this prevents scorching while cooking the roux. My go-to is the All-Clad Stainless Steel 3-Quart because it heats evenly and responds quickly to temperature changes. A light-colored interior helps you monitor the roux’s color progression accurately. 🔥
Whisk Matters
The right whisk makes all the difference when incorporating broth. I use a 10-inch stainless steel balloon whisk—the shape helps reach pan corners while creating a smooth vortex for lump-free gravy. OXO Good Grips makes an affordable, comfortable option that won’t fatigue your wrist during constant whisking.
Measuring Tools
Precise measurements ensure consistent results. I keep nested measuring cups (like the Cuisipro Stainless Steel set) for dry ingredients and a glass measuring cup with pour spout for liquids. The pour spout is crucial when slowly adding warm broth to the roux—it gives you better control than pouring directly from the carton.
Thermometer Optional
While not essential, an instant-read thermometer helps monitor broth temperature. I aim for 140-160°F before adding to the roux—this prevents the fat from separating. The ThermoWorks ThermoPop gives quick readings and is affordable. If you don’t have one, warm the broth until small bubbles form around the edges.
Straining Equipment
For ultra-smooth gravy, I strain it through a fine-mesh sieve after cooking. The Cuisinox 5-inch sieve fits perfectly over most saucepans and catches any tiny lumps. Press gently with a silicone spatula to extract maximum flavor. This step is optional but makes a noticeable difference in texture for special occasions. ✨
Storage Containers
Glass containers with airtight lids are ideal for storing leftover gravy. I use Pyrex glass containers with snap-on lids—they’re microwave-safe for reheating and won’t absorb odors. For freezing, leave 1-inch headspace to allow for expansion. The clear glass lets you check the gravy’s consistency before reheating.
Nutrition Facts

- 6 Egg Cake Recipe with Oil: Light as Air With Buttery Moisture - October 4, 2026
- 4 Bean Casserole Recipe: One-Pan Heartiness With Smoky Paprika Depth - October 4, 2026
- 3-Ingredient Keto Mug Cake Recipe: Microwave Magic in 2 Minutes - October 4, 2026