
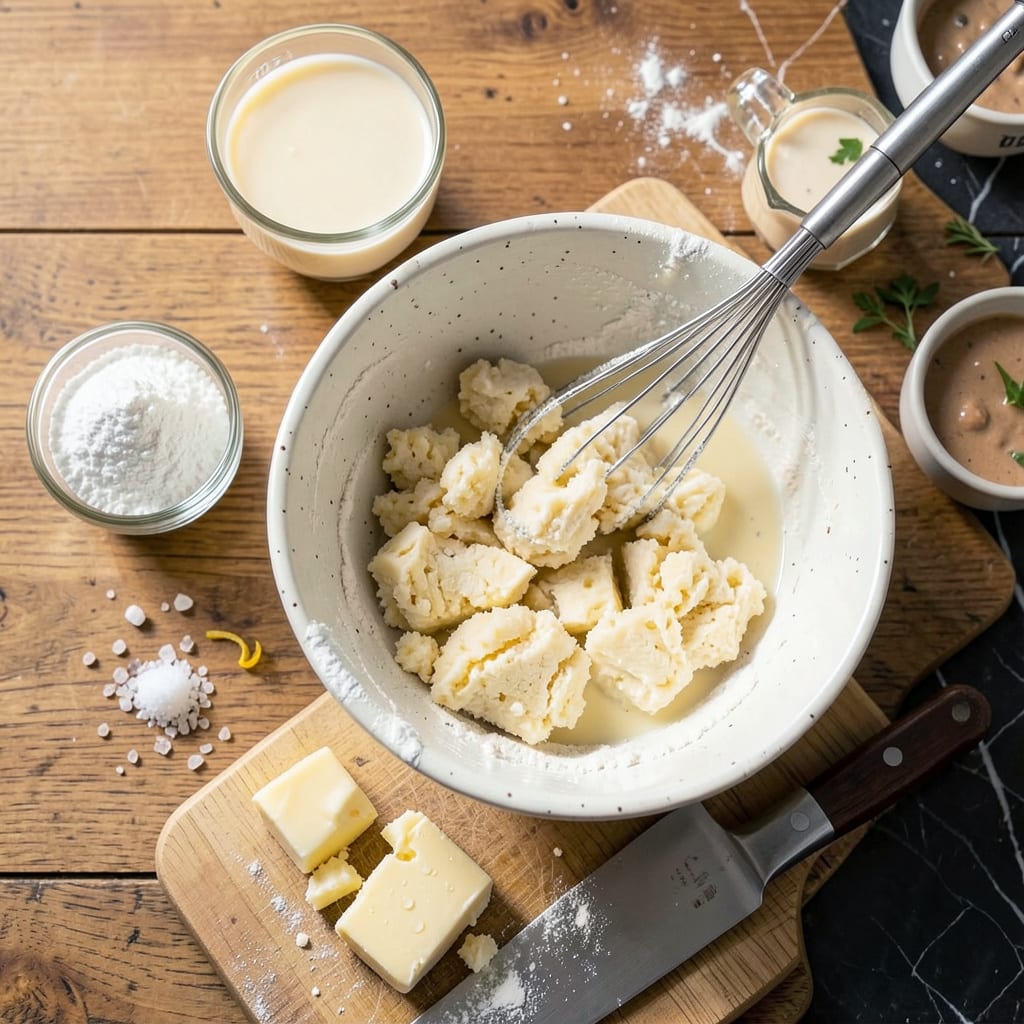
Creating flaky, tender biscuits without milk is simpler than you might think. This recipe delivers perfectly layered results using basic pantry staples and a straightforward technique. After testing multiple dairy-free alternatives, I found that water or plant-based milk works just as effectively for achieving that classic biscuit texture.
The secret lies in cold fat and minimal handling. By cutting butter (or dairy-free alternative) into the flour until pea-sized crumbs form, then gently folding in the liquid, you create the foundation for light, airy biscuits that rise beautifully. Ready in just 20 minutes, these versatile biscuits pair equally well with savory meals or sweet spreads.
Ingredients for Easy Biscuit Recipe Without Milk
Nine simple ingredients, zero dairy—flaky, tender biscuits ready in no time with pantry staples.
| Ingredient | Amount | Notes |
|---|---|---|
| All-Purpose Flour 🌾 | 2 cups | Plus extra for dusting |
| Baking Powder 🧂 | 1 tbsp | Aluminum-free preferred |
| Baking Soda 🧂 | ½ tsp | Ensures proper rise |
| Salt 🧂 | ¾ tsp | Fine sea salt preferred |
| Cold Unsalted Butter 🧈 | ½ cup | Cut into small cubes |
| Unsweetened Plant-Based Milk 🥛 | ¾ cup | Oat or almond works best |
| Apple Cider Vinegar 🍏 | 1 tsp | Helps with flakiness |
| Granulated Sugar 🍚 | 1 tsp | Optional, for slight sweetness |
| Honey 🍯 | 1 tbsp | Optional, for brushing tops |
The butter is everything here. Cold, unsalted, and cubed small—that’s how you get those perfect layers. I grab mine from Trader Joe’s or Whole Foods (their store brands are solid), but any supermarket butter works as long as it’s cold. The plant-based milk? Oat or almond gives the best texture, but whatever you’ve got is fine. Just make sure it’s unsweetened—no vanilla almond milk here (unless you want weirdly sweet biscuits).
Out of plant-based milk? Plain water works in a pinch—just add an extra half-teaspoon of vinegar to help with rise. No apple cider vinegar? Lemon juice or white vinegar does the trick. For a richer flavor, swap half the butter for cold coconut oil (the refined kind, so it doesn’t taste like coconuts). And if you’re feeling fancy, a sprinkle of garlic powder or fresh herbs in the dough takes these to the next level.
The dough keeps in the fridge for 2 days—just wrap it tight. Baked biscuits stay fresh for 3 days in an airtight container, or freeze them for 3 months (reheat in a 350°F oven for 10 minutes). I always make a double batch and freeze half—future me is very grateful.
Why You’ll Love This Recipe
- No Milk, No Problem: I’ve made these with just flour, butter, and pantry staples when I realized I was out of milk at 7 AM. The cold butter trick—cutting it into the dry mix—gives them that flaky, bakery-style texture without any dairy at all.
- 10-Minute Magic: Honestly, the dough comes together faster than brewing coffee. Mix dry ingredients, work in the butter with your fingers (yes, it’s messy, but worth it), then fold and cut. No resting, no fuss—just golden biscuits in under 20 minutes.
- Breakfast and Dinner: I’ve served these with jam for a rushed morning, alongside chili for game night, and even as emergency “bread” for soup when I forgot to buy rolls. They’re my secret weapon for making any meal feel intentional.
- Budget-Friendly Batch: Five ingredients, most of which I already have? That’s cheaper than store-bought biscuits—and way better. The leftovers reheat beautifully in a toaster oven, so nothing goes to waste. (My kids fight over the last one.)
Step-by-Step Instructions for Easy Biscuits Without Milk
Here’s how to make flaky, tender biscuits in minutes—no fancy techniques required.
Step 1: Combine Dry Ingredients for Perfect Rise
In a large bowl, whisk together the 2 cups all-purpose flour, 1 tbsp baking powder, 0.5 tsp baking soda, and 0.75 tsp salt. I like to sift these together to ensure even distribution—this prevents any bitter pockets of baking powder or soda in your finished biscuits.
Make sure your baking powder is fresh (less than 6 months old) for maximum lift. The combination of both leavening agents creates that signature flaky texture we’re after. Set this mixture aside while you prepare the wet ingredients.
Step 2: Cut in Cold Butter for Flaky Layers
Add the 0.5 cup cold unsalted butter (cut into small cubes) to your dry ingredients. Using a pastry cutter or your fingers, work the butter into the flour until the mixture resembles coarse crumbs with pea-sized butter pieces visible. This is crucial—those visible butter pieces create steam pockets during baking, which gives you those beautiful flaky layers.
Don’t overwork it—you want to see distinct butter pieces throughout. If the butter starts to warm up and soften, pop the bowl in the fridge for 5 minutes to firm it back up. Cold butter equals flaky biscuits, so I always keep my butter in the fridge until the last possible moment.
Step 3: Create the Dough with Plant-Based Milk
In a small bowl, combine the 0.75 cup unsweetened plant-based milk and 1 tsp apple cider vinegar. Let it sit for 2 minutes—this creates a quick buttermilk substitute that adds tenderness to your biscuits. The vinegar also reacts with the baking soda for extra lift.
Pour the milk mixture into your dry ingredients and stir gently with a wooden spoon until just combined. The dough should be shaggy and slightly sticky—don’t overmix or you’ll develop gluten, which makes biscuits tough. I like to finish bringing it together with my hands, kneading just 2-3 times in the bowl until it forms a cohesive mass.
Step 4: Shape and Bake for Golden Perfection
Turn the dough onto a lightly floured surface and pat it into a 1-inch thick rectangle. Using a 2.5-inch biscuit cutter (or a glass), cut out biscuits by pressing straight down—don’t twist, as this seals the edges and prevents proper rising. Gather the scraps, gently re-pat, and cut more biscuits until you’ve used all the dough.
Place the biscuits on a parchment-lined baking sheet, brush the tops with 1 tbsp honey (if using), and bake at 425°F for 12-15 minutes until the tops are golden brown and the biscuits have risen about 50%. The honey gives a beautiful sheen and subtle sweetness, but you can skip it for savory biscuits.
Step 5: Serve Warm with Your Favorite Toppings
Let the biscuits cool on the baking sheet for 2 minutes—this sets the structure so they don’t crumble when you handle them. The interior should be light and flaky with distinct layers when you pull one apart. If you used honey, you’ll notice a delicate caramelized crust on top.
Serve these warm, straight from the oven. They’re perfect split open with butter and jam, used for breakfast sandwiches, or alongside gravy. For best texture, enjoy them the same day—though you can reheat leftovers wrapped in foil at 350°F for 5-7 minutes to revive that just-baked quality.
Pro Cooking Tips for Perfect Results
Butter Temperature Control
The secret to sky-high biscuits is keeping that butter ice cold until baking. I freeze my butter for 15 minutes before cubing it, then work quickly with my hands. If the dough feels warm at any point, pop it in the fridge for 5-10 minutes—trust me, this small pause prevents flat biscuits. 🧊
Perfect Cutting Technique
Use a sharp 2.5-inch biscuit cutter and press straight down—no twisting! Twisting seals the edges, preventing proper rise. If you don’t have a cutter, a glass with a wide mouth works perfectly. Dip the cutter in flour between cuts to prevent sticking.
Milk Substitute Science
The apple cider vinegar in your plant-based milk isn’t just for flavor—it creates an acid reaction with the baking soda for extra lift. For best results, use unsweetened oat milk (like Oatly) as it mimics dairy’s richness. Let the mixture sit for 2 full minutes before using.
Oven Position Matters
Bake on the middle rack for even browning. If your oven runs hot, rotate the pan halfway through. I always preheat for 15 minutes to ensure consistent temperature. For extra crispy bottoms, place a baking sheet on the lower rack to catch any butter drips.
The Fold-and-Pat Method
After cutting your first round of biscuits, gently gather the scraps and fold them over before re-patting. This creates additional layers in your second batch. Pat to 1-inch thickness—any thinner and they’ll bake too fast, any thicker and they won’t cook through evenly.
Honey Glaze Timing
Brush the honey on just before baking—not earlier, or it’ll soak in. Use a pastry brush and apply a thin, even layer. The honey caramelizes beautifully at 425°F, creating that golden sheen without making the biscuits sticky. ✨
Nutrition Facts

- 6 Egg Cake Recipe with Oil: Light as Air With Buttery Moisture - October 4, 2026
- 4 Bean Casserole Recipe: One-Pan Heartiness With Smoky Paprika Depth - October 4, 2026
- 3-Ingredient Keto Mug Cake Recipe: Microwave Magic in 2 Minutes - October 4, 2026