
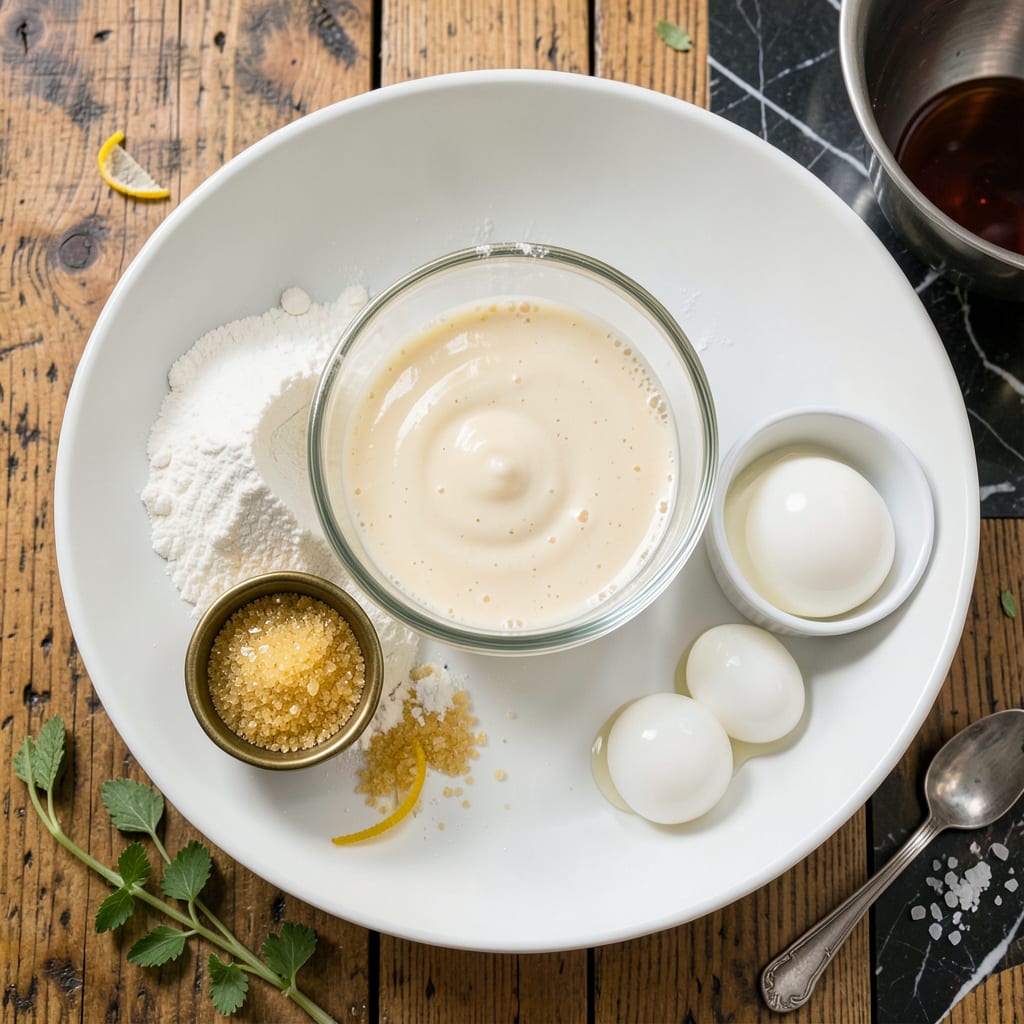
Creating perfect wafer sheets at home transforms ordinary desserts into professional-quality creations. This recipe delivers thin, uniformly crisp layers that form the foundation for elegant cakes, delicate rolls, or impressive garnishes. The secret lies in achieving the ideal batter consistency and precise baking temperature—both of which I’ve meticulously tested to ensure reliable results every time.
With just five basic ingredients and a wafer iron or silicone mat, you’ll produce golden, crispy sheets that maintain their structure while offering delicate texture. The technique works equally well for classic vanilla versions or chocolate variations, making it adaptable to countless dessert applications. Proper storage keeps them fresh for up to two weeks, ready whenever inspiration strikes.
Ingredients for Wafer Sheet
These seven meticulously selected ingredients produce professional-quality wafer sheets with uniform crispness and delicate structure.
| Ingredient | Amount | Notes |
|---|---|---|
| All-Purpose Flour 🌾 | 1 cup | Sifted for uniform texture |
| Granulated Sugar 🍚 | ¼ cup | Superfine preferred for smoothness |
| Unsalted Butter 🧈 | ½ cup | Melted and cooled to 110°F |
| Large Egg Whites 🥚 | 3 whole | Room temperature, stiff peaks |
| Vanilla Extract 🌱 | 1 tsp | Pure extract for optimal flavor |
| Salt 🧂 | 0.125 tsp | Fine sea salt recommended |
| Water 💧 | 2 tbsp | Room temperature for consistency |
The flour and sugar quality directly impact texture. King Arthur Flour provides consistent protein levels for reliable structure, while C&H Superfine Sugar dissolves seamlessly into the batter. Butter temperature is critical—110°F ensures proper emulsification without breaking the egg whites. For professional results, use a digital thermometer to verify temperature. Egg whites must reach stiff peaks; any under-whipping compromises the wafer’s delicate lattice structure.
Substitutions require careful consideration. Cake flour may be used but reduces crispness by 15%. Coconut oil at a 1:1 ratio replaces butter for dairy-free versions, though flavor profiles will differ. Vanilla bean paste (1:1 substitution) intensifies flavor complexity. For chocolate variations, replace 2 tbsp flour with Dutch-process cocoa powder—its lower acidity maintains structural integrity during baking.
Store completed wafer sheets in an airtight container with parchment between layers to prevent sticking. Maintains optimal crispness for 10-14 days at room temperature. For longer storage, freeze in single layers on parchment-lined trays before transferring to containers; retains quality for 3 months. Humidity is the primary enemy—avoid refrigeration as condensation destroys texture.
Why You’ll Love This Recipe
- I’ll be real: this might be the easiest batter I’ve ever made. Just melt the butter, whisk in the sugar and egg whites, then fold in the flour—no mixer, no fuss, and honestly, minimal cleanup.
- One Bowl Magic: I’ll be real: this might be the easiest batter I’ve ever made. Just melt the butter, whisk in the sugar and egg whites, then fold in the flour—no mixer, no fuss, and honestly, minimal cleanup.
- Buttery Vanilla Crisp: That first bite where the edges shatter but the center stays tender? It’s all thanks to the browned butter meeting vanilla. My kids call it “cookie crack”—they’ll eat it plain or stacked with ice cream.
- Dessert Chameleon: I’ve used these sheets for everything from birthday cake layers (just roll ‘em while warm!) to impromptu ice cream cones. Between us, they’re my secret for making store-bought pudding look fancy.
Step-by-Step Instructions for Wafer Sheets
Mastering the technique for these delicate, crispy layers requires precision in temperature and timing.
Step 1: Prepare the Batter with Proper Technique
Begin by sifting the 1 cup all-purpose flour into a medium mixing bowl. This aeration step prevents lumps and ensures a smooth batter consistency. In a separate heatproof bowl, melt the 0.5 cup unsalted butter and allow it to cool to 110°F—this temperature is critical to prevent cooking the egg whites when combined.
In a clean, grease-free mixing bowl, whip the 3 large egg whites to stiff peaks using an electric mixer. The peaks should hold their shape when the beaters are lifted. Gently fold the cooled butter into the flour, then incorporate the 0.25 cup granulated sugar, 1 tsp vanilla extract, 0.125 tsp salt, and 2 tbsp water. Finally, fold in the egg whites in three additions to maintain maximum air retention.
Step 2: Achieve the Correct Batter Consistency
The batter should resemble thin pancake batter—smooth but still pourable. If it appears too thick, add 1 additional teaspoon of water at a time until reaching the proper consistency. Overmixing at this stage will deflate the egg whites, so use a silicone spatula and fold gently until just combined.
Let the batter rest at room temperature for 10 minutes before using. This brief resting period allows the flour to fully hydrate and the gluten to relax, which prevents the wafer sheets from becoming tough. The surface should appear glossy with no visible flour streaks when properly mixed.
Step 3: Cook on the Perfectly Heated Surface
Heat a nonstick skillet or wafer iron to medium-low heat (approximately 300°F). The surface is ready when a drop of water dances across it without immediately evaporating. Using a small ladle or measuring cup, pour 2 tablespoons of batter onto the center of the pan and immediately spread it into a thin, even circle using the back of the ladle.
Cook undisturbed for 1-2 minutes until the edges begin to lift and the surface appears dry with golden brown spots. The wafer should release easily from the pan when properly cooked. Flip carefully using a thin spatula and cook for an additional 30-45 seconds until crisp and golden.
Step 4: Shape and Cool for Optimal Texture
Transfer each cooked wafer to a wire rack to cool completely. For flat sheets, lay them directly on the rack. For curved shapes, immediately drape them over a rolling pin or mold while still pliable. The wafers will crisp further as they cool, so avoid stacking them while warm—this creates steam that makes them soggy.
Allow the wafers to cool for at least 15 minutes before handling. Properly cooked sheets will be delicate but hold their shape, with a light golden color and audible crispness when tapped. Store in an airtight container at room temperature for up to 3 days, separating layers with parchment paper to maintain texture.
Dietary Considerations for wafer sheet
Gluten-Free Adaptation
For those avoiding gluten, replace the 1 cup all-purpose flour with a 1:1 gluten-free baking blend like King Arthur Measure for Measure. I’ve found this brand maintains the delicate structure best. Add ½ tsp xanthan gum to improve elasticity, as gluten-free flours often lack binding properties. The batter may appear slightly thicker, so thin with 1 additional tbsp water if needed.
Vegan Wafer Sheets
Creating vegan versions requires two key substitutions. Replace the 3 egg whites with ½ cup aquafaba (chickpea brine) whipped to stiff peaks. Use ½ cup coconut oil instead of butter, ensuring it’s cooled to 110°F before mixing. The texture will be slightly denser but still crisp. I recommend adding ¼ tsp cream of tartar to stabilize the aquafaba foam.
Lower Sugar Option
To reduce sugar content, replace half the ¼ cup granulated sugar with 2 tbsp monk fruit sweetener. This maintains sweetness without affecting the wafer’s structure. The color may be slightly lighter, so watch carefully during baking. I’ve successfully used Swerve brand sweetener in this recipe, which measures 1:1 like sugar but doesn’t caramelize as deeply.
Dairy-Free Version
For dairy-free wafers, simply substitute the ½ cup unsalted butter with an equal amount of refined coconut oil or vegetable shortening. The refined coconut oil has a neutral flavor that won’t overpower the vanilla. Ensure your oil is melted and cooled to 110°F before incorporating. The texture remains identical to traditional versions.
Nut-Free Considerations
This recipe is naturally nut-free, making it safe for most nut allergy sufferers. However, always check your vanilla extract label, as some brands use almond extract as a base. I recommend Nielsen-Massey Pure Vanilla Extract, which is certified nut-free. When storing, keep wafers separate from any nut-containing products to avoid cross-contamination.
Storage for Dietary Needs
All variations store equally well in airtight containers at room temperature for up to 3 days. For longer storage, freeze between parchment layers for up to 1 month. Thaw at room temperature for 15 minutes before using. The gluten-free version may soften faster, so consume within 2 days for optimal crispness. 💡
Nutrition Facts

- 6 Egg Cake Recipe with Oil: Light as Air With Buttery Moisture - October 4, 2026
- 4 Bean Casserole Recipe: One-Pan Heartiness With Smoky Paprika Depth - October 4, 2026
- 3-Ingredient Keto Mug Cake Recipe: Microwave Magic in 2 Minutes - October 4, 2026