
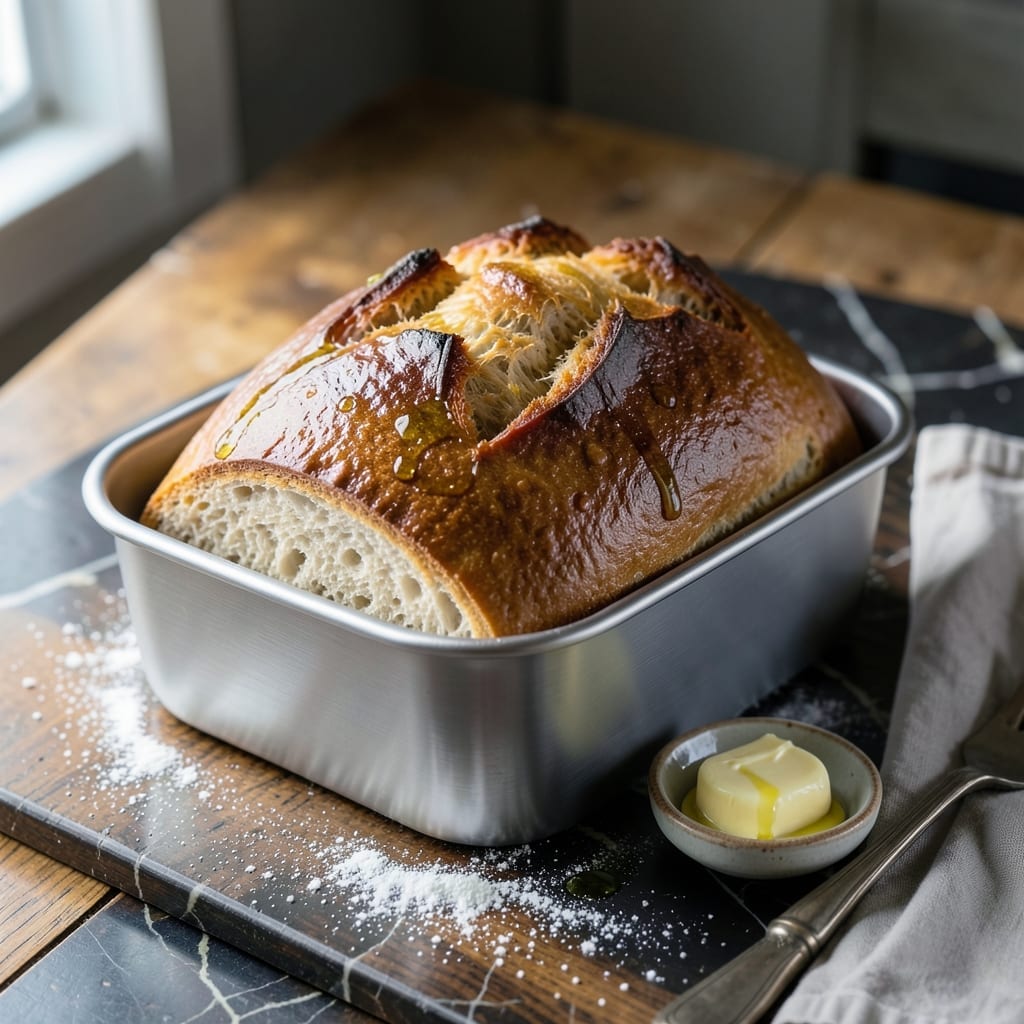
There’s a reason bread makers remain a kitchen staple—they transform basic ingredients into artisan-quality loaves with minimal effort. This method leverages the Elite Gourmet model’s precision to deliver a golden crust and tender crumb every time.
No kneading, no guesswork. The machine handles mixing, rising, and baking while you focus on other tasks. A carefully balanced ratio of flour, liquid, and yeast ensures consistent results, whether you prefer a light or dense texture.
By the time the cycle finishes, your home will fill with the warm, inviting aroma of freshly baked bread. The loaf emerges perfectly shaped, ready to slice and serve with butter or as part of a meal.
Ideal for beginners and experienced bakers alike. The process is straightforward, and the outcome is always rewarding.
Ingredients for Elite Gourmet Bread Maker
Simple pantry staples create that bakery-quality loaf right in your kitchen.
| Ingredient | Amount | Notes |
|---|---|---|
| Bread Flour 🌾 | 3 ½ cups | All-purpose works in a pinch |
| Warm Water 💧 | 1 ¼ cups | 110°F, not hot |
| Active Dry Yeast 🍞 | 2 ¼ tsp | One packet or bulk |
| Granulated Sugar 🍚 | 2 tbsp | Feeds the yeast |
| Salt 🧂 | 1 ½ tsp | Fine sea salt preferred |
| Unsalted Butter 🧈 | 2 tbsp | Softened, for tenderness |
| Non-Fat Dry Milk 🥛 | ¼ cup | Enhances crust color |
| Large Egg 🥚 | 1 whole | Room temperature |
| Honey 🍯 | 1 tbsp | Optional, for sweetness |
| Olive Oil 🫒 | 1 tbsp | For greasing pan |
| Vital Wheat Gluten 🌾 | 1 tbsp | Improves texture |
The flour is key here. King Arthur Bread Flour is my go-to for its high protein content—gives you that chewy crumb. Yeast from Fleet Farm or SAF works reliably, but check the expiration date (old yeast = flat loaf). The dry milk might seem odd, but Carnation brand is what most bread machine recipes call for. Don’t skip it—the sugar in the milk helps with browning and flavor development.
No bread flour? All-purpose plus 1 tbsp vital wheat gluten per cup gets you close. Out of dry milk? Replace with 1/4 cup fresh milk and reduce water by 1/4 cup. Honey can be swapped for sugar or maple syrup. The egg adds richness but can be omitted for a vegan loaf—just add 2 tbsp extra water to compensate for moisture loss.
Store yeast in the freezer—lasts 6-12 months. Flour keeps 1 year in an airtight container. The loaf stays fresh for 2-3 days wrapped in foil, or slice and freeze for up to 3 months.
Why You’ll Love This Recipe
- Set It and Forget: I toss the flour, yeast, and warm water into the machine before bed and wake up to fresh bread—no kneading, no fuss.
- Buttery Crust: The sugar caramelizes just enough to give that golden crust a subtle sweetness that pairs perfectly with salt.
- Sandwich Savior: I slice it thick for toast, thin for sandwiches, or cube it for croutons—this loaf does it all.
- Pocketbook Pleaser: A pound of bread flour costs pennies compared to bakery loaves, and honestly, this tastes better.
Step-by-Step Instructions for Hands-Free Artisan Loaf
Here’s the method that guarantees a perfect loaf with minimal effort.
Step 1: Activate the Yeast and Prepare Wet Ingredients
In the bread maker pan, start with the 1.25 cups Warm Water—make sure it’s exactly 110°F (too hot kills the yeast, too cold slows activation). Sprinkle the 2.25 tsp Active Dry Yeast on top and let it sit for 5 minutes until foamy. This visual cue proves your yeast is alive and ready to work.
Add the 2 tbsp Granulated Sugar, 1 whole Large Egg, 1 tbsp Honey, and 2 tbsp Unsalted Butter (softened, but not melted). The sugar and honey feed the yeast for a better rise, while the butter and egg enrich the dough for a tender crumb. Whisk these together lightly before moving to dry ingredients.
Step 2: Layer in Dry Ingredients for Even Distribution
Measure the 3.5 cups Bread Flour precisely—this isn’t the place for eyeballing. Add it to the pan, then sprinkle the 1.5 tsp Salt, 0.25 cup Non-Fat Dry Milk, and 1 tbsp Vital Wheat Gluten evenly over the top. The dry milk enhances browning, while the vital wheat gluten gives your loaf that perfect chewy texture.
Don’t stir or mix at this stage. The bread maker’s paddle will handle the kneading once you start the cycle. Just ensure all dry ingredients are evenly distributed so they incorporate uniformly during mixing.
Step 3: Select the Correct Bread Maker Cycle
Secure the pan in your Elite Gourmet bread maker and close the lid. Select the “Basic” or “White Bread” cycle with a medium crust setting. This cycle typically runs for 3-4 hours, including kneading, rising, and baking phases. The machine will handle everything, but I like to check during the first knead to ensure the dough forms a smooth, elastic ball.
If the dough looks too wet or too dry in the first 10 minutes, pause the machine and adjust with a teaspoon of flour or water. This rarely happens with precise measurements, but humidity can affect results. The dough should be tacky but not sticky, pulling away from the pan sides as it kneads.
Step 4: Monitor the Rise and Bake to Perfection
About 1 hour into the cycle, the dough will have doubled in size during its first rise. Resist the urge to open the lid—sudden temperature changes can cause the loaf to collapse. The bread maker maintains the ideal 80-85°F environment for proofing.
During the bake phase, you’ll start to smell that incredible fresh-bread aroma. The loaf is done when the machine beeps and the crust is a deep golden brown. If your machine has a viewing window, check that the loaf has risen 1-2 inches above the pan—this indicates proper leavening.
Step 5: Cool Completely Before Slicing
When the cycle completes, carefully remove the pan using oven mitts—it’s extremely hot. Turn the loaf out onto a wire rack and let it cool for at least 30 minutes. I know the smell is torturous, but slicing too soon traps steam inside, making the bread gummy.
The crust should be crisp when tapped, and the interior should have a fine, even crumb. Once cooled, slice with a serrated knife for clean cuts. This loaf keeps well for 3-4 days in an airtight container, though it’s best enjoyed fresh from the machine.
Pro Tips For Making Elite Gourmet Bread Maker
- Test Your Yeast: I learned this the hard way—always proof your active dry yeast in 1/4 cup warm water with a pinch of sugar first. If it doesn’t bubble within 5 minutes, your loaf won’t rise.
- Weigh the Flour: Sounds weird, but it works: use a kitchen scale for the bread flour instead of measuring cups. After three dense loaves, I finally realized my cups were packing in too much.
- Skip the Tap: Use filtered or bottled water if your tap water is heavily chlorinated. Chlorine can inhibit yeast activity, and I noticed a real difference in rise after switching.
- Delay the Salt: Keep the salt separate from the yeast when adding to the bread maker. Salt can slow yeast activation if they touch directly—my grandmother swore by this, and she was right.
Dietary Considerations for This Recipe
Gluten-Free Option
For a gluten-free version, replace bread flour with a 1:1 gluten-free bread flour blend. I recommend King Arthur Measure for Measure for best results. Add 1 tsp xanthan gum to improve texture and rise. 💪
Vegan Modifications
To make this vegan, omit the egg and replace it with 2 tbsp water. Swap unsalted butter for 2 tbsp coconut oil or vegan butter. Use almond milk powder instead of dry milk.
Honey can be replaced with maple syrup or agave to keep it plant-based.
Dairy-Free Adjustments
For dairy-free bread, replace unsalted butter with coconut oil or olive oil. Swap non-fat dry milk for coconut milk powder or simply omit it. The crust may be slightly paler but still delicious.
Lower Sugar Version
To reduce sugar, cut the granulated sugar to 1 tbsp and omit the honey. The yeast will still activate, though the rise might be slightly slower. I’ve found the flavor remains excellent with this adjustment. ✨
Whole Wheat Adaptation
Replace up to 50% of the bread flour with whole wheat flour for a nuttier flavor and added fiber. Add 1 tbsp extra water per cup of whole wheat flour to account for its higher absorption rate.
Nutrition Facts
Frequently Asked Questions
Can I use all-purpose flour instead of bread flour?
Yes, but add 1 tbsp vital wheat gluten per cup to boost protein. This mimics bread flour’s strength for better rise and texture. The result will still be good, just slightly less chewy.
Why does my dough look too wet or dry?
Humidity affects hydration. If too wet, add 1 tsp flour at a time. If too dry, add 1 tsp water. Check within the first 10 minutes of kneading before the cycle locks in.
How do I get a darker crust?
Select the dark crust setting on your machine. For extra color, brush the top with 1 tbsp water or egg wash before the final rise. The dry milk in the recipe also helps deepen the golden hue.
Can I add mix-ins like nuts or herbs?
Add up to 1/2 cup of mix-ins when the machine beeps for add-ins (usually after first knead). Try walnuts, sunflower seeds, or dried rosemary for flavor variations. Don’t overfill the pan.

- 6 Egg Cake Recipe with Oil: Light as Air With Buttery Moisture - October 4, 2026
- 4 Bean Casserole Recipe: One-Pan Heartiness With Smoky Paprika Depth - October 4, 2026
- 3-Ingredient Keto Mug Cake Recipe: Microwave Magic in 2 Minutes - October 4, 2026