
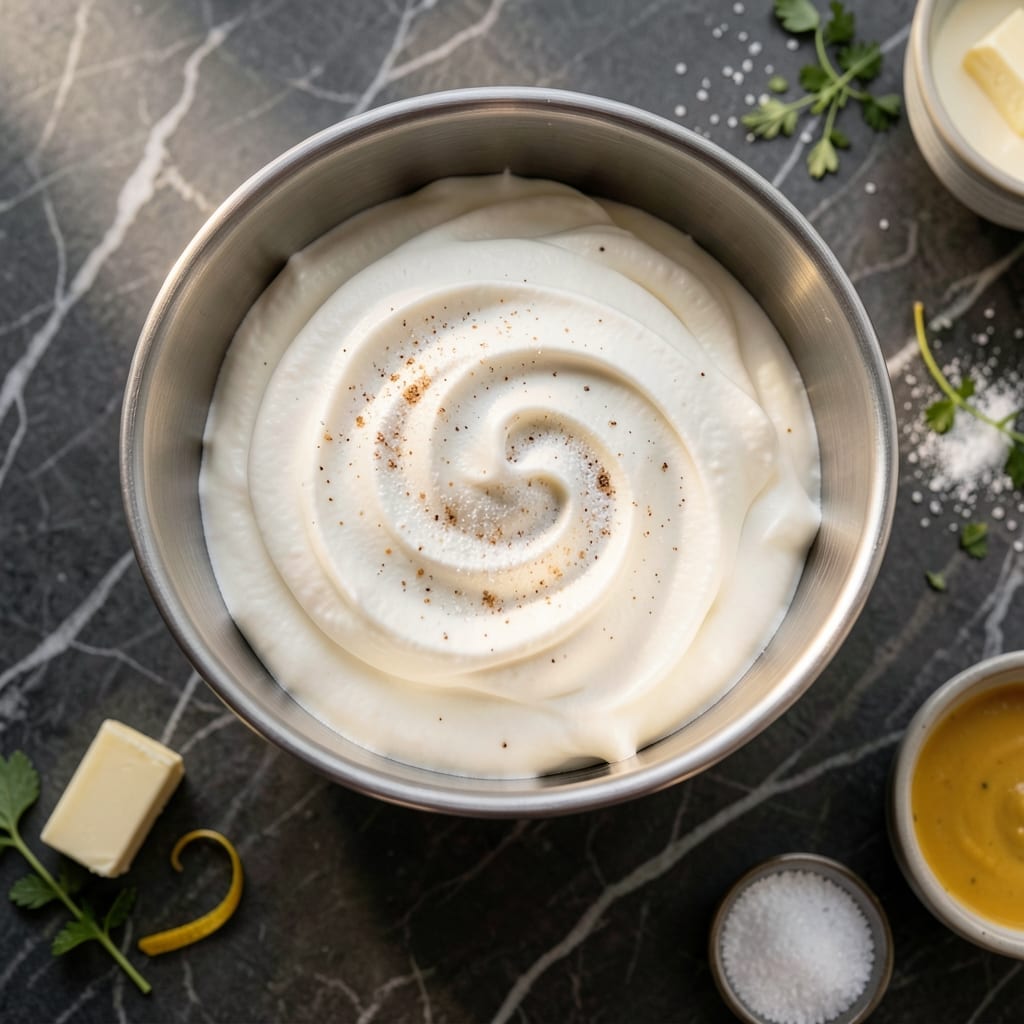
This whipped cream frosting delivers perfect light and airy texture with minimal effort. The secret lies in chilling both the cream and equipment beforehand.
It pipes beautifully and holds its shape, making it ideal for cakes, cupcakes, or pastries. Store in the fridge for up to 3 days in an airtight container.
Ingredients for Frosting Recipe Using Whipping Cream
Seven ingredients transform chilled cream into light, airy frosting perfection with minimal effort.
| Ingredient | Amount | Notes |
|---|---|---|
| Heavy Whipping Cream 🥛 | 2 cups | Well-chilled, 35-40% fat content |
| Powdered Sugar 🧂 | ½ cup | Sifted for smooth texture |
| Vanilla Extract 🌿 | 2 tsp | Pure, not imitation |
| Granulated Sugar 🧂 | 2 tbsp | Optional for stability |
| Unsalted Butter 🧈 | 2 tbsp | Cold, cubed for structure |
| Salt 🧂 | 0.125 tsp | Fine grain, balances sweetness |
| Almond Extract 🌰 | ¼ tsp | Optional for depth |
The heavy whipping cream must be very cold—35-40% fat content is non-negotiable for proper structure. Organic Valley or Darigold brands consistently deliver. Chill your mixing bowl and beaters for 15 minutes beforehand (worth the extra minute). The powdered sugar should be freshly sifted to prevent lumps, and always use pure vanilla extract for the best flavor profile.
No vanilla extract? Vanilla bean paste at half the amount works beautifully. For a dairy-free version, coconut cream can replace the whipping cream (chill the can overnight first). The granulated sugar helps stabilize the frosting—skip it only if piping immediately. Unsalted butter prevents over-salting, but salted butter works if you omit the added salt.
This frosting holds shape best when used immediately but keeps in an airtight container for 3 days refrigerated. For longer storage, freeze piped rosettes on parchment for 1 month. Thaw in the fridge overnight before rewhipping.
Why You’ll Love This Recipe
- Five-Minute Whip: I can go from bowl to cupcake in under five minutes—just cream, sugar, and vanilla.
- Velvety Sweetness: The butter and heavy whipping cream blend into this ridiculously good, cloud-like texture.
- Crowd Pleaser: Birthdays, potlucks, or Tuesday desserts, everyone licks the bowl clean.
- Budget Stretch: One batch frosts a whole 9×13 cake and costs pennies compared to store-bought.
Step-by-Step Instructions for Frosting Using Whipping Cream
Follow this precise method to achieve light, airy frosting with professional stability and texture.
Step 1: Chill Equipment and Cream
Place your mixing bowl and beaters in the freezer for 10 minutes to chill completely. I use a metal bowl for this—it retains cold better than glass or plastic. The colder your equipment, the faster the heavy whipping cream will whip and the more volume you’ll achieve.
Pour the 2 cups Heavy Whipping Cream into the chilled bowl. Make sure it’s straight from the refrigerator and well-shaken. The cream should be very cold, almost icy, when you begin. This temperature is critical for proper emulsion and peak formation.
Step 2: Begin Whipping with Stabilizers
Add the 2 tbsp Granulated Sugar, 0.125 tsp Salt, and 2 tbsp Unsalted Butter (cold and cubed) to the cream. The sugar adds structure, the salt balances sweetness, and the butter provides richness and stability to your frosting.
Start whipping on low speed to incorporate the ingredients, then gradually increase to medium-high speed. Watch for the cream to thicken slightly and develop soft peaks—this usually takes 2-3 minutes. The mixture should look like a thick, glossy liquid at this stage.
Step 3: Incorporate Flavorings at the Right Moment
When the cream forms soft peaks (the beaters leave trails that fold over slightly), add the 0.5 cup Powdered Sugar, 2 tsp Vanilla Extract, and 0.25 tsp Almond Extract. Sift the powdered sugar directly into the bowl to prevent lumps.
The powdered sugar must be added at this stage—not earlier—to avoid dissolving completely into the liquid cream. The vanilla and almond extracts provide depth of flavor, with the almond being optional but recommended for complexity.
Step 4: Whip to Stiff Peaks
Continue whipping on medium-high speed for another 3-5 minutes until the frosting forms stiff peaks. You’ll know it’s ready when the beaters leave distinct, sharp peaks that hold their shape completely. Be careful not to over-whip, as the cream can turn grainy or separate.
The finished frosting should be glossy, smooth, and hold its shape when the beaters are lifted. It should be light enough to pipe but stable enough to hold decorations. If it appears slightly grainy, the cream wasn’t cold enough at the start—next time, chill longer.
Step 5: Use Immediately or Store Properly
Use the frosting immediately to decorate your cake or cupcakes. Its light, airy texture is perfect for piping borders, rosettes, or simple swirls. The frosting will hold its shape for several hours at room temperature.
If you need to store it, transfer to an airtight container and refrigerate for up to 3 days. Before using, re-whip briefly for 30 seconds to restore its fluffy texture. This frosting doesn’t freeze well due to its high cream content, so I recommend making it fresh when possible.
Pro Tips For Making Frosting Recipe Using Whipping Cream
- Chill Your Bowl: Pop your mixing bowl and beaters in the freezer for 10 minutes before whipping—I learned this the hard way after my cream turned to soup twice in a row.
- Sift the Sugar: Always sift your powdered sugar first, or you’ll end up with little lumps in your frosting that no amount of mixing will fix.
- Watch the Butter: Make sure your unsalted butter is room temperature, not melted, or the frosting will lose its structure and turn greasy.
- Add Sugar Slowly: Sprinkle in the powdered sugar a little at a time while mixing on low, or you’ll be cleaning a cloud of sugar off your counter.
Serving Suggestions for This Recipe
🍽️ Plating Styles
This light and fluffy whipping cream frosting can be presented in various ways. For a casual setup, spread it generously over cupcakes or a simple sheet cake. A formal presentation might involve piping elegant rosettes or borders on a layered cake using a star tip. For buffet-style serving, consider a frosted cake on a decorative stand with a cake knife for easy slicing.
🎨 Garnishing Techniques
Enhance the visual appeal with simple yet effective garnishes. Sprinkle edible glitter or colorful sprinkles for a playful touch. Fresh berries, mint leaves, or chocolate shavings add a natural, sophisticated look. For a more dramatic effect, drizzle a contrasting sauce, like caramel or chocolate ganache, over the frosting.
⚖️ Portion Sizes
For individual servings, pipe small dollops onto cupcakes or mini desserts. If serving family-style, frost a large cake and let guests serve themselves. A 9-inch layered cake typically yields 12-16 portions, while a sheet cake can serve 20-24 people, depending on slice size.
🌡️ Serving Temperature
This frosting is best served chilled but not ice-cold. Allow the frosted cake to sit at room temperature for 10-15 minutes before serving to soften slightly, making it easier to slice. For optimal texture, store the cake in the refrigerator and only take it out just before serving.
Nutrition Facts

- 6 Egg Cake Recipe with Oil: Light as Air With Buttery Moisture - October 4, 2026
- 4 Bean Casserole Recipe: One-Pan Heartiness With Smoky Paprika Depth - October 4, 2026
- 3-Ingredient Keto Mug Cake Recipe: Microwave Magic in 2 Minutes - October 4, 2026