
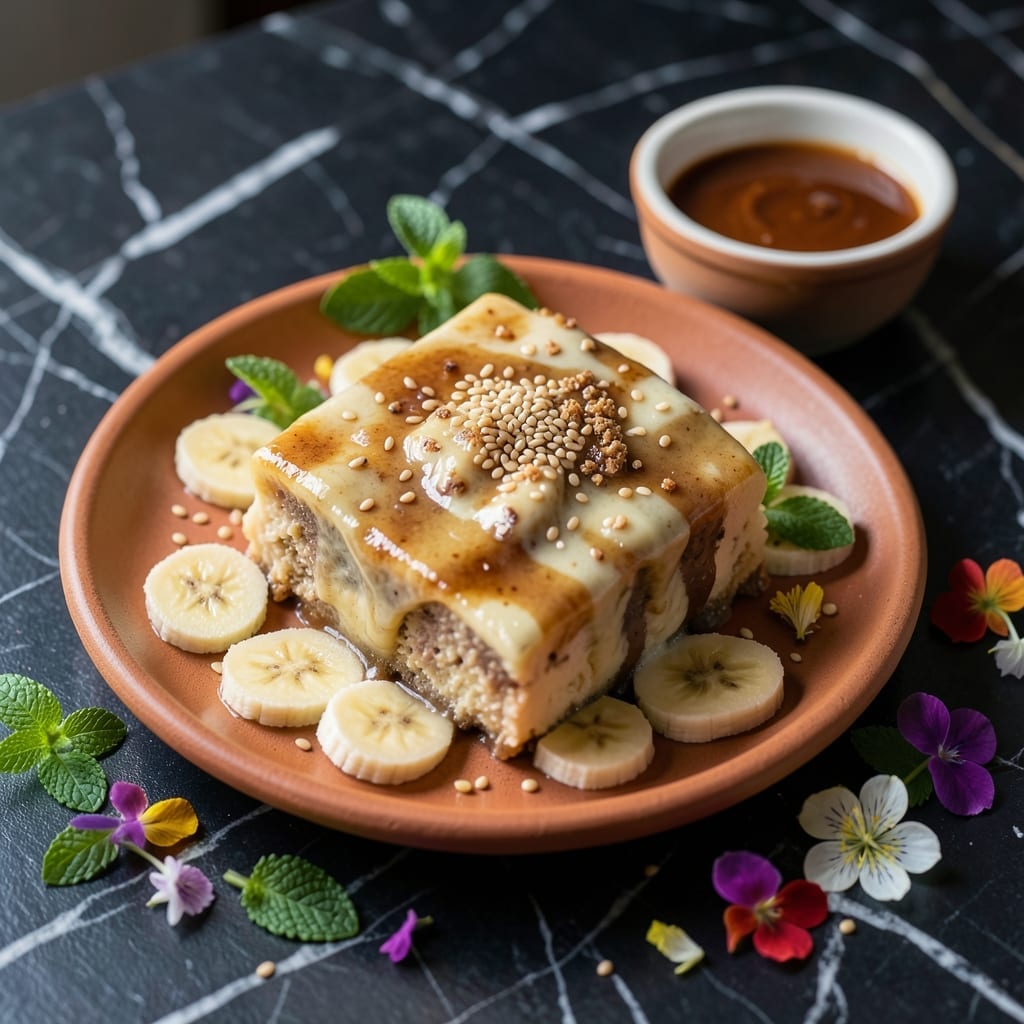
This layered dessert combines creamy vanilla pudding with fresh bananas and crisp vanilla wafers for a classic Southern treat. The textures create a perfect balance that keeps everyone coming back for more.
Simple to assemble yet impressive to serve, this pudding stays fresh in the fridge and tastes even better the next day. It’s the ultimate make-ahead dessert for gatherings.
Ingredients for Banana Pudding Recipe with Pudding
Classic Southern layers start with vanilla pudding, crisp wafers, and fresh bananas.
| Ingredient | Amount | Notes |
|---|---|---|
| Vanilla Pudding Mix 🍮 | 2 boxes | Instant or cook-and-serve |
| Whole Milk 🥛 | 4 cups | Cold for best results |
| Vanilla Wafers 🍪 | 1 box | About 45-50 wafers |
| Ripe Bananas 🍌 | 4 whole | Sliced just before layering |
| Heavy Whipping Cream 🥛 | 1 cup | Whipped to soft peaks |
| Granulated Sugar 🍚 | 2 tbsp | For sweetening whipped cream |
| Vanilla Extract 🌿 | 1 tsp | Pure for best flavor |
| Unsalted Butter 🧈 | 2 tbsp | Optional for richer pudding |
| Salt 🧂 | 0.125 tsp | Enhances all flavors |
| Ground Cinnamon 🌿 | ¼ tsp | Optional for dusting |
The vanilla wafers are non-negotiable here. Nilla Wafers are the gold standard—any grocery store carries them, but Trader Joe’s has a great generic version. For the pudding, Jell-O brand gives the most reliable set. Whole milk works best for creaminess, but 2% is fine in a pinch. Look for bananas with some brown speckles—they’re sweeter and slice easier.
No vanilla wafers? Shortbread cookies or graham crackers work, though the texture changes slightly. Out of heavy cream? Cool Whip is a quick substitute (skip the sugar). For a lighter version, Greek yogurt replaces the whipped cream—just fold it in gently. The pudding can be made with almond milk, but it won’t set as firmly (worth it if you’re avoiding dairy).
This keeps beautifully—actually improves overnight as the wafers soften. Store covered in the fridge for up to 3 days. Don’t assemble too early or the wafers turn soggy. Bananas brown fast, so slice them right before layering (a quick squeeze of lemon helps too).
Why You’ll Love This Recipe
- No-Bake Magic: I just dump the pudding mix into cold milk, whisk, and layer—no oven, no fuss.
- Layered Heaven: That first bite with creamy pudding, soft bananas, and crisp wafers? Ridiculously good.
- Potluck Hero: Honestly, it’s my go-to for picnics, BBQs, or just because Tuesday needs a treat.
- Budget Sweet Tooth: Five simple ingredients, feeds a crowd, and leftovers taste even better the next day.
Step-by-Step Instructions for Banana Pudding With Vanilla Wafers
Follow this method precisely for perfectly layered banana pudding with rich vanilla flavor.
Step 1: Prepare the Vanilla Pudding Base
In a medium saucepan, whisk together the 2 boxes Vanilla Pudding Mix with the 4 cups Whole Milk and 0.125 tsp Salt until smooth. For richer flavor, add the 2 tbsp Unsalted Butter at this stage.
Cook over medium heat, stirring constantly with a wooden spoon, until the mixture thickens and comes to a full boil. This typically takes 8-10 minutes. Watch for the pudding to coat the back of the spoon and leave a clean line when you run your finger through it.
Once thickened, remove from heat and stir in the 1 tsp Vanilla Extract. Let the pudding cool slightly for 5 minutes, stirring occasionally to prevent a skin from forming. The pudding should be thick but still pourable.
Step 2: Whip the Cream and Slice the Bananas
While the pudding cools, whip the 1 cup Heavy Whipping Cream with the 2 tbsp Granulated Sugar until soft peaks form. Use a chilled bowl and beaters for best results. The cream should hold its shape briefly when the beaters are lifted, then gently fold over.
Just before assembling, slice the 4 whole Ripe Bananas into ¼-inch thick rounds. I slice them directly into a bowl tossed with a pinch of the 1 tsp Vanilla Extract to prevent browning and add extra flavor. Use ripe but firm bananas for the best texture.
Step 3: Layer the Pudding, Wafers, and Bananas
In a 2-quart serving dish or individual glasses, start with a layer of Vanilla Wafers, using about one-third of the box. Arrange them in a single layer, slightly overlapping if needed. The wafers will soften as they absorb moisture from the pudding.
Next, add a layer of sliced bananas, using about half of the slices. Pour a third of the warm pudding over the bananas, spreading it evenly. Repeat the layers: wafers, remaining bananas, another third of pudding, and the remaining wafers.
Step 4: Finish with Whipped Cream and Chill
Top with the remaining pudding, spreading it smoothly to cover the wafers completely. Then, spread or pipe the whipped cream over the top layer, creating decorative swirls or peaks. For a polished finish, use a spatula to create gentle waves in the cream.
Dust the top lightly with 0.25 tsp Ground Cinnamon if using. Cover the dish with plastic wrap, pressing it directly onto the surface to prevent a skin from forming. Refrigerate for at least 4 hours or overnight to allow the flavors to meld and the wafers to soften perfectly.
Pro Tips For Making Banana Pudding Recipe With Pudding
- Chill the Pudding: Let the pudding set in the fridge for at least 2 hours before layering—I learned this the hard way when my wafers turned soggy from warm pudding.
- Slice Bananas Last: Cut the bananas right before assembling to prevent browning; tossing them in a little lemon juice helps too.
- Skip Instant Pudding: Use cook-and-serve vanilla pudding mix instead of instant for a thicker, creamier texture that holds up better in layers.
- Whip Cream Cold: Chill your bowl and beaters for 10 minutes before whipping the cream—it’ll fluff up faster and hold its shape longer.
Dietary Considerations for This Recipe
Keto-Friendly Options
For a keto version of this banana pudding recipe with pudding, swap traditional vanilla wafers for almond flour or coconut flour cookies. Use sugar-free instant pudding mix and unsweetened almond milk to keep carbs low. Layer with sliced bananas in moderation, as they contain natural sugars.
Sweetened whipped cream can be replaced with whipped coconut cream or a sugar-free whipped topping to maintain ketosis while keeping the dish creamy and delicious.
Gluten-Free Modifications
To make this recipe gluten-free, opt for gluten-free vanilla wafers or crush gluten-free graham crackers for the layers. Ensure your instant pudding mix is labeled gluten-free, as some brands may contain wheat derivatives.
All other ingredients, like bananas, milk, and whipped cream, are naturally gluten-free, but always double-check labels to avoid cross-contamination.
Allergen Information
This recipe typically contains dairy (milk, pudding, whipped cream) and gluten (vanilla wafers). For dairy-free versions, use coconut milk pudding and dairy-free whipped topping. Those with nut allergies should avoid nut-based cookie substitutes.
For egg allergies, check that your pudding mix and wafers are egg-free, as some brands include egg derivatives.
Vegetarian Modifications
This recipe is naturally vegetarian, as it contains no meat or animal-based gelatin. However, ensure your vanilla wafers and pudding mix are free from animal-derived additives like lard or certain food colorings.
For a vegan twist, use plant-based milk, vegan pudding mix, and coconut whipped cream to keep it entirely plant-based.
Low-Sodium Options
To reduce sodium, choose low-sodium or unsalted vanilla wafers and sodium-free pudding mix. Skip added salt in any homemade elements, and opt for unsalted butter if the recipe calls for it.
Fresh bananas and whipped cream are naturally low in sodium, so focus on the processed ingredients to keep the dish lighter.
Nutrition Facts

- 6 Egg Cake Recipe with Oil: Light as Air With Buttery Moisture - October 4, 2026
- 4 Bean Casserole Recipe: One-Pan Heartiness With Smoky Paprika Depth - October 4, 2026
- 3-Ingredient Keto Mug Cake Recipe: Microwave Magic in 2 Minutes - October 4, 2026