
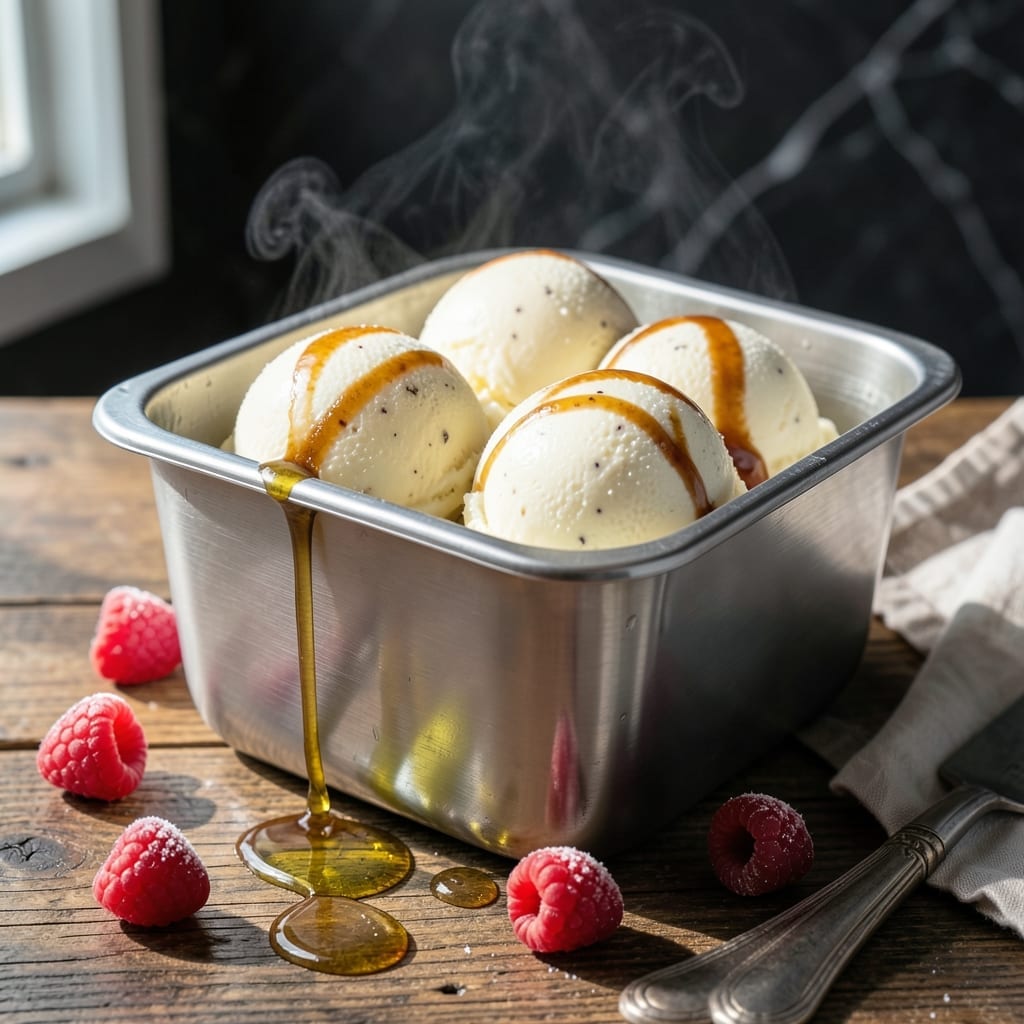
There’s nothing quite like the silky smooth texture of homemade ice cream fresh from the freezer. This proven method delivers perfect results every time.
With simple ingredients and an ice cream maker, you’ll create a treat that rivals any parlor. The churning process is what transforms the base into that coveted creamy consistency.
Ingredients for Homemade Ice Cream Recipe for Ice Cream Freezer
Creamy, dreamy ingredients for the perfect frozen treat from your machine.
| Ingredient | Amount | Notes |
|---|---|---|
| Heavy Whipping Cream 🥛 | 2 cups | Cold, full-fat for richness |
| Whole Milk 🥛 | 1 cup | Cold, full-fat preferred |
| Granulated Sugar 🍚 | ¾ cup | Fine grain for smooth texture |
| Pure Vanilla Extract 🌿 | 1 tbsp | High-quality for best flavor |
| Table Salt 🧂 | ¼ tsp | Enhances all flavors |
| Large Egg Yolks 🥚 | 4 pieces | Room temperature for smooth custard |
| Pure Vanilla Bean 🌿 | 1 whole | Split and scraped, optional |
| Light Corn Syrup 🧈 | 2 tbsp | Prevents ice crystals |
| Unsalted Butter 🧈 | 1 tbsp | Melted, for richness |
| Whole Egg 🥚 | 1 whole | Room temperature, stabilizes base |
The heavy cream is non-negotiable for that luxurious mouthfeel. Organic Valley or Darigold are reliable brands with high butterfat content. For milk, avoid skim—whole milk ensures the custard base has enough fat to churn properly. The egg yolks add richness and help emulsify the mixture, but make sure they’re fresh (the fresher the yolk, the more vibrant the color and flavor).
No vanilla bean? Pure vanilla extract works just fine—just double the amount. Swap granulated sugar for superfine sugar if you want an even silkier texture (it dissolves faster). The corn syrup prevents ice crystals, but in a pinch, honey or agave can replace it at a 1:1 ratio. If you’re avoiding corn, light agave syrup works too. For a richer version, replace 1 cup of milk with sweetened condensed milk.
The custard base keeps in the fridge for up to 3 days before churning. Once churned, ice cream stays fresh for about 1 week in an airtight container. For longer storage, press plastic wrap directly on the surface to prevent ice crystals. Always let it soften at room temperature for 10-15 minutes before scooping.
Why You’ll Love This Recipe
- 5-Minute Mix: I just dump cream, milk, sugar, vanilla, and a pinch of salt into the freezer bowl—no cooking, no fuss.
- Rich and Creamy: The heavy cream makes it so velvety, and that real vanilla shines through in every bite.
- Crowd-Pleasing Treat: I’ve served this at birthdays, BBQs, and even just a random Tuesday—always disappears fast.
- Budget-Friendly Luxury: A quart costs less than store-bought premium, and I control exactly what goes in—no weird additives.
Step-by-Step Instructions for Homemade Ice Cream for Ice Cream Freezer
Master the custard base and churning technique for silky smooth texture every time.
Step 1: Prepare the Custard Base with Eggs and Cream
In a medium saucepan, combine the 2 cups Heavy Whipping Cream, 1 cup Whole Milk, 0.75 cup Granulated Sugar, 0.25 tsp Table Salt, and 2 tbsp Light Corn Syrup. Heat over medium heat until small bubbles form at the edges—this indicates the mixture is hot but not boiling.
While the cream mixture heats, whisk together the 4 pieces Large Egg Yolks and 1 whole Whole Egg in a separate bowl until smooth and pale yellow. This tempering preparation ensures the eggs incorporate evenly without curdling when added to the hot liquid.
Step 2: Temper the Eggs and Thicken the Custard
Slowly pour about 1 cup of the hot cream mixture into the egg yolks while whisking constantly. This gradual introduction prevents the eggs from scrambling. Once combined, pour the tempered egg mixture back into the saucepan with the remaining cream.
Return the saucepan to medium-low heat and cook, stirring constantly with a wooden spoon, until the custard thickens enough to coat the back of the spoon. This should take 8-10 minutes. Watch for the mixture to reach 170-175°F on an instant-read thermometer for perfect consistency.
Step 3: Infuse Flavor and Chill the Base
Remove the custard from heat and stir in the 1 tbsp Pure Vanilla Extract and 1 tbsp Unsalted Butter until fully melted and incorporated. For enhanced flavor, split the 1 whole Pure Vanilla Bean, scrape the seeds into the custard, and add the pod as well.
Strain the custard through a fine-mesh sieve into a clean bowl to remove any cooked egg bits or vanilla pod. Press plastic wrap directly onto the surface to prevent a skin from forming. Refrigerate for at least 4 hours or overnight until completely chilled.
Step 4: Churn in the Ice Cream Freezer
Pour the chilled custard into your ice cream freezer and churn according to the manufacturer’s instructions, typically 20-25 minutes. The mixture should thicken to the consistency of soft-serve ice cream and hold its shape when scooped.
Transfer the churned ice cream to a freezer-safe container, smoothing the top with a spatula. For the creamiest texture, press plastic wrap directly against the surface before sealing with the lid. Freeze for at least 4 hours or until firm.
Pro Tips For Making Homemade Ice Cream Recipe For Ice Cream Freezer
- Chill the Base: Always refrigerate the cream-milk-sugar mixture for at least 4 hours before churning—I learned this the hard way after ending up with soupy ice cream that never quite set.
- Use Full-Fat Dairy: Skip the low-fat milk or light cream; the high fat content in whole milk and heavy whipping cream is non-negotiable for that rich, creamy texture.
- Add Vanilla Last: Stir in the vanilla extract right before churning, not during heating, to preserve its delicate flavor—my grandmother swore by this, and she was right.
- Pre-Freeze the Bowl: Make sure your ice cream freezer bowl is completely frozen (at least 12 hours) or the mixture won’t churn properly—yes, even if you’re impatient like me.
Serving Suggestions for homemade ice cream recipe for ice cream freezer
Plating Styles 🍦
For a casual serving, scoop your homemade ice cream into colorful bowls or classic waffle cones for a fun, relaxed vibe. A formal presentation calls for elegant glassware like coupe dishes or martini glasses, layered with sauces for a sophisticated touch. For gatherings, a buffet-style setup with an assortment of toppings and mix-ins lets guests customize their treats.
Garnishing Techniques ✨
Elevate your dessert with fresh herbs like mint leaves or basil for a pop of color and aroma. Drizzle sauces such as warm chocolate fudge, caramel, or fruit compote in artistic patterns. Add decorations like crushed nuts, sprinkles, or edible flowers for texture and visual appeal. A dusting of cocoa powder or cinnamon can also add a refined finish.
Portion Sizes
Serve individual portions in small cups or cones for a personal touch, perfect for parties or controlled servings. For a cozy, shareable experience, opt for family-style servings in a large bowl, allowing everyone to dig in with their favorite toppings.
Serving Temperature ❄️
Let your ice cream sit at room temperature for 5-10 minutes before scooping to ensure a creamy texture. For firm slices, like in an ice cream cake, use a hot knife dipped in warm water for clean cuts. Always return leftovers to the freezer immediately to maintain freshness.
Nutrition Facts

- 6 Egg Cake Recipe with Oil: Light as Air With Buttery Moisture - October 4, 2026
- 4 Bean Casserole Recipe: One-Pan Heartiness With Smoky Paprika Depth - October 4, 2026
- 3-Ingredient Keto Mug Cake Recipe: Microwave Magic in 2 Minutes - October 4, 2026